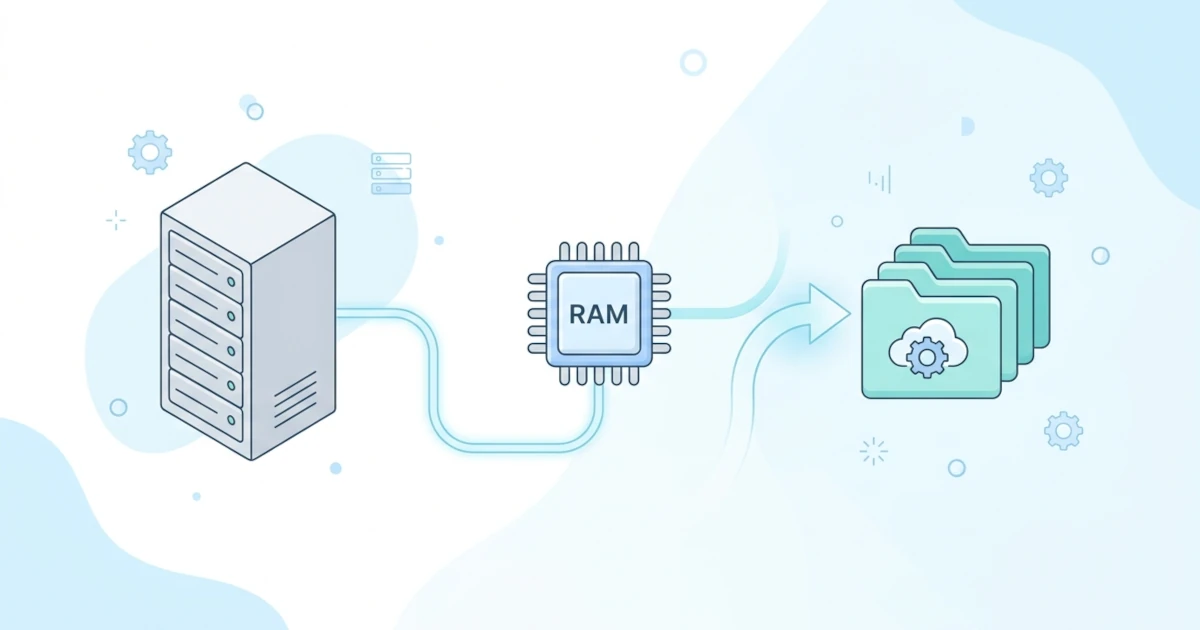
A low-RAM VPS faces a classic issue: as soon as the load increases even slightly, whether due to an application build, database backup, or sudden traffic spike, RAM fills up instantly, causing critical processes to be killed abruptly without warning. If you have ever experienced an application stopping unexpectedly with no clear error logs, the root cause is likely the OOM killer (Out of Memory Killer), a Linux kernel mechanism that forcefully terminates processes when physical RAM is completely exhausted.
The fastest solution to this problem is creating swap using a file rather than a dedicated partition. This method requires no downtime, no system reboot, and no complex disk partition resizing across most VPS hosting providers. This article provides a comprehensive step-by-step guide: checking existing swap status, determining the optimal swap size, creating and enabling a swap file, making it persistent via /etc/fstab, and tuning swappiness so swap operates efficiently without causing server performance degradation.
1. Swap and VPS Requirements
Swap is storage space utilized by the Linux kernel as an extension of physical RAM. When RAM becomes saturated, the kernel moves inactive memory pages to swap, freeing up physical memory for active processes. Swap is not a direct replacement for RAM because disk read-write operations are significantly slower, but it provides a sufficient buffer to prevent the kernel from triggering the OOM killer during temporary memory spikes.
There are two ways to allocate swap space: a swap partition (a dedicated disk partition) and a swap file (a standard file within an existing filesystem). For virtual private servers, swap files are far more practical. Most cloud infrastructure providers provision disks as a single partition, making new partitions require disk resizing, which introduces complexity and potential downtime. A swap file is created as a standard file, allowing its size to be adjusted dynamically without altering the disk partitioning scheme.
Common scenarios triggering memory shortages on low-RAM VPS instances include running npm install or composer install for large projects, executing database backups or compression routines, or managing applications with rapidly growing caches during traffic bursts. These scenarios share a common pattern: brief, transient spikes in memory consumption rather than a constant demand for high RAM capacity.
Swap File vs Swap Partition
According to the Ubuntu Community Help Wiki, swap file performance on modern filesystems (kernel 2.6 and above) is equivalent to swap partitions, making performance a non-issue. The key differences lie in operational flexibility:
- Size flexibility: A swap file can be resized or removed at any time without modifying disk partition tables. A swap partition requires complex and potentially risky disk partition resizing operations.
- Ease of setup: A swap file can be configured with a few commands on an existing filesystem. A swap partition must be planned during initial OS installation or created by repartitioning the storage drive.
- Hibernation support: For environments requiring system hibernation, swap partitions offer more reliable support. However, this is rarely relevant for cloud VPS instances, which operate continuously and do not utilize desktop-style hibernation.
Because cloud VPS instances do not require hibernation and typically utilize high-speed SSD or NVMe cloud storage, swap files serve as the standard, practical solution. This guide focuses entirely on swap file configuration.
2. Checking Swap and Storage Status
Before creating a swap file, verify two prerequisites: whether active swap already exists on the system, and whether sufficient disk space is available. Log in to your VPS via SSH and run the following commands.
Check current RAM and active swap usage:
free -hExample output on a 1GB RAM VPS without active swap:
               total        used        free      shared  buff/cache   available
Mem:           973Mi       412Mi        89Mi        11Mi       472Mi       431Mi
Swap:             0B          0B          0B
A value of 0B across the Swap row indicates that no swap space is currently active. The total reported memory (973Mi) is slightly less than 1GB, which is normal as system firmware and kernel reserve small portions of memory before reporting to userspace.
Check specifically for active swap devices or files:
swapon --showIf this command yields no output, no active swap exists on the system, and you can proceed safely with creating a swap file.
Finally, check available storage space to ensure adequate disk capacity:
df -hFilesystem Size Used Avail Use% Mounted on
/dev/vda1 25G 4.8G 19G 21% /If swapon --show lists an active swap space, your system already has swap configured. You do not need to create a new swap file unless you intend to resize it, which is covered in the Removing or Disabling a Swap File section below.
3. Optimal Swap File Sizing
The ideal swap size depends on total physical RAM and server workload demands. General sizing guidelines for server environments (excluding desktop systems requiring hibernation) are:
- RAM under 2GB: Swap size equal to 2x total RAM.
- RAM between 2GB and 8GB: Swap size equal to 1x total RAM.
- RAM above 8GB: Fixed swap size, typically 4GB to 8GB, rather than a strict 1:1 ratio. According to DigitalOcean guidelines, allocating more than 4GB of swap space offers diminishing returns when used primarily as an emergency buffer.
The Ubuntu Community Help Wiki (SwapFaq) provides a formula: for non-hibernating systems, minimum swap can be calculated as round(sqrt(RAM)) up to 2x RAM, whereas hibernating systems require swap equal to physical RAM. Since cloud servers rarely utilize hibernation, allocating 2x RAM for low-memory instances remains a safe rule of thumb that absorbs memory spikes caused by build tasks or background processes.
Note: Avoid allocating excessively large swap files. Swap operates on disk storage. If your VPS uses network-attached storage with higher latency than local SSDs, excessive swap usage causes swap thrashing, a state where continuous disk read-write operations degrade performance more severely than process termination by the OOM killer.
For the practical examples in this guide, we use a VPS with 1GB RAM and allocate a 2GB swap file.
4. Creating a Swap File on a VPS
All commands in this section require elevated root privileges using sudo.
Step 1: Allocate the Swap File
The fastest method to create a swap file is using fallocate, which preallocates disk space instantaneously without writing zero-bytes:
sudo fallocate -l 2G /swapfileThis command works seamlessly on ext4 (the default filesystem for Ubuntu Server) and XFS. If fallocate fails, it is usually because the underlying filesystem lacks preallocation support or because the Btrfs filesystem copy-on-write mechanism causes kernel rejection during mkswap execution.
If fallocate fails or your system uses Btrfs, use dd as a universal fallback, though execution will take longer as it writes zero-bytes sequentially:
sudo dd if=/dev/zero of=/swapfile bs=1M count=2048 status=progressMultiplying count=2048 by bs=1M yields a 2048MB (2GB) file. Adjust these values according to your targeted swap size.
Step 2: Configure Swap Permissions
Restrict file access so that only the root user can read or write to it:
sudo chmod 600 /swapfileThis configuration is critical for system security. Swap files hold raw memory dumps that may contain sensitive operational data, including passwords, private keys, or API tokens. Leaving permissive file rights allows unauthorized local users or compromised processes to extract plain data directly from disk space. Executing chmod 600 secures the file strictly for root access.
Step 3: Format File as Swap Area
Initialize the allocated file as a Linux swap area:
sudo mkswap /swapfileExpected output should resemble the following structure:
Setting up swapspace version 1, size = 2 GiB (2147479552 bytes)
no label, UUID=3f9d2b1a-8e4f-4c2b-9a1d-6f2e8b3c7a90
The UUID line represents a unique identifier for your swap configuration. As long as no error messages appear, the file structure is ready for activation.
Step 4: Enable the Swap File
Activate the newly formatted swap file:
sudo swapon /swapfileVerify that swap activation was successful:
sudo swapon --showNAME TYPE SIZE USED PRIO
/swapfile file 2G 0B -2Verify system memory metrics using free -h, where the Swap entry should reflect the new allocation:
               total        used        free      shared  buff/cache   available
Mem:           973Mi       415Mi        86Mi        11Mi       472Mi       428Mi
Swap:          2.0Gi          0B       2.0Gi
Enabling swap using only the swapon utility is temporary. Rebooting the server will reset memory configurations, requiring manual re-activation. To make swap persistent across system reboots, proceed to the next section.
5. Persisting Swap via fstab
The system initialization system (systemd) on Ubuntu Server reads /etc/fstab at boot to mount filesystems and activate swap devices automatically. Adding an entry to this file ensures your swap file remains active across system restarts without manual command execution.
Create a backup copy of /etc/fstab prior to editing to safeguard system boot configurations:
sudo cp /etc/fstab /etc/fstab.bakOpen /etc/fstab using a text editor such as nano, then append the following line at the end of the file:
/swapfile none swap sw 0 0This entry follows standard Ubuntu configuration specifications: column one defines the swap file path, column two specifies none as swap lacks a mount point, column three specifies filesystem type (swap), column four defines mount options (sw), and columns five and six are set to 0 for dump and fsck checks.
Validate the syntax of your configuration without restarting the system:
sudo swapon -a
sudo swapon --show
Executing swapon -a mounts all swap entries registered within /etc/fstab. If swapon --show lists /swapfile without outputting syntax errors, your persistent configuration is verified and ready for production boot cycles.
6. Tuning Swappiness
The swappiness property (controlled by kernel parameter vm.swappiness) defines how aggressively the Linux kernel offloads memory pages from RAM to swap space. Kernel documentation specifies valid values between 0 and 200, with default distribution values typically set to 60. Always verify your current runtime setting using:
cat /proc/sys/vm/swappinessHigher swappiness values cause the kernel to move data to swap proactively, even when free RAM remains available. On VPS instances where disk I/O speed is lower than physical RAM bandwidth, aggressive swapping degrades system responsiveness. Reducing this value instructs the kernel to prefer physical RAM and utilize swap purely as an emergency fallback.
Apply a temporary swappiness reduction to test system behaviour:
sudo sysctl vm.swappiness=10To persist this setting across system reboots, append the parameter to /etc/sysctl.conf:
echo 'vm.swappiness=10' | sudo tee -a /etc/sysctl.conf
sudo sysctl -p
Executing sysctl -p applies updated configuration parameters without requiring a system reboot. Setting swappiness to 10 provides an optimal balance for most cloud workloads, maintaining swap availability for memory spikes while preventing unnecessary disk I/O during normal operations.
7. Automating Swap Setup with Bash
Manual steps are simple for single instances, but automating setup ensures consistent deployment across multiple cloud servers while avoiding potential typos in /etc/fstab. Writing an automated script also guarantees idempotency, making script execution safe on systems where swap files might already exist. Automated scripts integrate easily into infrastructure management tools like Ansible or cloud-init startup scripts.
Save the following automation code as create-swap.sh:
#!/usr/bin/env bash
set -euo pipefail

SWAP_FILE="/swapfile"
SWAP_SIZE="${1:-2G}"
SWAPPINESS=10

if swapon --show | grep -q "^${SWAP_FILE}"; then
  echo "Swap file ${SWAP_FILE} is already active. Exiting."
  exit 1
fi

fallocate -l "${SWAP_SIZE}" "${SWAP_FILE}" || \
  dd if=/dev/zero of="${SWAP_FILE}" bs=1M count=$(( ${SWAP_SIZE%G} * 1024 )) status=progress

chmod 600 "${SWAP_FILE}"
mkswap "${SWAP_FILE}"
swapon "${SWAP_FILE}"

if ! grep -q "^${SWAP_FILE} " /etc/fstab; then
  cp /etc/fstab /etc/fstab.bak
  echo "${SWAP_FILE} none swap sw 0 0" >> /etc/fstab
fi

sysctl "vm.swappiness=${SWAPPINESS}"
if ! grep -q "^vm.swappiness" /etc/sysctl.conf; then
  echo "vm.swappiness=${SWAPPINESS}" >> /etc/sysctl.conf
fi

swapon --show
free -h
This script automates all setup operations: validating existing swap space to avoid redundant allocations, attempting fallocate with fallback to dd, adjusting permissions, formatting and enabling swap, updating /etc/fstab idempotently, and configuring low vm.swappiness parameters. Note that the SWAP_SIZE parameter expects gigabyte notation (such as 2G or 4G) to calculate dd block counts correctly.
Grant execution permissions to the script file:
chmod +x create-swap.shRun the script with elevated privileges, supplying an optional swap size argument (defaults to 2G):
sudo ./create-swap.sh 2GTo provision larger allocations, such as 4GB swap for a 2GB-4GB RAM VPS, supply the desired size as a parameter:
sudo ./create-swap.sh 4G8. Removing or Disabling a Swap File
If you need to resize swap or remove it entirely from your instance, disable active swap space before attempting file deletion commands.
Deactivate the running swap file:
sudo swapoff /swapfileRemove the /swapfile entry from /etc/fstab, then delete the actual file from disk:
sudo rm /swapfileIf resizing swap, execute Steps 1 through 4 using your updated size specifications, ensuring your /etc/fstab entry matches the updated swap path.
9. Troubleshooting Swap File Issues
Error "insufficient permission" during mkswap execution
This error indicates lack of root access privileges during formatting operations. Prefix commands using sudo or switch directly to the root user environment.
Swap fails to mount automatically on reboot
Check /etc/fstab syntax carefully. Syntax errors, duplicate spaces, or path mistakes prevent systemd from mounting swap entries during system initialization. Test configuration syntax using sudo mount -a to verify settings without rebooting.
VPS remains slow despite active swap configuration
This indicates swap thrashing, caused when application RAM demands consistently exceed physical hardware limits. Continuous disk swapping degrades throughput. Swap provides emergency memory buffering, not an alternative to upgrading physical hardware resources.
VPS running on network-attached block storage
If your cloud provider uses network-attached block storage rather than direct-attached SSD or NVMe storage, network latency will affect swap operations. If sustained workloads rely heavily on swap space over network volumes, upgrading physical RAM capacity is required.
10. When Should You Upgrade Physical RAM?
A swap file functions as a safety net, not a permanent substitute for physical RAM. For scaling production workloads, consider physical hardware upgrades when observing the following indicators:
- Swap space experiences high continuous usage rather than temporary spikes during build or backup operations. Monitor usage trends with
free -h. Consistent high utilization indicates undersized physical memory. - Application latency remains high after expanding swap capacity. This indicates that hardware throughput limits are constrained by physical memory bandwidth rather than available swap allocation.
Utilize swap files primarily to handle transient memory spikes, such as software compilation or database dump processes. When base operational memory demands grow continuously, upgrading server instance RAM provides the appropriate long-term solution.
11. Conclusion
Configuring a swap file provides a fast, effective solution to prevent OOM killer terminations on memory-constrained VPS instances without requiring downtime or disk repartitioning. The overall setup workflow is straightforward: check existing swap status, select an appropriate target size based on physical RAM, create the underlying file using fallocate or dd, restrict file permissions, format using mkswap, enable swap with swapon, and register the configuration within /etc/fstab for persistence. Additionally, lowering vm.swappiness ensures that disk-based swap space is utilized efficiently rather than aggressively.
Inspect your VPS memory status now using free -h. If the Swap row reads 0B on a resource-constrained server, applying these steps will immediately improve system reliability.
12. Frequently Asked Questions (FAQ)
Does using a swap file reduce SSD lifespan?
Swap read-write cycles do contribute to cumulative SSD write endurance usage. However, when swap acts strictly as an emergency buffer rather than active memory, write impact remains minimal compared to overall drive endurance ratings. Reducing vm.swappiness further reduces unnecessary write operations.
What is the ideal swap size for a 1GB RAM VPS?
Following general sizing recommendations for sub-2GB memory systems, allocating 2x total physical RAM yields a recommended 2GB swap file size, as demonstrated throughout this guide.
Is using a swap file safe for production servers?
Yes, provided file access permissions are configured securely (chmod 600) and sizing aligns with system storage characteristics. Swap files represent standard deployment practices across small to medium production server environments.
What is the difference between a swap file and a swap partition?
Both methods provide functional swap space with identical performance on modern Linux filesystems. The primary advantage of swap files is operational flexibility: files can be resized or deleted without repartitioning drives, whereas swap partitions require complex partition table adjustments. Swap partitions are primarily relevant for systems requiring disk-based hibernation.