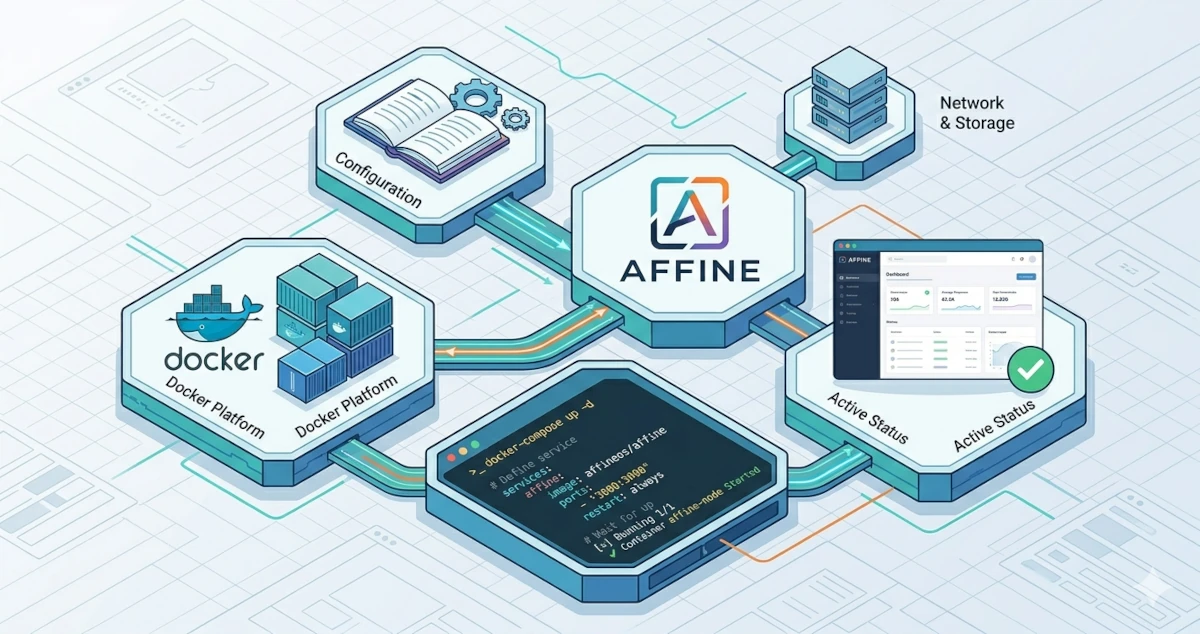
When a team starts gathering ideas, documenting work, and collaborating actively, one question usually arises: how do we manage all of this in a single workspace that is organized, flexible, and still fully under our control? AFFiNE offers the answer. It is an open-source platform that combines writing, drawing, and information organization within a unified interface. In this guide, we will explore AFFiNE and set it up together using a self-hosting approach with Docker Compose.
What Is AFFiNE
AFFiNE is an open-source, local-first collaboration and knowledge management platform that allows us to store data either locally or on our own servers. It combines document editing, an edgeless canvas, databases, and real-time collaboration within a single ecosystem. As a result, AFFiNE is suitable for various use cases, from personal note-taking and team documentation to visual brainstorming.
Some key features that make AFFiNE compelling:
- Edgeless Canvas for drawing, diagramming, sticky notes, and idea visualization.
- Modular block-based documents similar to Notion, ideal for writing and organizing information.
- Real-time collaboration via WebSocket.
- Self-hosting with support for PostgreSQL, Redis, and flexible blob storage.
- AI Copilot integration for AI-powered features.
- Object Storage support such as AWS S3, MinIO, or Cloudflare R2.
- Flexible configuration via admin panel or
config.json.
Self-Hosting AFFiNE
AFFiNE provides a self-hosting option that gives us full control over all data. On its pricing page, AFFiNE emphasizes that this option is available without cloud subscription fees, allowing organizations to manage deployments according to internal policies. With self-hosting, we are free to configure storage methods, AI integration, domain setup, and team access limitations.
System Requirements
Before starting the installation process, ensure your server meets the following requirements:
- Storage: minimum 1.5 GB for a basic installation.
- CPU: at least 4 cores recommended.
- RAM:
- 2 GB is sufficient for light usage.
- 4 GB or more for larger workspaces or many collaborators.
- Additional components:
- PostgreSQL (preferably with
pgvectorextension if using AI features). - Redis for caching and real-time sync.
- Prometheus (optional) for monitoring.
- PostgreSQL (preferably with
Get $25 DigitalOcean Credit
Claim $25 CreditInstalling AFFiNE with Docker Compose
First, install Docker using the installer script:
sh -c "curl -fsSL https://get.docker.com/ | sh"Prepare the project directory:
mkdir affine
cd affine
Download the docker-compose.yml file:
wget -O docker-compose.yml https://github.com/toeverything/affine/releases/latest/download/docker-compose.ymlDownload the .env file:
wget -O .env https://github.com/toeverything/affine/releases/latest/download/default.env.exampleYou can customize:
- Postgres data storage path
- local blob storage directory
- database credentials
- service ports
Example configuration:
AFFINE_REVISION=stable
PORT=3010
AFFINE_SERVER_EXTERNAL_URL=https://affine.yourdomain.com
DB_DATA_LOCATION=~/.affine/self-host/postgres/pgdata
UPLOAD_LOCATION=~/.affine/self-host/storage
CONFIG_LOCATION=~/.affine/self-host/config
DB_USERNAME=affine
DB_PASSWORD=affineDBpassword
DB_DATABASE=affine
Run AFFiNE:
docker compose up -dVerify Docker Compose status:
docker compose lsExample response:
NAME              IMAGE                                COMMAND                  SERVICE    CREATED          STATUS                    PORTS
affine_postgres   pgvector/pgvector:pg16               "docker-entrypoint.s…"   postgres   30 seconds ago   Up 29 seconds (healthy)   5432/tcp
affine_redis      redis                                "docker-entrypoint.s…"   redis      30 seconds ago   Up 29 seconds (healthy)   6379/tcp
affine_server     ghcr.io/toeverything/affine:stable   "docker-entrypoint.s…"   affine     30 seconds ago   Up 9 seconds              0.0.0.0:3010->3010/tcp, [::]:3010->3010/tcp
Once the containers are running, you can access it via http://<SERVER-IP>:3010.
Domain & HTTPS (Nginx Reverse Proxy)
To securely access AFFiNE using your own domain, you can place it behind an Nginx reverse proxy.
Example basic configuration:
server {
  server_name affine.yourdomain.com;
  client_max_body_size 100m;

  location / {
    proxy_pass http://localhost:3010;
    proxy_set_header Host $http_host;
    proxy_set_header X-Real-IP $remote_addr;
    proxy_set_header X-Forwarded-For $proxy_add_x_forwarded_for;
    proxy_set_header X-Forwarded-Proto $scheme;
    proxy_set_header Upgrade $http_upgrade;
    proxy_set_header Connection "upgrade";
  }
}
Install SSL using certbot:
certbot --non-interactive \
-m [email protected] \
--agree-tos \
--no-eff-email \
--nginx -d affine.yourdomain.com \
--redirect
Now AFFiNE can be accessed via https://affine.yourdomain.com.
Creating an Admin Account
After installation, access AFFiNE and create an admin account. Enter your name, email, and password. Once completed, you will be redirected to the AFFiNE admin dashboard at https://affine.yourdomain.com/admin.
Accessing AFFiNE
Now try accessing AFFiNE:
- Create a new user account, then log out from the admin account.
- Visit
https://affine.yourdomain.com. - Log in using the new account.
- Create a workspace.
Your self-hosted AFFiNE instance is now ready to use.
Conclusion
By running AFFiNE in a self-hosted setup, we gain a modern, flexible collaboration environment while retaining full control over our data. From note-taking and visual brainstorming to team collaboration, everything can be done within a single integrated platform.