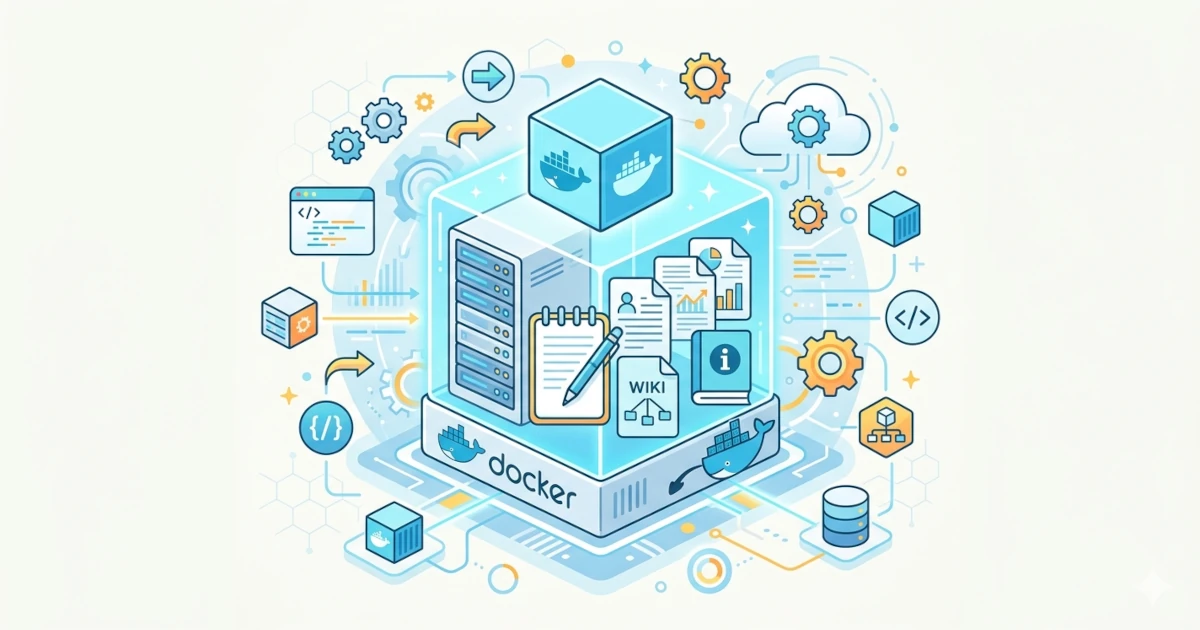
Many organizations need a wiki platform that is clean, modern, and easy to use for storing internal knowledge. The challenge is that not all teams want to rely on cloud services due to security, compliance considerations, or simply the desire for full control over their data. This is where Docmost becomes an appealing solution, a collaborative open-source wiki platform that you can run on your own server, complete with a real-time editor and workspace management.
What is Docmost?
Docmost is an open-source collaborative wiki and documentation software designed as a self-hosted alternative to popular platforms like Notion and Confluence. Docmost allows multiple users to edit pages simultaneously in real time without overwriting each other's changes.
Docmost Features
Here are the features available in the open-source / community version of Docmost:
- Real-time collaborative editor: users can edit pages together simultaneously.
- Diagram support: integration with Draw.io, Excalidraw, and Mermaid.
- Spaces structure: enables document organization based on teams, projects, or departments.
- Permission management: control content access (view, edit) for users.
- Groups: used to group users and assign permissions collectively.
- Comments: ability to add comments within pages.
- Page history: track page versions and enable rollback.
- Nested page navigation: pages can be nested and reorganized via the sidebar.
- Search: ability to search content across the entire workspace.
- File attachments: attach files to pages.
- Import / Export content: supports importing and exporting pages in Markdown and HTML formats.
- Read or edit mode: users can choose between read or edit mode to avoid accidental changes.
- Multi-language support: available in more than 10 languages.
- Basic authentication: email and password.
Docmost provides additional features in the Enterprise version that are not available in the community edition:
- SSO (SAML & OIDC): supports single sign-on using SAML 2.0 and OIDC for integration with enterprise identity providers.
- LDAP Authentication: allows login using Active Directory/LDAP accounts with automatic provisioning and group synchronization.
- MFA (Multi-Factor Authentication): provides TOTP-based two-step authentication for additional security.
- Full-Text Search Attachment: enables full-text search within attachments such as PDF and DOCX.
- Confluence Importer: supports direct migration of documents from Atlassian Confluence.
- Resolve Comments: provides comment resolution features for better discussion management.
- Email Support: includes official email support from the Docmost team for enterprise customers.
- Audit Log: provides audit logs of user activity for security and compliance needs.
Summary comparison table: Docmost Open Source vs Enterprise Edition
| Category | Core Features | Enterprise Features |
|---|---|---|
| Authentication | Email + Password | LDAP, SAML 2.0, OIDC, MFA |
| Collaboration | Real-time editor, comments, version history | — (same) |
| Content Structure | Spaces, Groups, nested pages | — (same) |
| Import / Export | Markdown, HTML | + Confluence importer |
| Search | Standard content search | + Full-text search in attachments (PDF, DOCX) |
| Security & Compliance | — | Audit logs, SSO, MFA |
| Support | Community / open-source | Enterprise email support |
Docmost Installation
Self-hosting Docmost uses Docker Compose. Install Docker on the server first:
sh -c "curl -fsSL https://get.docker.com/ | sh"Create a directory for Docmost and download the Docker Compose file:
mkdir docmost
cd docmost
curl -O https://raw.githubusercontent.com/docmost/docmost/main/docker-compose.yml
Generate a key for APP_SECRET:
openssl rand -hex 32Example output:
b0a047fe4b2f50f2f562d72a723a52c93c6ce91e2b3256a30b005606ccf9781dOpen the docker-compose.yml file:
nano docker-compose.ymlAdjust the following environment variables:
APP_URL: 'https://docmost.domain.com'
APP_SECRET: 'b0a047fe4b2f50f2f562d72a723a52c93c6ce91e2b3256a30b005606ccf9781d'
POSTGRES_PASSWORD: str0n9dbpa$$w0rd
DATABASE_URL: 'postgresql://docmost:str0n9dbpa$$w0rd@db:5432/docmost?schema=public'
Run the Docmost service:
docker compose up -dVerify Docker Compose:
docker compose psExample output:
NAME                IMAGE                    COMMAND                  SERVICE   CREATED          STATUS          PORTS
docmost-db-1        postgres:16-alpine       "docker-entrypoint.s…"   db        20 seconds ago   Up 20 seconds   5432/tcp
docmost-docmost-1   docmost/docmost:latest   "docker-entrypoint.s…"   docmost   20 seconds ago   Up 19 seconds   0.0.0.0:3000->3000/tcp, [::]:3000->3000/tcp
docmost-redis-1     redis:7.2-alpine         "docker-entrypoint.s…"   redis     20 seconds ago   Up 20 seconds   6379/tcp
Docmost is now accessible at http://Server-IP:3000.
Nginx Reverse Proxy
Once Docmost is running on the backend, the next step is to set up a reverse proxy using Nginx so the application can be accessed securely via a subdomain.
Create an Nginx server block configuration file:
nano /etc/nginx/conf.d/docmost.domain.com.confFill it with the following configuration:
server {
    listen 80;
    server_name docmost.domain.com;

    location / {
        proxy_pass http://127.0.0.1:3000;
        proxy_http_version 1.1;
        proxy_set_header Upgrade $http_upgrade;
        proxy_set_header Connection "upgrade";
        proxy_set_header Host $host;
        proxy_set_header X-Real-IP $remote_addr;
        proxy_set_header X-Forwarded-For $proxy_add_x_forwarded_for;
        proxy_set_header X-Forwarded-Proto $scheme;
        proxy_read_timeout 90;
    }
}
Test the configuration and restart Nginx:
nginx -t
systemctl restart nginx
Install Let's Encrypt SSL using certbot:
certbot --non-interactive \
-m [email protected] \
--agree-tos \
--no-eff-email \
--nginx -d docmost.domain.com \
--redirect
Docmost is now accessible at https://docmost.domain.com.
Create Workspace
The first step after installing Docmost is to create a Workspace. Enter:
- Workspace Name
- Your Name
- Your Email
- Password
Then click Create workspace.
Spaces
Spaces in Docmost function as separate areas that help organize documents by team, project, or department. Within a space, you can:
- Create page structures (nested page hierarchy)
- Copy or move pages between spaces
- Manage members (users or groups) with roles: Full Access, Can Edit, or Viewer
- Export space content in Markdown or HTML format for backup or migration
- Delete a space when no longer needed (with a warning, as this action is irreversible)
Groups
Groups are a feature for managing access rights collectively in Docmost. You don’t need to assign permissions per user individually; simply manage them via groups. Key points about groups:
- There is a default group called Everyone, which automatically includes all users.
- Only users with Admin or Owner roles can create, edit, and delete groups.
- To grant group access to a space, add the group in the space settings and assign a permission level (Full Access, Can Edit, Can View).
- To add or remove group members: go to Settings → Groups, then add or remove users as needed.
- If a user has access to a space through multiple paths (e.g., individual + group), the highest permission level will apply.
Conclusion
For organizations or teams looking for a Notion / Confluence alternative with full data control, Docmost is a highly compelling candidate. With self-hosting capabilities, flexible access management (workspace, spaces, groups), a collaborative editor, and diagram support, Docmost provides a strong foundation for building a secure and well-structured internal knowledge base. If you are considering migrating from platforms like Notion or Confluence, Docmost can be a solution that eliminates dependency on cloud vendors while remaining scalable and easy to configure according to your organization’s needs.