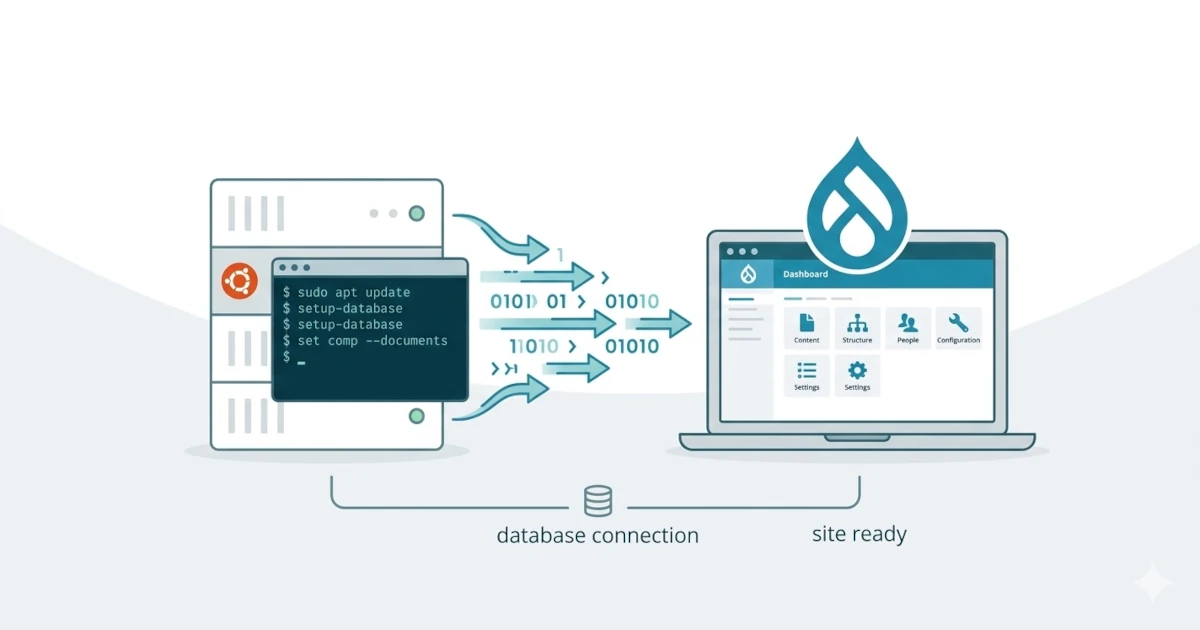
Drupal is an open-source CMS widely used to build websites ranging from small-scale to enterprise-level. Its high flexibility, strong security, and rich module ecosystem make Drupal an ideal choice for organizations, government institutions, and large enterprises. In this article, you will learn how to install Drupal CMS on Ubuntu, from server preparation to the browser-based installation process.
What is Drupal CMS?
Drupal CMS is an open-source content management platform designed to build modern, secure, and easily extensible websites. Drupal supports various types of websites, including blogs, news portals, government sites, and complex web applications. With its modular architecture, Drupal provides flexibility for developers and administrators to customize features according to their needs.
Drupal CMS Features
Some of the key features of Drupal CMS include:
- Modern Content Management: Intuitive content management with a modern editor and revisioning support.
- Highly Customizable: Module-based architecture that allows unlimited functional expansion.
- Security-Focused: Drupal is known for its high security standards and is widely used by large organizations and governments.
- Scalable & High Performance: Suitable for large-scale websites with high traffic.
- Multilingual Ready: Supports dozens of languages with built-in multilingual features.
- SEO & Accessibility Friendly: Designed to be search engine friendly and compliant with web accessibility standards.
"Legacy" Drupal vs "New" Drupal CMS
The main difference lies in the target audience and the initial out-of-the-box user experience.
- Legacy Drupal: Known as a "developer's playground" that is highly flexible but has a steep learning curve. Older versions like Drupal 7 were very popular but will reach end-of-life support on January 5, 2025.
- New Drupal CMS (Project Starshot): Officially launched (version 1.0) on January 15, 2025. Its focus is on ease of use for non-technical users, marketers, and content creators, enabling them to build websites without coding.
- Modern Features: The new Drupal CMS includes Experience Builder for visual page editing, AI integration, and a Recipes system that allows installation of complex features (such as SEO or analytics) with just one click.
Drupal Core vs Drupal CMS
Although both are Drupal, they differ in terms of out-of-the-box readiness.
| Feature / Aspect | Drupal Core | Drupal CMS (Project Starshot) |
|---|---|---|
| Definition | A minimal basic framework. | A ready-to-use out-of-the-box product. |
| Target Audience | Web developers and technical agencies. | Marketers, content creators, and non-technical users. |
| Installation | Only basic features; additional modules must be installed manually. | Includes popular modules, themes, and optimal configuration out of the box. |
| Ease of Use | High learning curve (requires technical expertise). | User-friendly with no-code/low-code features. |
| Key Features | Data structures, user management, and basic APIs. | Experience Builder (visual editing), AI integration, and Recipes. |
| Purpose | Building highly customized and complex web applications. | Building professional-quality websites quickly. |
| Relationship | Serves as the core foundation. | Built on top of Drupal Core. |
In short, Drupal CMS is built on top of Drupal Core. Choosing Drupal CMS does not limit customization capabilities, as you can still do everything that is possible with Drupal Core.
System Requirements
Below are the recommended system requirements to run Drupal CMS:
- PHP 8.3
Required extensions:PDO, XML, GD-library, OpenSSL, JSON, cURL, Mbstring, zlib - Composer 2.3.6+
- Database
- MySQL 8.0+
- MariaDB 10.6+
- Percona Server 8.0+
- PostgreSQL 16+
- Web Server
- Apache 2.4.7+ or
- Nginx 1.1+
Install LAMP
This tutorial uses the Ubuntu operating system. First, update your Ubuntu system:
sudo apt update
sudo apt upgrade -y
Install Apache and certbot:
sudo apt install apache2 certbot python3-certbot-apache -yInstall MariaDB:
sudo apt install mariadb-server -yAdd the Ondřej PHP PPA repository:
sudo add-apt-repository ppa:ondrej/php -y
sudo apt upgrade -y
Install PHP 8.3 and required extensions:
sudo apt install libapache2-mod-php8.3 php8.3 php8.3-cli php8.3-common \
php8.3-apcu php8.3-mbstring php8.3-gd php8.3-intl \
php8.3-xml php8.3-soap php8.3-bcmath php8.3-mysql php8.3-zip \
php8.3-curl php8.3-tidy php8.3-imagick php8.3-sqlite3 unzip -y
Edit the PHP configuration:
sudo nano /etc/php/8.3/apache2/php.iniSet:
memory_limit = 256MRestart Apache:
sudo systemctl restart apache2Install Composer:
sudo wget https://getcomposer.org/download/latest-stable/composer.phar -O /usr/local/bin/composer
sudo chmod +x /usr/local/bin/composer
Apache Configuration
Create an Apache virtual host configuration file:
sudo nano /etc/apache2/sites-available/domain.com.confInsert the following configuration:
<VirtualHost *:80>
    ServerName www.domain.com
    ServerAlias domain.com
    DocumentRoot /var/www/domain.com/web
    <Directory /var/www/domain.com/web>
        Options -Indexes +FollowSymLinks +MultiViews
        AllowOverride All
        Require all granted
    </Directory>
    ErrorLog /var/log/apache2/domain.com_error.log
    CustomLog /var/log/apache2/domain.com_access.log combined
</VirtualHost>
Enable the virtual host:
sudo a2ensite domain.com
sudo systemctl restart apache2
Install SSL:
sudo certbot --non-interactive \
-m [email protected] \
--agree-tos \
--no-eff-email \
--apache -d domain.com -d www.domain.com \
--redirect
Creating Database
Login to MariaDB:
sudo mysqlCreate database and user:
CREATE DATABASE drupal;
CREATE USER 'drupal'@'localhost' IDENTIFIED BY 'strongpassword';
GRANT ALL PRIVILEGES ON drupal.* TO 'drupal'@'localhost';
FLUSH PRIVILEGES;
exit
Install Drupal CMS
Create a project using Composer:
composer create-project drupal/cms domain.comMove the directory:
sudo mv domain.com /var/wwwChange ownership:
sudo chown -R www-data:www-data /var/www/domain.comOpen your browser and access https://www.domain.com.
Follow the installation steps:
- Get started. You can choose pre-configured options or add them later. Next.
- Site name → Next
- Database configuration
- Database type: MySQL/MariaDB
- Enter database name, user, and password
→ Save and Continue
- Create an admin account → Finish
- After successful installation, you will be redirected to the Dashboard
Drupal CMS is now successfully installed and ready to be developed.
Conclusion
Drupal CMS is one of the most powerful platforms for building modern websites with high security and flexibility. By following the installation steps above, you have set up the server environment, database, and optimal web server configuration to run Drupal. You can now start adding modules, themes, and customizing your site according to your project needs. Happy building with Drupal.