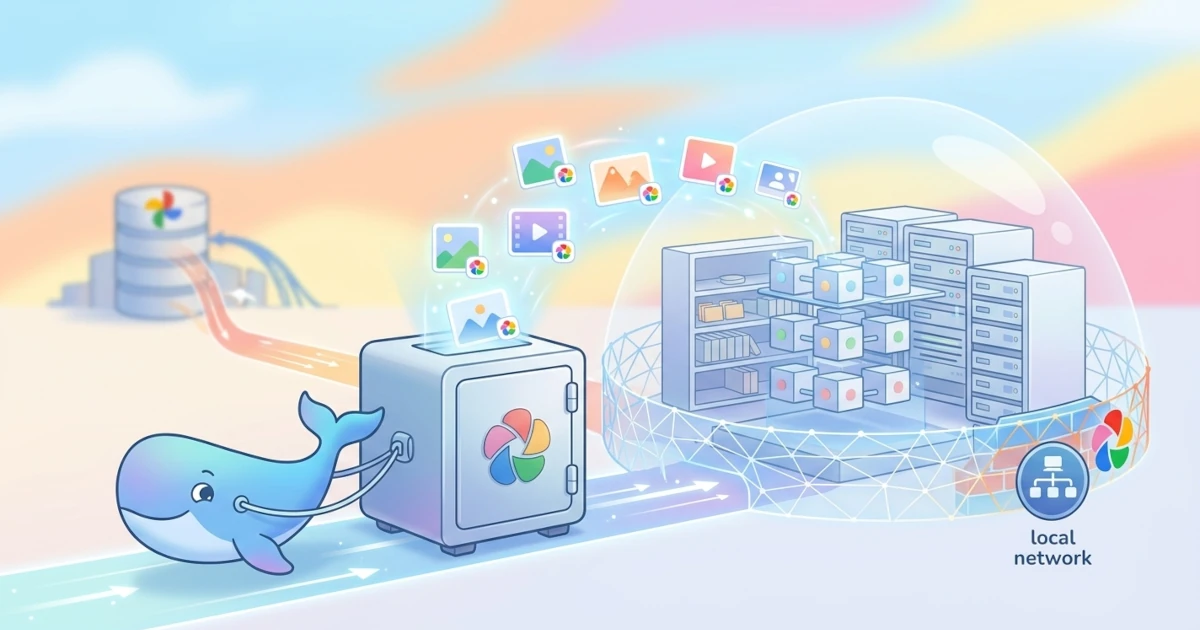
The free Google Photos storage has long been exhausted, and the monthly Google One subscription feels like a waste just to store family photos. If you share the same concern, there is another option that is entirely under your own control: running a private photo server at home. This article discusses how to install Immich with Docker in full, from preparing the server, configuring the docker-compose.yml and .env files, to connecting the mobile app so that photos from your phone are automatically backed up just like Google Photos.
All commands below have been tested directly on Ubuntu Server with Immich version 3.1.0, so you can follow them line by line without needing many modifications.
What is Immich?
Immich is an open-source, self-hosted photo and video management application designed as a direct replacement for Google Photos or iCloud Photos. It features automatic backup from smartphones, AI-based search (including face detection and text description search), album creation, timeline, and public sharing links — all running on your own server.
Why Choose Immich?
- Full control over your data. Photos and videos are stored on your own storage, not on third-party servers.
- No artificial quota limits. Storage capacity is only limited by the hard disk installed on your server.
- Local AI features. Face search and semantic search run on your own server via the
immich-machine-learningmodule, without sending data to third-party cloud services. - Free and open source. No license fees, and the source code is publicly auditable on GitHub.
- Standardised installation via Docker Compose. All services (server, database, cache, machine learning) are packaged into a single stack that is easy to run and update.
Immich vs Google Photos
Before deciding to switch, it is worth comparing these two options directly in terms of privacy, cost, and data control.
| Aspect | Immich (Self-Hosted) | Google Photos |
|---|---|---|
| Data privacy | Data stays on your own storage, not scanned for ads | Data stored on Google servers, subject to Google's privacy policy |
| Cost | Free (software), only real costs are hardware and electricity | Limited free tier, then monthly Google One subscription |
| Capacity | As large as the disk you install | Limited by subscription plan |
| Data control | Full, including backup and migration | Limited to features provided by Google |
| Quality compression | None, photos stored at original resolution | Storage saver may compress photos |
| Maintenance requirements | Self-managed (updates, backups, server security) | Fully managed by Google |
The main trade-off is clear: Immich offers privacy and full control, but demands technical responsibility to maintain your own server. Google Photos is more practical because all infrastructure is handled automatically, with the consequence that your data is not under your direct control.
Preparation & System Prerequisites
Hardware Specifications
The official Immich documentation lists the following minimum hardware requirements:
- CPU: minimum 2 cores, recommended 4 cores (amd64 or arm64 architecture). For amd64, version 3 and above require x86-64-v2 microarchitecture support, which is already met by almost all CPUs produced since 2012.
- RAM: minimum 6 GB, recommended 8 GB. Machine learning features can be disabled if the server only has 4 GB of RAM.
- Storage: it is recommended to use a Unix-compatible filesystem such as EXT4 or ZFS that supports user/group ownership. Allocate an additional 10-20% of the library size for thumbnails and transcoded videos.
- Database storage: specifically for PostgreSQL, a local SSD is mandatory, not a network share (NFS/SMB), because database I/O performance is very sensitive to latency.
Practical Recommendation: For home use with 1-3 users, a mini PC or NAS with a 4-core CPU and 8 GB of RAM is generally sufficient, including running face and semantic search features simultaneously.
Get €25 Free Credit UpCloud
Claim €25 BonusSoftware Requirements
- Operating system: 64-bit Linux is recommended (Ubuntu, Debian, and similar). Windows can run Immich via Docker Desktop or WSL 2, and macOS via Docker Desktop.
- Docker Engine: version 25 or later, including the Docker Compose plugin. The command used is
docker compose(two words, without a hyphen), not the olddocker-composewhich is no longer supported. - Terminal access: SSH or direct terminal access to the server to run installation commands.
If Docker is not yet installed, install Docker Engine and the Compose plugin first:
curl -fsSL https://get.docker.com | sudo shAfter the above command finishes, log out and log back in so that the docker group changes take effect, then check the installation with docker compose version.
Network Access
Immich runs as a web service on port 2283, so two things need to be prepared on the network side:
- Static local IP. Set the server's IP address to static (via router configuration or a static IP in the OS) so that the server address does not change every time the device reboots or reconnects to the network.
- Domain and reverse proxy (optional). If you want to access Immich from outside your home network, set up a reverse proxy such as Nginx Proxy Manager, Caddy, or Traefik, complete with an HTTPS certificate. Do not expose port 2283 directly to the internet without a proxy and HTTPS, as this poses security risks.
Installation Steps
1. Create a Working Directory
Create a dedicated folder to store Immich configuration files, separate from other directories on the server.
mkdir immich
cd immich
2. Download Configuration Files
Fetch the official docker-compose.yml and .env files directly from the Immich GitHub repository using wget:
wget -O docker-compose.yml https://github.com/immich-app/immich/releases/latest/download/docker-compose.yml
wget -O .env https://github.com/immich-app/immich/releases/latest/download/example.env
The downloaded docker-compose.yml defines four main services: immich-server (backend and web UI), immich-machine-learning (AI engine for face and semantic search), redis (cache and job queue), and database (PostgreSQL with vector search extension). Its content looks roughly like this:
name: immich

services:
  immich-server:
    container_name: immich_server
    image: ghcr.io/immich-app/immich-server:${IMMICH_VERSION:-release}
    volumes:
      - ${UPLOAD_LOCATION}:/data
      - /etc/localtime:/etc/localtime:ro
    env_file:
      - .env
    ports:
      - '2283:2283'
    depends_on:
      - redis
      - database
    restart: always
    healthcheck:
      disable: false

  immich-machine-learning:
    container_name: immich_machine_learning
    image: ghcr.io/immich-app/immich-machine-learning:${IMMICH_VERSION:-release}
    volumes:
      - model-cache:/cache
    env_file:
      - .env
    restart: always
    healthcheck:
      disable: false

  redis:
    container_name: immich_redis
    image: docker.io/valkey/valkey:9
    healthcheck:
      test: redis-cli ping || exit 1
    restart: always

  database:
    container_name: immich_postgres
    image: ghcr.io/immich-app/postgres:14-vectorchord0.4.3-pgvectors0.2.0
    environment:
      POSTGRES_PASSWORD: ${DB_PASSWORD}
      POSTGRES_USER: ${DB_USERNAME}
      POSTGRES_DB: ${DB_DATABASE_NAME}
      POSTGRES_INITDB_ARGS: '--data-checksums'
    volumes:
      - ${DB_DATA_LOCATION}:/var/lib/postgresql/data
    shm_size: 128mb
    restart: always
    healthcheck:
      disable: false

volumes:
  model-cache:
This file does not need to be edited manually unless you have specific needs, because all variable values are taken from the .env file in the next step.
3. Configure the .env File
Open the .env file with your preferred text editor, e.g., nano .env, and adjust the following important variables.
Set the photo storage location (UPLOAD_LOCATION)
This variable determines the folder on the server where all original photo and video files are stored. Change the default path if you want to store data on a specific disk or mount point, for example, an external hard disk mounted at /mnt/photos:
UPLOAD_LOCATION=/mnt/photos/immich-library
DB_DATA_LOCATION=./postgres
Change the database secret key
The default password DB_PASSWORD=postgres must be changed to a strong random password before the containers are first started. Use only alphanumeric characters (A-Za-z0-9) without symbols or spaces to avoid environment variable parsing errors.
DB_PASSWORD=g7Xk29PqvL8mZaR4Important: The database password can only be safely changed before the database container is started for the first time. If the container has already been started with the old password, simply changing the
DB_PASSWORDvariable is not enough, because the password data is already stored inside the PostgreSQL volume.
TZ=Asia/JakartaThe correct timezone ensures that photo timestamps, background job schedules, and server logs match your local time.
4. Run the Containers
After all variables in .env have been adjusted, start the entire Immich stack with the following command from within the immich-app folder:
sudo docker compose up -d
This command will download the immich-server, immich-machine-learning, redis (Valkey), and database (PostgreSQL) images from the registry, and run all of them in the background. The download process may take several minutes depending on internet speed, especially for the machine learning image which is quite large.
Monitor the startup process by viewing logs in real time:
sudo docker compose logs -fThe server is ready to access when the immich_server log shows that the application is listening on port 2283, and all containers show healthy when checked with sudo docker compose ps.
Initial Configuration via Web UI
Access the Dashboard
Open a browser on any computer that is on the same network as the server, and go to:
http://<Server-IP>:2283Replace <Server-IP> with the server's local IP address, e.g., http://192.168.1.10:2283.
Create an Admin Account
The first user who registers on this page automatically becomes the server administrator. Click the Getting Started button, then fill in the email and password for the admin account. Save these credentials in a safe place, because the admin account has full access to manage other users, storage templates, and server configuration.
Basic Settings
After the first login, some settings worth checking from the Administration menu:
- Theme and language: change via Account Settings according to each user's preference.
- Machine learning (AI): face and semantic search features are usually already active by default via the
immich-machine-learningcontainer. Status and detailed settings can be checked at Administration > Settings > Machine Learning. - Storage template: set the automatic folder naming pattern for uploaded files; the default follows the pattern
Year/Year-Month-Date/FileName. This setting is at Administration > Settings > Storage Template. - User management: add family members or friends via Administration > Users so they can have separate libraries on the same server.
Connecting the Mobile App (Android / iOS)
Download the App
Immich provides official apps for both major mobile platforms:
- Android via the Google Play Store, search for "Immich"
- iOS via the Apple App Store, search for "Immich"
Log In to the Server
When opening the app for the first time, enter the complete server URL including the port in the endpoint field, e.g., http://192.168.1.10:2283 for local network access, or a public domain if you have already set up a reverse proxy for external access. Then log in using the email and password of the account created in the web UI.
Set Up Automatic Backup
After successful login, go to the backup menu in the app, then select the albums on your phone that you want to back up, for example the Camera or Screenshots album. Enable the automatic backup option so that new photos are uploaded to the server as soon as the device connects to a network, similar to Google Photos behaviour.
Tip: Enable the "upload only via WiFi" option in backup settings if your mobile data quota is limited, so that uploading large photos does not consume your data when outside the house.
Additional Tips & Maintenance
How to Update Immich
Immich releases new versions quite frequently. To update to the latest version, run the following three commands from within the immich-app folder:
sudo docker compose pull
sudo docker compose up -d
sudo docker image prune -f
The docker compose pull command pulls the latest images according to the tag set in IMMICH_VERSION in the .env file, docker compose up -d restarts the containers with the new images, and docker image prune -f cleans up old unused images. If you want to lock to a specific version so that it does not auto-update on pull, change the IMMICH_VERSION value in .env to a specific tag, e.g., IMMICH_VERSION=v3.1.0.
Always read the release notes on the GitHub Releases page before updating to a new major version, because sometimes there are breaking changes or additional migration steps that need to be performed manually.
Data Backup Strategy
Immich data is spread across two locations, both of which are critical and must be backed up:
- The
UPLOAD_LOCATIONfolder: contains original photo and video files along with thumbnails. - The PostgreSQL database in the
DB_DATA_LOCATIONfolder: stores metadata, albums, users, and relationships between data.
The safest way to back up the database is via pg_dump from inside the container, rather than copying the raw PostgreSQL data folder while it is running:
sudo docker exec -t immich_postgres pg_dumpall -c -U postgres > immich_backup_$(date +%Y%m%d).sqlApply a 3-2-1 backup strategy: keep at least three copies of your data, on two different storage media, and one copy stored in a separate (offsite) location, for example encrypted cloud storage or an external hard disk kept elsewhere. This scheme protects data from hardware failure, human error, and physical disasters at the primary server location.
Troubleshooting Common Issues
Database container fails to start after changing DB_PASSWORD
The PostgreSQL password is only read when the database volume is first created. If the volume already exists with the old password, you need to synchronise it via the SQL command ALTER USER inside the container, or if the data is not important, remove the database volume and let Immich recreate it with the new password.
Web page not accessible from other devices on the network
Check that the server's firewall (e.g., ufw) allows port 2283, and ensure that the server's IP is indeed static and on the same subnet as the accessing device.
Upload from mobile app is slow or frequently fails
This is usually caused by unstable WiFi connection to the server, or the server resources (RAM/CPU) running out while the immich-machine-learning container is processing many files at once. Check resource usage with sudo docker stats to confirm.
Face search or text search features do not work
Make sure the immich_machine_learning container is healthy via sudo docker compose ps. If the server has limited RAM (below 6 GB), this feature may fail because the AI model process runs out of memory.
Frequently Asked Questions
Is Immich safe for storing personal photos?
Immich is open source, so its source code is publicly auditable, and data is stored entirely on your own server. The level of security depends heavily on how the server is configured, e.g., using HTTPS via a reverse proxy and regularly updating server software.
Can I migrate from Google Photos to Immich?
Yes. Google Takeout provides an export of the entire Google Photos library in ZIP format, which can then be uploaded to Immich via the bulk upload feature in the web UI or the official Immich CLI.
How much does it cost to run Immich yourself?
The software is free. Real costs come from hardware (mini PC, NAS, or second-hand server) and electricity to run the server 24/7, which is usually much cheaper than long-term cloud storage subscriptions.
Can Immich be accessed from outside the home?
Yes, by adding a reverse proxy and HTTPS certificate, then pointing a public domain to the server. Another safer option without opening ports to the internet is to use a private VPN such as Tailscale or WireGuard.
Conclusion
Installing Immich via Docker Compose is actually quite straightforward if you follow the steps in order: prepare a server that meets the minimum specifications, download docker-compose.yml and .env, adjust a few important variables such as storage location, database password, and timezone, then run a single command sudo docker compose up -d. The rest is just creating an admin account via the web UI and connecting the mobile app for automatic backup.
The trade-off of running your own photo server is the maintenance responsibility, especially routine updates and consistent data backups. In return, you gain full control over your family photo privacy and freedom from paid cloud storage quotas — all yours. For those already familiar with managing Docker at home, Immich is currently one of the most mature self-hosted alternatives to Google Photos.