MySQL is one of the most popular relational database management systems (RDBMS) in the world, widely used for web applications, business systems, and large-scale data projects. One of MySQL’s main strengths is its high performance, stability, and broad community support.
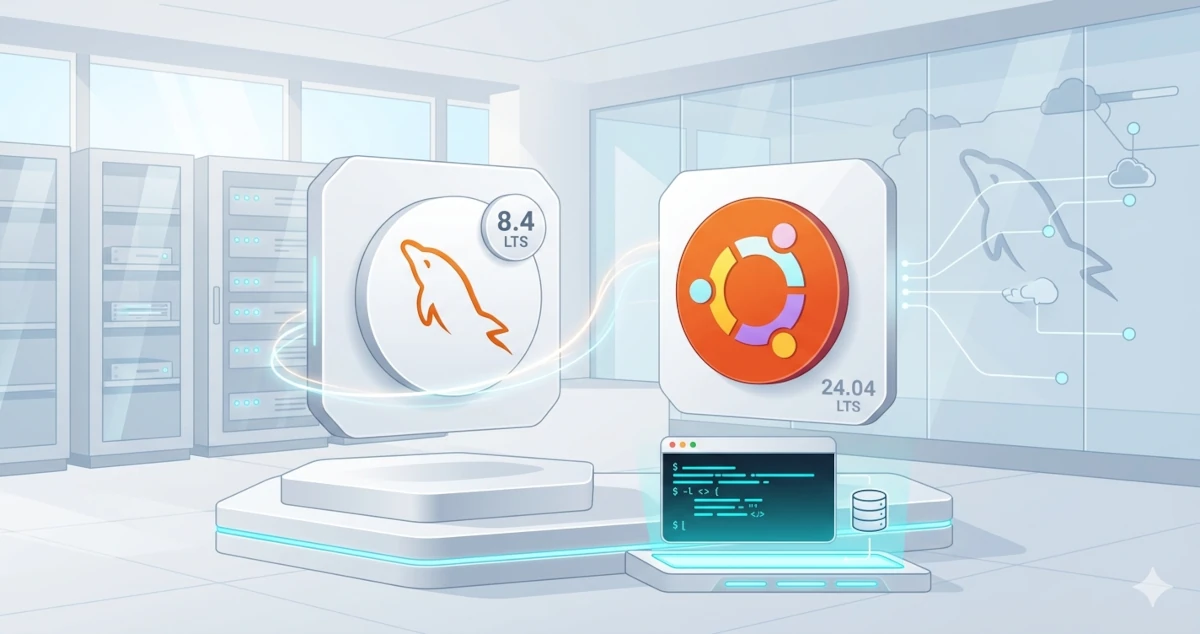
On April 10, 2024, Oracle released MySQL 8.4 Long Term Support (LTS) — a long-term version designed to provide stability and sustained support. MySQL 8.4 LTS will receive Premier Support until April 30, 2029, and Extended Support until April 30, 2032. This means users can rely on this version for production environments over the long term without worrying about compatibility issues or the end of security updates.
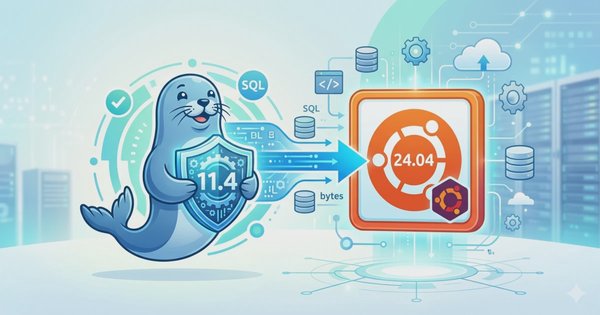
This article will guide you step by step through installing MySQL 8.4 LTS on Ubuntu 24.04, from the basic installation and security configuration to creating a new database and user.
System Preparation
Make sure all system packages are updated before installation:
sudo apt update && sudo apt upgrade -yYou can also install supporting packages such as wget and gnupg if they are not already available:
sudo apt install wget gnupg -yAdding the MySQL 8.4 Repository
MySQL 8.4 is not available in Ubuntu 24.04’s default repository, so we need to add the official Oracle repository.
Download and add the MySQL repository package:
wget https://dev.mysql.com/get/mysql-apt-config_0.8.39-1_all.deb
sudo dpkg -i mysql-apt-config_0.8.39-1_all.deb
When the configuration window appears, select mysql-8.4-lts as the default version, then press OK.
After that, update the package list:
sudo apt updateInstall MySQL
Once the repository has been added, run the following command to install the MySQL Server:
sudo apt install mysql-server -yYou will be prompted to set the root user password. Enter the password you prefer.
During the installation process, the system will automatically configure MySQL and start the mysqld service.
Starting and Checking MySQL Status
Ensure that the MySQL service is running properly:
sudo systemctl status mysqlIf it is not running, start it manually:
sudo systemctl start mysqlEnable MySQL to start automatically on boot:
sudo systemctl enable mysqlCheck the installed MySQL version:
mysql --versionExample output:
mysql Ver 8.4.5 for Linux on x86_64 (MySQL Community Server - GPL)Securing the MySQL Installation
MySQL provides a built-in script to enhance the database’s security. Run the following command:
sudo mysql_secure_installationThe script will ask several questions, such as:
- Validate Password Component: Choose Y to enable password strength validation.
- Set the MySQL root password: Enter a strong password.
- Remove anonymous users: Choose Y to delete anonymous accounts.
- Disallow root login remotely: Choose Y to restrict root access to localhost.
- Remove the test database: Choose Y to delete the test database.
- Reload privilege tables: Choose Y to apply all changes.
Creating a New Database and User
Creating a New Database and User
sudo mysql -u root -pThen create a new database, for example named project_db:
CREATE DATABASE project_db;Create a new user and grant access to that database. For example, user bitnesia with password SecretPassword123:
CREATE USER 'bitnesia'@'localhost' IDENTIFIED BY 'SecretPassword123';
GRANT ALL PRIVILEGES ON project_db.* TO 'bitnesia'@'localhost';
FLUSH PRIVILEGES;
exit
To test the connection:
mysql -u bitnesia -pCommon Troubleshooting
Here are some common issues that may occur after installing MySQL, along with their solutions:
MySQL Service Fails to Start
Problem:
The MySQL service fails to run.
Solution:
Check the service status:
sudo systemctl status mysqlIf an error occurs, try restarting it:
sudo systemctl restart mysqlCheck the error log:
sudo journalctl -xeu mysqlCannot Log In as Root
Problem:
Error message: Access denied for user 'root'@'localhost'.
Solution:
Use safe mode to reset the root password:
sudo systemctl stop mysql
sudo mysqld_safe --skip-grant-tables &
Then log in without a password:
sudo mysql -u rootChange the password:
ALTER USER 'root'@'localhost' IDENTIFIED BY 'NewPassword!';
FLUSH PRIVILEGES;
exit
Restart the service:
sudo systemctl restart mysqlRemote Access Not Working
Problem:
The user cannot access MySQL from another network.
Solution:
Edit the MySQL configuration file:
sudo nano /etc/mysql/mysql.conf.d/mysqld.cnfAdd or modify the following line under the [mysqld] block:
bind-address = 0.0.0.0Save the file and restart the service:
sudo systemctl restart mysqlAlso, make sure the user has remote privileges:
CREATE USER 'bitnesia'@'%' IDENTIFIED BY 'SecretPassword123';
GRANT ALL PRIVILEGES ON project_db.* TO 'bitnesia'@'%';
FLUSH PRIVILEGES;
Port 3306 Is Blocked
Problem:
Remote access fails because the firewall blocks the MySQL port.
Solution:
Open the MySQL port in the firewall:
sudo ufw allow 3306/tcp
sudo ufw reload
Conclusion
By following the steps above, you have successfully installed MySQL 8.4 LTS on Ubuntu 24.04, secured the basic configuration, and created a new database and user. The troubleshooting section should help you resolve common issues encountered during installation or configuration. This LTS version provides long-term stability and security updates until 2032, making it an ideal choice for production servers that require reliability and extended support.