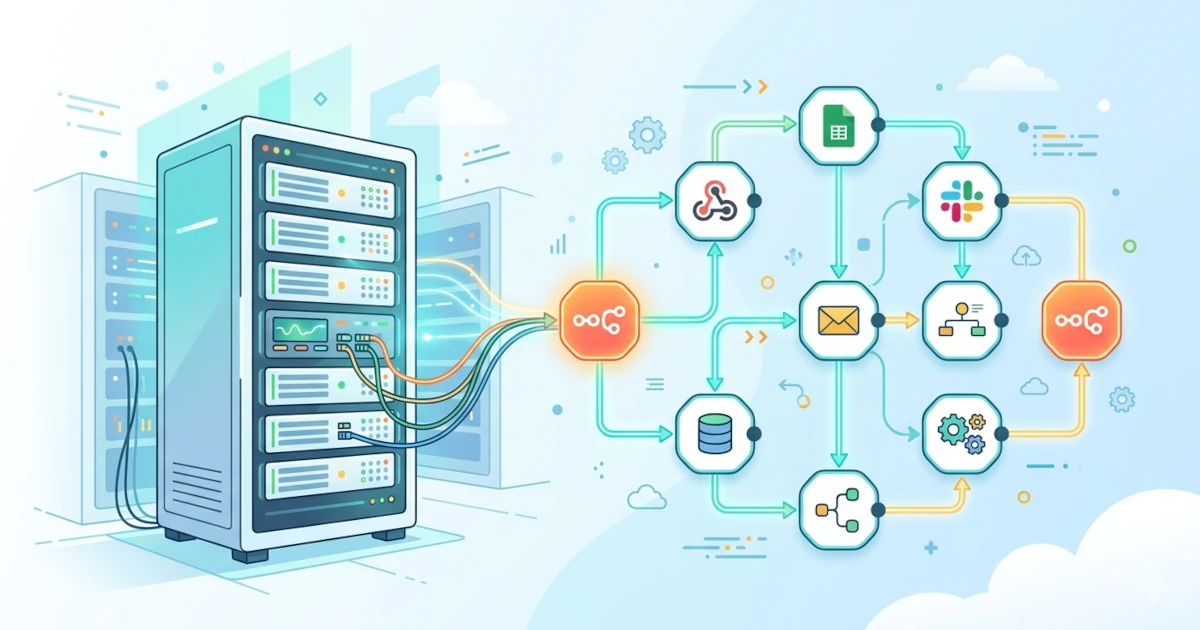
Workflow automation has become a crucial element in business operations to improve efficiency and reduce manual workload. By connecting various applications, moving data, and scheduling tasks automatically, teams can focus on high-value strategic work.
n8n emerges as a unique automation solution with a source-available and fair-code approach. This platform provides full flexibility for users to run it on their own infrastructure (self-hosting). This ensures data sovereignty, security, and unlimited customization, capabilities often lacking in closed cloud-based platforms.
This article will guide you step by step to install n8n on an Ubuntu VPS using Docker, complete with automatic SSL configuration using Traefik.
What is n8n?
According to its official website, n8n is a workflow automation platform that allows you to connect anything with everything. With its node-based visual interface, n8n makes it easy for both technical and non-technical users to design complex process logic without having to write complicated code from scratch.
Key Features of n8n
n8n offers a set of features designed for scalability and flexibility:
- Visual Workflow Editor: An intuitive drag-and-drop interface to design workflows, where each step is represented as a node.
- Native Integrations: Supports more than 700+ integrations with popular services (such as Google Workspace, Slack, PostgreSQL, etc.) out of the box.
- Custom Code: The flexibility to write your own JavaScript or Python code within workflows for advanced data manipulation.
- Triggers & Webhooks: Execute workflows based on time (cron), events from other applications (webhooks), or API calls.
- AI-ready: Deep integration capabilities with LLMs (Large Language Models) via LangChain to build AI agents.
- User Management (Community Edition): The self-hosted version allows user management, enabling team collaboration within a single instance.
n8n Community Edition
The free and open-source version that can be self-hosted on a VPS. The Community Edition already includes all core automation features, securely stores credentials on your own server, and is suitable for developers, freelancers, and small organizations building internal automation.
System Requirements
To run n8n in a production (self-hosted) environment, the following specifications are recommended:
Hardware:
- CPU: Minimum 1 vCPU (2 vCPU or more recommended for smooth UI performance).
- RAM: Minimum 1 GB (2GB – 4GB recommended to avoid Out of Memory when processing large data).
- Disk: Minimum 20 GB.
Software:
- Operating System: Linux (Ubuntu LTS is highly recommended).
- Container Engine: Docker and Docker Compose.
- Root or sudo access
Server Preparation
Before installation, ensure the operating system is updated and Docker is installed.
Update the system:
sudo apt update && sudo apt upgrade -y Install Docker & Docker Compose. Use Docker’s official installation script to ensure the latest version:
curl -fsSL https://get.docker.com -o get-docker.sh
sudo sh get-docker.sh
Method 1: Install n8n Using Docker (Docker CLI)
This method is ideal for quick trials or testing before deploying to production. The command below includes timezone configuration and task runner features.
Create a Docker Volume: This step is important to ensure your workflow data and credentials are stored persistently and not lost when the container stops.
sudo docker volume create n8n_data Run the n8n Container: Copy and execute the following command.
docker run -d \
  --name n8n \
  --restart unless-stopped \
  -p 127.0.0.1:5678:5678 \
  -e GENERIC_TIMEZONE="Asia/Jakarta" \
  -e TZ="Asia/Jakarta" \
  -e N8N_ENFORCE_SETTINGS_FILE_PERMISSIONS=true \
  -e N8N_RUNNERS_ENABLED=true \
  -e WEBHOOK_URL="https://n8n.yourdomain.com/" \
  -v n8n_data:/home/node/.n8n \
  docker.n8n.io/n8nio/n8n
Flag Explanation:
-d: Detached mode, runs the container in the background.--restart unless-stopped: Automatically restarts n8n if the server reboots or crashes.-e WEBHOOK_URL: Very Important. Informs n8n of its public domain so the Webhook Trigger feature works correctly behind a reverse proxy.
Verify that the n8n container is running:
sudo docker ps Example response:
CONTAINER ID   IMAGE                     COMMAND                  CREATED         STATUS         PORTS                                         NAMES
21126f06df8e   docker.n8n.io/n8nio/n8n   "tini -- /docker-ent..."   6 minutes ago   Up 6 minutes   0.0.0.0:5678->5678/tcp, [::]:5678->5678/tcp   n8n
Nginx Reverse Proxy Configuration
Since n8n runs on localhost:5678, we need Nginx to forward traffic from the internet to that port.
Install Nginx and Let’s Encrypt certbot:
sudo apt install nginx certbot python3-certbot-nginx -y Create a virtual host configuration file:
sudo nano /etc/nginx/sites-available/n8n.yourdomain.com.conf Copy the configuration below. Make sure to replace server_name with your own domain. This configuration already includes WebSocket settings required for the n8n UI.
server {
    listen 80;
    server_name n8n.yourdomain.com;

    location / {
        proxy_pass http://127.0.0.1:5678;
        proxy_set_header Host $host;
        proxy_set_header X-Real-IP $remote_addr;
        proxy_set_header X-Forwarded-For $proxy_add_x_forwarded_for;
        proxy_set_header X-Forwarded-Proto $scheme;
        proxy_http_version 1.1;
        proxy_set_header Upgrade $http_upgrade;
        proxy_set_header Connection "upgrade";
        proxy_buffering off;
        proxy_read_timeout 300s;
    }
}
Enable the configuration and restart Nginx:
sudo ln -s /etc/nginx/sites-available/n8n.yourdomain.com.conf /etc/nginx/sites-enabled/
sudo systemctl restart nginx
The final step is securing the connection with HTTPS using a free certificate from Let’s Encrypt:
sudo certbot --non-interactive \
-m [email protected] \
--agree-tos \
--no-eff-email \
--nginx -d n8n.yourdomain.com \
--redirect
Certbot will automatically modify your Nginx configuration to redirect HTTP to HTTPS.
Now open your browser and access https://n8n.yourdomain.com. You are ready to create an Owner account and start using n8n.
Method 2: Install n8n Using Docker Compose
For long-term (production) use, we will use Docker Compose. In this setup, we include Traefik as a reverse proxy. Traefik will automatically handle SSL certificates (HTTPS) via Let’s Encrypt and route traffic to n8n.
Create a project directory:
mkdir n8n-docker
cd n8n-docker
Create a folder for local files: This folder will be mapped into the n8n container so you can read/write local files.
mkdir local-files Create an environment configuration file (.env): We need to create a .env file to store domain and email variables so the Docker Compose configuration is cleaner and more secure.
nano .env Fill it with your data (adjust the values):
DOMAIN_NAME=yourdomain.com
SUBDOMAIN=n8n
[email protected]
GENERIC_TIMEZONE=Asia/Jakarta
Create the docker-compose.yml file:
nano docker-compose.yml Insert the following configuration:
services:
  traefik:
    image: "traefik"
    restart: always
    command:
      - "--api.insecure=true"
      - "--providers.docker=true"
      - "--providers.docker.exposedbydefault=false"
      - "--entrypoints.web.address=:80"
      - "--entrypoints.web.http.redirections.entryPoint.to=websecure"
      - "--entrypoints.web.http.redirections.entrypoint.scheme=https"
      - "--entrypoints.websecure.address=:443"
      - "--certificatesresolvers.mytlschallenge.acme.tlschallenge=true"
      - "--certificatesresolvers.mytlschallenge.acme.email=${SSL_EMAIL}"
      - "--certificatesresolvers.mytlschallenge.acme.storage=/letsencrypt/acme.json"
    ports:
      - "80:80"
      - "443:443"
    volumes:
      - traefik_data:/letsencrypt
      - /var/run/docker.sock:/var/run/docker.sock:ro

  n8n:
    image: docker.n8n.io/n8nio/n8n
    restart: always
    ports:
      - "127.0.0.1:5678:5678"
    labels:
      - traefik.enable=true
      - traefik.http.routers.n8n.rule=Host(`${SUBDOMAIN}.${DOMAIN_NAME}`)
      - traefik.http.routers.n8n.tls=true
      - traefik.http.routers.n8n.entrypoints=web,websecure
      - traefik.http.routers.n8n.tls.certresolver=mytlschallenge
      - traefik.http.middlewares.n8n.headers.SSLRedirect=true
      - traefik.http.middlewares.n8n.headers.STSSeconds=315360000
      - traefik.http.middlewares.n8n.headers.browserXSSFilter=true
      - traefik.http.middlewares.n8n.headers.contentTypeNosniff=true
      - traefik.http.middlewares.n8n.headers.forceSTSHeader=true
      - traefik.http.middlewares.n8n.headers.SSLHost=${DOMAIN_NAME}
      - traefik.http.middlewares.n8n.headers.STSIncludeSubdomains=true
      - traefik.http.middlewares.n8n.headers.STSPreload=true
      - traefik.http.routers.n8n.middlewares=n8n@docker
    environment:
      - N8N_ENFORCE_SETTINGS_FILE_PERMISSIONS=true
      - N8N_HOST=${SUBDOMAIN}.${DOMAIN_NAME}
      - N8N_PORT=5678
      - N8N_PROTOCOL=https
      - N8N_RUNNERS_ENABLED=true
      - NODE_ENV=production
      - WEBHOOK_URL=https://${SUBDOMAIN}.${DOMAIN_NAME}/
      - GENERIC_TIMEZONE=${GENERIC_TIMEZONE}
      - TZ=${GENERIC_TIMEZONE}
    volumes:
      - n8n_data:/home/node/.n8n
      - ./local-files:/files

volumes:
  n8n_data:
  traefik_data:
Run n8n: This command will download images, create containers, and Traefik will automatically request an SSL certificate for your domain. Wait a moment (about 1–2 minutes) for n8n to finish booting and Traefik to complete SSL validation.
sudo docker compose up -d Verification: Check container status to ensure everything is running:
sudo docker compose ps Example response:
NAME                   IMAGE                     COMMAND                  SERVICE   CREATED          STATUS          PORTS
n8n-docker-n8n-1       docker.n8n.io/n8nio/n8n   "tini -- /docker-ent..."   n8n       29 seconds ago   Up 28 seconds   127.0.0.1:5678->5678/tcp
n8n-docker-traefik-1   traefik                   "/entrypoint.sh --ap..."   traefik   29 seconds ago   Up 28 seconds   0.0.0.0:80->80/tcp, [::]:80->80/tcp, 0.0.0.0:443->443/tcp, [::]:443->443/tcp
The installation of n8n using Docker Compose is now complete and accessible at https://n8n.yourdomain.com.
Conclusion
Congratulations! You have successfully built an n8n automation platform on your own server. With the configuration above, your n8n instance is now securely accessible via https://n8n.yourdomain.com. The next step is to open your browser, access the domain, and create an Owner account. You now have full control over your company’s automation data and infrastructure, ready to build advanced workflows without limitations. Enjoy building with n8n.