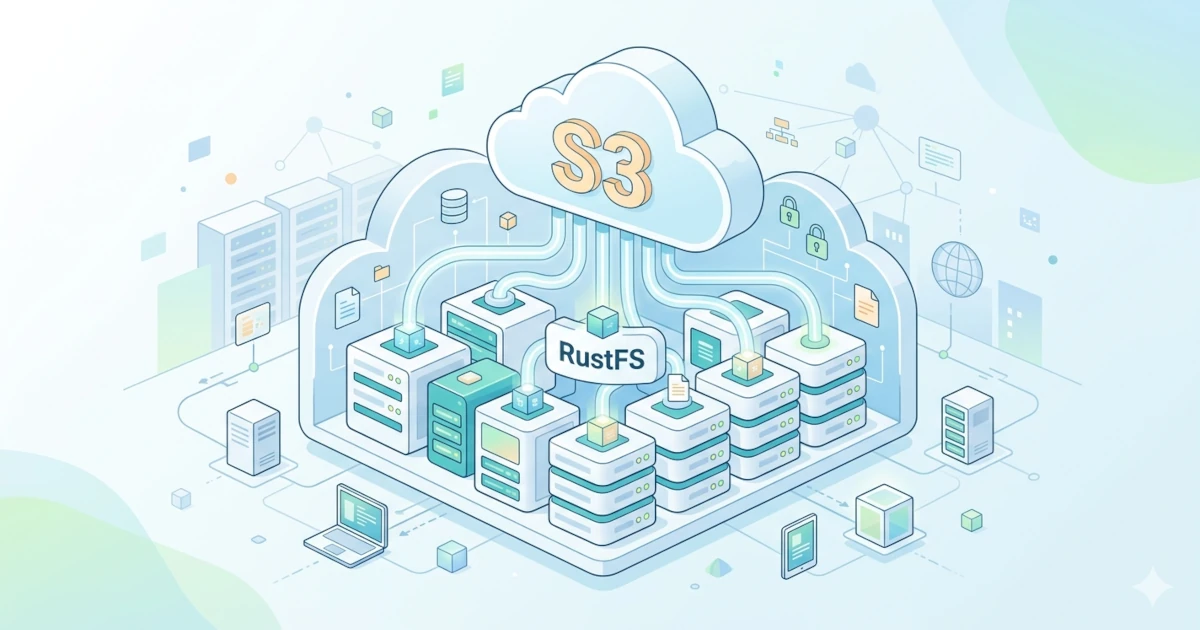
Object storage is a data storage system that manages information as independent objects, rather than as files in a folder hierarchy or blocks in traditional storage. Each object contains the data itself, descriptive metadata, and a unique identifier (key) that enables direct access.
Object storage is highly suitable for modern use cases such as:
- Storing unstructured data (images, videos, logs, backups)
- Big data and data lakes
- Cloud-native applications
- Disaster recovery and archiving
Its main advantages: horizontal scalability, high durability, and access via standard APIs such as S3.
Introduction to RustFS
RustFS is a high-performance distributed object storage system developed using the Rust programming language. RustFS combines simplicity with efficiency, offering a free and open-source solution suitable for private cloud deployments.
Key facts about RustFS:
- 100% S3 Compatible: Seamless integration with big data ecosystems, data lakes, backup solutions, and media processing workflows.
- Built with Rust: Leverages memory safety and zero-cost abstractions to deliver C/C++-level performance with modern safety guarantees.
- Apache 2.0 License: Commercial-friendly, safe for business integration without restrictive licensing.
- Cross-Platform: Runs natively on Linux, Windows, macOS, Docker, and edge gateways.
- Cloud-Native: Optimized for containerized environments (Docker, Kubernetes).
RustFS is developed by a global community of engineers and is transitioning from commercial roots to a fully open-source model, with a mission to democratize high-performance storage.
RustFS Features
Below are the main features of RustFS that make it worth considering:
| Feature | Description |
|---|---|
| S3 Compatible | Fully compatible with the S3 protocol, enabling easy integration with tools such as MinIO Client, AWS SDK, and third-party applications. |
| Distributed Architecture | Horizontal scalability to meet diverse storage requirements. |
| Enterprise-Ready | Apache v2.0 license, safe and flexible for commercial integration. |
| High Performance | Built with Rust, delivering near C/C++ performance with modern memory safety. |
| Secure by Design | Reduces common security vulnerabilities thanks to Rust's memory safety. |
| Cross-Platform | Runs on Windows, macOS, Linux, and Docker. |
| Extensible | Supports plugin architecture for adapting to specific business needs. |
| Customizable | Open-source nature enables deep customization and plugin development. |
| Cloud-Native | Optimized for deployment via Docker/Kubernetes. |
Installation Modes
Before installation, understand the three RustFS deployment modes:
- Single Node Single Disk (SNSD)
- 1 server + 1 data disk
- Suitable for: testing, development, or non-critical workloads
- ⚠️ No data redundancy; manual backups are strongly recommended
- Single Node Multiple Disk (SNMD)
- 1 server + multiple disks
- Suitable for: small production with basic redundancy requirements
- Data is distributed across disks using Erasure Coding
- Multiple Node Multiple Disk (MNMD)
- Multiple servers + multiple disks per node
- Suitable for: enterprise production requiring high availability, scalability, and maximum data protection
- Supports distributed Erasure Coding and auto-healing
💡For this tutorial, we will focus on SNSD mode as the simplest starting point.
Hardware Requirements
Test Environment
| Component | Minimum Specification |
|---|---|
| CPU | 1 core+ |
| Architecture | x86, ARM |
| Memory | 1 GB+ |
| Storage | HDD or SSD |
| Network | Local / Offline |
| OS | Windows, Linux, macOS |
| Nodes | 1 |
Production Environment
| Component | Recommended Specification |
|---|---|
| CPU | 2 x 12 cores+ |
| Architecture | x86, ARM, RISC-V, etc. |
| Memory | 64 GB+ |
| Storage | SSD/NVMe recommended |
| Network | 10 Gbps+ |
| OS | Linux (recommended) |
| Load Balancing | Recommended |
| Nodes | 4+ |
💡 For optimal performance, use NVMe SSDs and ensure time synchronization (NTP) is enabled on all nodes.
Get $25 DigitalOcean Credit
Claim $25 CreditSoftware Requirements
Operating System
- Linux kernel 4.x+ (5.x/6.x recommended for better I/O and network performance)
- Tested distros: Ubuntu 22.04, RHEL 8.x
Binary & Dependencies
- wget or curl to download binaries
- unzip for extracting installation packages
- systemd for service management (Linux)
File System & Disk
- Use XFS for all storage disks. RustFS is developed and tested with XFS for optimal stability and performance.
- Format disk with recommended options:
sudo mkfs.xfs -i size=512 -n ftype=1 -L RUSTFS0 /dev/sdb- Mount with performance options:
LABEL=RUSTFS0 /data/rustfs0 xfs defaults,noatime,nodiratime 0 0- ⚠️ Do not use NFS as a RustFS backend storage due to phantom writes and lock contention issues.
User & Security
- Create a dedicated user without login privileges to run the RustFS service:
sudo groupadd -r rustfs-user
sudo useradd -M -r -g rustfs-user rustfs-user
sudo chown rustfs-user:rustfs-user /data/rustfs*- Configure firewall to open ports 9000 (API) and 9001 (Console):
# UFW
sudo ufw allow 9000/tcp
sudo ufw allow 9001/tcp
sudo ufw enable

# FirewallD
sudo firewall-cmd --zone=public --add-port=9000/tcp --permanent
sudo firewall-cmd --zone=public --add-port=9001/tcp --permanent
sudo firewall-cmd --reload
Install RustFS Single Node Single Disk
1. Download & Install Binary
wget https://dl.rustfs.com/artifacts/rustfs/release/rustfs-linux-x86_64-musl-latest.zip
unzip rustfs-linux-x86_64-musl-latest.zip
chmod +x rustfs
sudo mv rustfs /usr/local/bin/
2. Create Storage & Log Directories
sudo mkdir -p /data/rustfs0 /var/logs/rustfs /opt/tls
sudo chmod -R 750 /data/rustfs* /var/logs/rustfs
3. Configure Environment Variables
Create file /etc/default/rustfs:
RUSTFS_ACCESS_KEY=rustfsadmin
RUSTFS_SECRET_KEY=rustfsadmin
RUSTFS_VOLUMES="/data/rustfs0"
RUSTFS_ADDRESS=":9000"
RUSTFS_CONSOLE_ENABLE=true
RUST_LOG=error
RUSTFS_OBS_LOG_DIRECTORY="/var/logs/rustfs/"
🔐 Replace RUSTFS_ACCESS_KEY and RUSTFS_SECRET_KEY with secure keys for production!
Generate a 32-character key:
openssl rand -hex 164. Configure Systemd Service
Create file /etc/systemd/system/rustfs.service:
[Unit]
Description=RustFS Object Storage Server
Documentation=https://rustfs.com/docs/
After=network-online.target
Wants=network-online.target

[Service]
Type=notify
NotifyAccess=main
User=rustfs-user
Group=rustfs-user
WorkingDirectory=/usr/local
EnvironmentFile=-/etc/default/rustfs
ExecStart=/usr/local/bin/rustfs $RUSTFS_VOLUMES

LimitNOFILE=1048576
LimitNPROC=32768
TasksMax=infinity

Restart=always
RestartSec=10s
OOMScoreAdjust=-1000
SendSIGKILL=no
TimeoutStartSec=30s
TimeoutStopSec=30s

NoNewPrivileges=true
ProtectHome=true
PrivateTmp=true
PrivateDevices=true
ProtectClock=true
ProtectKernelTunables=true
ProtectKernelModules=true
ProtectControlGroups=true
RestrictSUIDSGID=true
RestrictRealtime=true

StandardOutput=append:/var/logs/rustfs/rustfs.log
StandardError=append:/var/logs/rustfs/rustfs-err.log

[Install]
WantedBy=multi-user.target
5. Start & Verify Service
sudo systemctl daemon-reload
sudo systemctl enable --now rustfs
sudo systemctl status rustfs
Verify active ports:
sudo netstat -ntpl | grep 900Access RustFS Console via browser:
http://<IP_SERVER>:9001Login using the configured ACCESS_KEY and SECRET_KEY.
Nginx Reverse Proxy
For production, use Nginx as a reverse proxy for:
- Load balancing
- SSL/TLS termination
- URL routing (API vs Console)
Example configuration /etc/nginx/conf.d/rustfs.conf:
upstream rustfs {
   least_conn;
   server 127.0.0.1:9000;
}

upstream rustfs-console {
   least_conn;
   server 127.0.0.1:9001;
}

# S3 API Endpoint
server {
   listen 80;
   server_name YOUR_DOMAIN;

   ignore_invalid_headers off;
   client_max_body_size 0;
   proxy_buffering off;
   proxy_request_buffering off;

   location / {
      proxy_set_header Host $http_host;
      proxy_set_header X-Real-IP $remote_addr;
      proxy_set_header X-Forwarded-For $proxy_add_x_forwarded_for;
      proxy_set_header X-Forwarded-Proto $scheme;

      proxy_connect_timeout 300;
      proxy_http_version 1.1;
      proxy_set_header Connection "";
      chunked_transfer_encoding off;

      proxy_pass http://rustfs;
   }
}

# Console Web UI
server {
   listen 8080;
   server_name YOUR_DOMAIN;

   ignore_invalid_headers off;
   client_max_body_size 0;
   proxy_buffering off;
   proxy_request_buffering off;

   location / {
      proxy_set_header Host $http_host;
      proxy_set_header X-Real-IP $remote_addr;
      proxy_set_header X-Forwarded-For $proxy_add_x_forwarded_for;
      proxy_set_header X-Forwarded-Proto $scheme;

      proxy_connect_timeout 300;
      proxy_http_version 1.1;
      proxy_set_header Connection "";
      chunked_transfer_encoding off;

      proxy_pass http://rustfs-console;
   }
}
Enable configuration:
sudo nginx -t
sudo systemctl reload nginx
💡 For multi-node deployment, add servers to the upstream block and use external DNS/load balancers.
Bucket Creation
A bucket is a logical container for storing objects. Here’s how to create one:
Via RustFS Console (UI)
- Login to http://<IP>:9001
- Click Create Bucket in the top-right corner
- Enter a bucket name (must be globally unique) → click Create
Via MinIO Client (mc)
mc is a popular CLI tool for managing S3-compatible storage.
Install mc
wget https://dl.min.io/client/mc/release/linux-amd64/mc
chmod +x mc
sudo mv mc /usr/local/bin/
Configure RustFS Alias
mc alias set rustfs http://12.34.56.78:9000 rustfsadmin rustfsadminCreate a new bucket
mc mb rustfs/your-bucket-nameVia API (curl)
curl --location --request PUT 'http://12.34.56.78:9000/your-bucket-name' \
--header 'Authorization: AWS4-HMAC-SHA256 Credential=... (adjust accordingly)' \
--header 'X-Amz-Date: ...' \
--header 'X-Amz-Content-Sha256: e3b0c44298fc1c149afbf4c8996fb92427ae41e4649b934ca495991b7852b855'
Object Upload
Once the bucket is available, you can upload objects (files):
Via RustFS Console
- Select the target bucket
- Click Upload File/Folder
- Select file from local → Start Upload
Via MinIO Client (mc)
mc cp /path/to/file.txt rustfs/your-bucket-nameVia API (curl)
curl --location --request PUT 'http://12.34.56.78:9000/your-bucket-name/file.txt' \
--header 'Content-Type: text/plain' \
--header 'Authorization: AWS4-HMAC-SHA256 ...' \
--header 'X-Amz-Date: ...' \
--header 'X-Amz-Content-Sha256: ...' \
--data-binary '@/path/to/file.txt'
Conclusion
RustFS offers a modern object storage solution that is lightweight, secure, and fully compatible with the S3 ecosystem. With a Rust-based architecture, RustFS combines high performance and memory safety—a rare combination in the open-source storage landscape. For production deployment, consider the Multiple Node Multiple Disk mode with proper Erasure Coding configuration, monitoring, and a well-defined backup strategy. Always test failure scenarios and ensure your disaster recovery plan is ready.