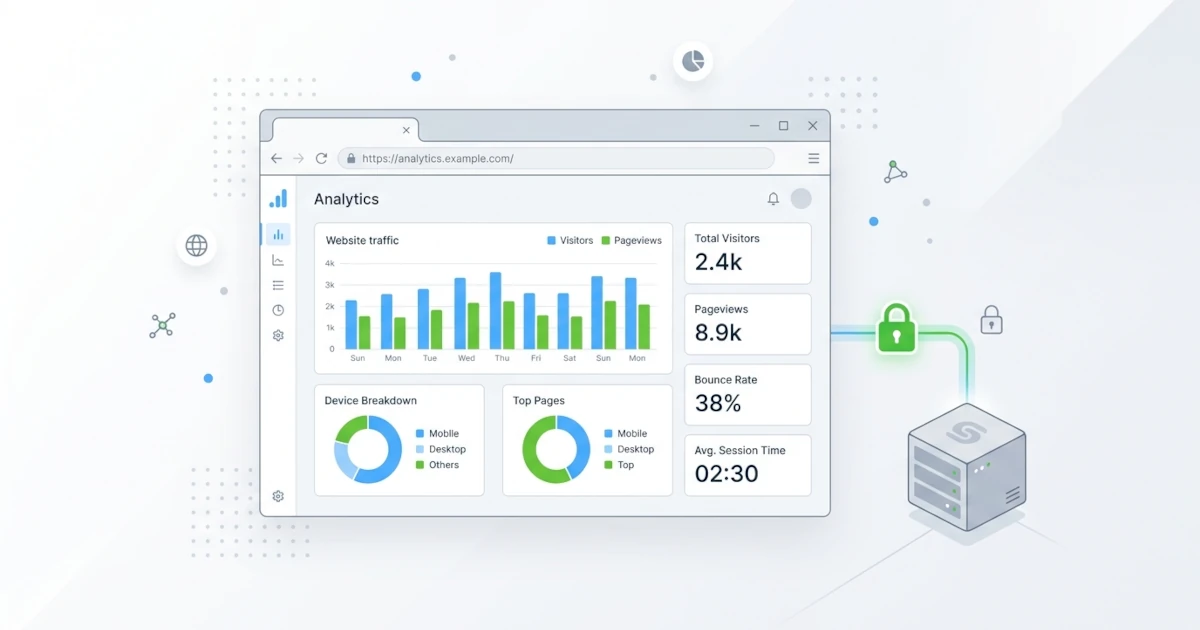
Monitoring website visitors is usually synonymous with Google Analytics because it is free and easy to use. However, over time, many website owners and system administrators have started to feel exhausted: navigation layouts are becoming increasingly complex, privacy regulations require displaying intrusive cookie consent banners, and there are growing concerns over visitor data being stored on third-party servers. This has sparked a search for simpler, safer alternatives. One of the best solutions is Umami Analytics, a traffic monitoring service that can be self-hosted on a private server, ensuring full ownership and control over visitor data.
What is Umami Analytics?
Umami is an open-source web analytics platform that can be self-hosted on a private server without sending visitor data to any third party. It was created to solve two common issues with Google Analytics: an overly cluttered dashboard and privacy concerns regarding traffic data processed on Google infrastructure.
Many developers and bloggers are transitioning from Google Analytics to alternatives like Umami for three key reasons: stricter privacy regulations such as GDPR, hosting costs that can be reduced to near zero through self-hosting, and the need for a focused dashboard that highlights essential metrics without unnecessary noise. Umami addresses all three through non-invasive tracking: aggregate traffic data is collected without tracking visitors across websites using third-party cookies. The installation footprint is lightweight, the tracking script is only about 2KB, and all data resides strictly on your own server.
Why Choose Umami Analytics?
Advantages Over Google Analytics
Four primary advantages make Umami a compelling alternative to Google Analytics.
- GDPR Compliant. Umami does not collect personally identifiable information from individual visitors, eliminating the need for intrusive cookie consent banners in most cases.
- Lightweight Tracking Script. At approximately 2KB, the script is significantly smaller than Google Analytics'
gtag.js, minimizing its impact on page load times. - Focused Dashboard. Displays only essential metrics such as visitor count, page views, referrers, and locations, without complex menu structures.
- Complete Data Ownership. Because it is self-hosted, all traffic data is stored in your own database rather than on third-party servers.
Ideal Use Cases
Umami is particularly suitable for the following scenarios.
- Personal blogs and portfolios that do not require enterprise features like complex funnel analysis.
- Small to medium-sized websites with traffic below millions of monthly page views.
- Projects where visitor privacy is a priority, such as services targeting users in the European Union.
- Developers seeking to avoid managing complex consent management platforms for Google Analytics.
Prerequisites Before Installation
Ensure the following prerequisites are met before starting the installation process.
- Server with Docker. Umami officially supports deployment via Docker Compose. Ensure Docker Engine and the Docker Compose plugin are installed on your VPS.
- Node.js version 18.18 or higher, if opting for manual installation from source code as an alternative to the Docker Compose method covered in this guide.
- PostgreSQL version 12.14 or higher for the database. Note that starting from Umami v3, MySQL support has been completely removed, making PostgreSQL the sole officially supported database.
- Domain or Subdomain dedicated to the dashboard, such as
analytics.yourdomain.com, with an A record pointing to the VPS public IP address. - Basic understanding of Linux commands, such as directory navigation and text editing via the terminal, as the setup is completed through the VPS command line interface.
In terms of cost, self-hosting on your own VPS is practically free beyond the existing server expenses. The combined footprint of Umami and PostgreSQL containers is lightweight, making a 1GB RAM VPS sufficient for low to medium traffic.
Get €25 Free Credit UpCloud
Claim €25 BonusStep-by-Step Umami Installation
Two main phases are required to prepare Umami for production: running Umami and PostgreSQL containers using Docker Compose, then configuring Nginx as a reverse proxy to serve the dashboard over HTTPS using your custom domain.
Docker Compose on VPS
Deployment via Docker Compose is recommended because Umami and PostgreSQL run in isolated containers, facilitating upgrades without modifying the primary host operating system.
- Create a working directory for configuration files and navigate into it.
mkdir umami && cd umami - Generate two unique random strings to serve as values for
APP_SECRETandTWO_FACTOR_ENCRYPTION_KEY. Run this command twice separately and record both outputs to prevent credential reuse and secure authentication tokens and 2FA encryption keys.openssl rand -hex 32 - Create a
docker-compose.ymlfile containing the following configuration. Replace the placeholder values forAPP_SECRETandTWO_FACTOR_ENCRYPTION_KEYwith the strings generated previously, and updatePOSTGRES_PASSWORDalongside the database password insideDATABASE_URLto replace default credentials.services: umami: image: ghcr.io/umami-software/umami:latest ports: - "127.0.0.1:3000:3000" environment: DATABASE_URL: postgresql://umami:umami@db:5432/umami APP_SECRET: replace-with-first-openssl-output TWO_FACTOR_ENCRYPTION_KEY: replace-with-second-openssl-output depends_on: db: condition: service_healthy init: true restart: always healthcheck: test: ["CMD-SHELL", "curl http://localhost:3000/api/heartbeat"] interval: 5s timeout: 5s retries: 5 db: image: postgres:15-alpine environment: POSTGRES_DB: umami POSTGRES_USER: umami POSTGRES_PASSWORD: umami volumes: - umami-db-data:/var/lib/postgresql/data restart: always healthcheck: test: ["CMD-SHELL", "pg_isready -U $${POSTGRES_USER} -d $${POSTGRES_DB}"] interval: 5s timeout: 5s retries: 5 volumes: umami-db-data: - Run the following command to build and launch both containers in detached mode.
docker compose up -d - Check container health status and ensure both services report a
healthystate.docker compose ps
The directive ports: 127.0.0.1:3000:3000 restricts Umami access to local requests from the host server, shielding port 3000 from public internet access. Public login access will be established via the reverse proxy step.
Reverse Proxy and HTTPS with Nginx
Exposing port 3000 directly is only suitable for initial testing. For production, deploy Umami behind an Nginx reverse proxy to enable domain access via HTTPS based on the domain prepared during prerequisites.
- Install Nginx and the Certbot plugin for Nginx.
apt update && apt install -y nginx certbot python3-certbot-nginx - Create a new Nginx configuration file for the Umami domain.
nano /etc/nginx/sites-available/umami - Insert the following server block configuration, adjusting
server_nameto match your target domain.server { listen 80; server_name analytics.yourdomain.com; location / { proxy_pass http://127.0.0.1:3000; proxy_http_version 1.1; proxy_set_header Host $host; proxy_set_header X-Real-IP $remote_addr; proxy_set_header X-Forwarded-For $proxy_add_x_forwarded_for; proxy_set_header X-Forwarded-Proto $scheme; } } - Enable the configuration using a symbolic link to
sites-enabled, test the syntax, and reload Nginx.ln -s /etc/nginx/sites-available/umami /etc/nginx/sites-enabled/ nginx -t systemctl reload nginx - Issue an SSL certificate using Certbot. Certbot automatically configures Nginx for HTTPS traffic and sets up certificate renewal tasks.
certbot --nginx -d analytics.yourdomain.com - Navigate to
https://analytics.yourdomain.comin a web browser and log in using default credentialsadmin/umami.
Change the default password immediately after initial authentication. Because default credentials are publicly known, an unadjusted exposed instance remains vulnerable to unauthorized access. The X-Forwarded-For and X-Real-IP proxy headers ensure that Umami records authentic client IP addresses rather than the proxy server IP.
Tracking Configuration and Integration
Once the dashboard is active, link your target website to start receiving analytical data.
- Log in to the dashboard and select Websites from the sidebar menu.
- Click Add website and fill in the Name field alongside the actual target Domain (used to filter self-referring traffic).
- Save the entry, re-open the website entry settings, and click Edit to view the generated tracking code.
- Copy the code snippet below and paste it before the closing
</head>tag of your website HTML, or inject it using a script manager.<script defer src="https://analytics.yourdomain.com/script.js" data-website-id="your-website-uuid"></script> - Open your website in a new browser tab and check the Realtime section in the Umami dashboard. Integration is confirmed when visits register within seconds.
The data-website-id attribute functions as a unique UUID key per domain, requiring proper assignment when managing multiple sites.
Using the Umami Dashboard
The Umami interface displays essential operational metrics directly without complex navigation paths.
- Real-time visitors: Active visitors currently browsing the site, updating dynamically without page refreshes.
- Page views and bounce rate: Indicates total page loads alongside bounce rate, which measures single-page sessions. Note that calculations are pageview-based; single-page apps heavy on custom events may register higher bounce rates than actual interaction levels reflect.
- Traffic sources: Identifies referral traffic from search engines, social platforms, or direct access links.
- Custom events: Captures interaction metrics outside standard page views, such as button clicks, form submissions, or conversions tracked programmatically.
- UTM parameters: Categorizes incoming traffic automatically using standard
utm_source,utm_medium, andutm_campaignURL query strings. - Export data: Direct CSV exports are built into Umami Cloud. For self-hosted installations, querying the underlying PostgreSQL database directly or making calls to the Umami REST API provides access to raw data.
Tips and Best Practices
Custom Events for Conversion Tracking
For applications like e-commerce or SaaS platforms, tracking page views alone is insufficient. Recording key actions like button clicks or purchases requires using the client-side umami.track() method.
const buyButton = document.getElementById('checkout-button');

buyButton.addEventListener('click', () => {
  umami.track('checkout-click', {
    plan: 'pro',
    price: 15,
  });
});
Event properties like plan and price report under the Events tab in the dashboard, providing detailed property-level breakdowns.
Visitor Transparency
Although Umami operates without individual tracking cookies, detailing self-hosted analytics usage within your privacy policy remains recommended. While regulatory requirements vary by region, transparency builds user trust.
Performance Optimization and Backups
While the small script size has negligible rendering overhead, keep the defer attribute active so script loading remains non-blocking. Maintain regular automated backups for PostgreSQL to prevent data loss. Open crontab -e and configure a daily task running pg_dump at 3:00 AM to output compressed database archives.
0 3 * * * docker exec umami-db-1 pg_dump -U umami umami | gzip > /root/backup/umami-$(date +\%F).sql.gzEnsure the destination directory /root/backup exists beforehand, and periodically transfer backup archives to offsite storage locations.
Common Troubleshooting
Tracking Fails to Appear on Dashboard
Ad-blocking browser extensions frequently block default requests to script.js due to predefined blocklists. To bypass this, set the TRACKER_SCRIPT_NAME environment variable to a custom string (e.g., data-collect) and re-run docker compose up -d to apply changes.
TRACKER_SCRIPT_NAME: data-collectIf data collection endpoints are targeted by blocklists instead of script filenames, use the COLLECT_API_ENDPOINT variable to relocate the collection endpoint path.
COLLECT_API_ENDPOINT: /data-endpointDatabase Connection Failures
If the umami container experiences continuous restart loops, inspect container log output.
docker compose logs -f umamiConnection issues usually stem from typos in DATABASE_URL syntax or initialization delays where umami attempts to connect before PostgreSQL is ready. Official compose files incorporate healthcheck and depends_on: condition: service_healthy declarations to prevent boot sequence conflicts.
Dashboard Timezone Misalignment
If event timestamps appear offset from server local time, verify database timezone settings. Official documentation recommends running PostgreSQL using UTC time across environments. Add the following environment variable to the db service definition if default UTC enforcement is absent.
TZ: UTCIncorrect Visitor IP Logging
When operating Umami behind reverse proxies like Nginx or services such as Cloudflare Tunnel, logged IPs may report as proxy address values instead of client addresses. Define the CLIENT_IP_HEADER variable to parse real origin IP headers. For Nginx reverse proxies passing X-Forwarded-For headers, set the variable as follows.
CLIENT_IP_HEADER: X-Forwarded-ForFor deployments operating behind Cloudflare Tunnel, update the variable to use the Cloudflare header.
CLIENT_IP_HEADER: cf-connecting-ipConclusion
Umami offers three benefits rarely combined in Google Analytics: maintained data privacy, a clear interface, and near-zero operational costs via self-hosting. Setting up Docker Compose alongside an Nginx reverse proxy requires only a few terminal commands to deliver a fully self-controlled production instance.
Choose Umami when simplicity and complete data control take priority over complex enterprise features like multi-step funnels. For personal blogs, developer portfolios, and small-to-medium digital projects, this lightweight, privacy-first platform is fully equipped to meet your analytics needs.