
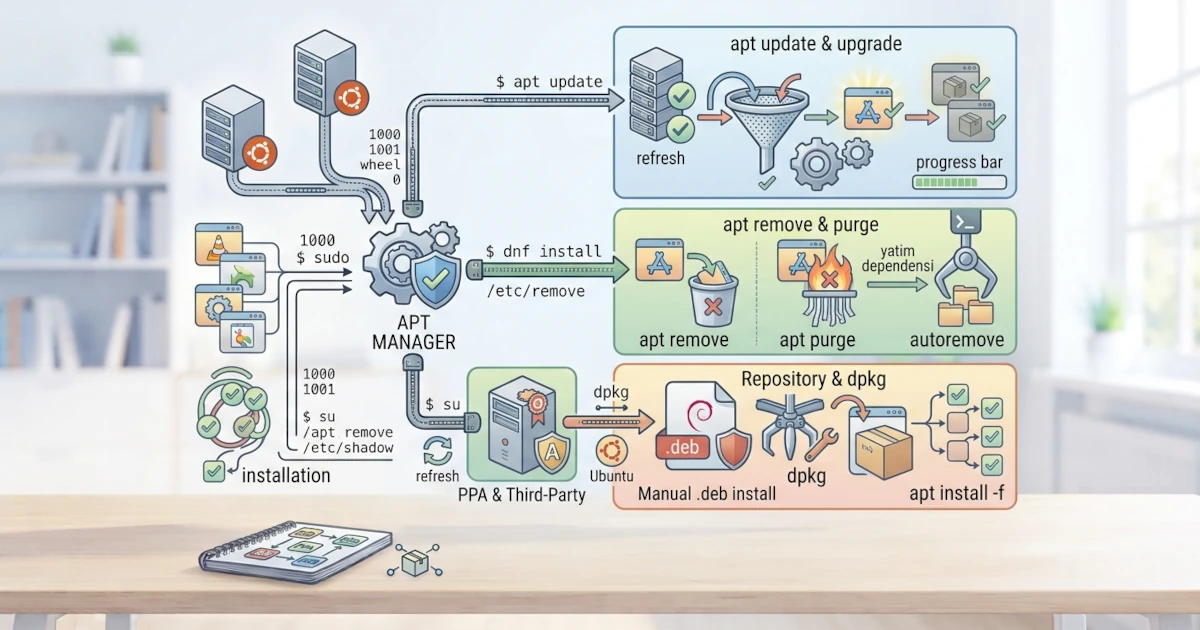
After understanding the concept of package management in the previous chapter, it is now time to practice it directly on Ubuntu 26.04 LTS. Ubuntu, which is a Debian derivative, uses APT (Advanced Package Tool) as its primary package manager. Through APT, we can safely and easily install, update, search, and remove software from official repositories. This chapter guides us through the basic operations of APT, how to manage repositories, and how to manually install .deb files.
25.1 apt vs apt-get: Differences and When to Use Them
We might encounter two commands that appear similar, namely apt and apt-get. Both are part of the same ecosystem, but they serve different purposes.
aptis a modern interface designed for daily interactive use. This command is simpler, displays a progress bar, and consolidates commands that were previously scattered across multiple tools, such asapt-cacheandapt-get.apt-getis a lower-level tool that is more stable for use in scripts and automation because its output format does not change easily.
For daily beginner needs, use apt. We only need to remember one command for almost all package management tasks. Ubuntu 26.04 LTS includes APT version 3.1, up from version 2.7 in previous Ubuntu releases. This version introduces a new solver engine called solver3, which is enabled by default to assist the dependency resolution process, especially when the classic solver fails to find a solution or when APT needs to provide additional context regarding an installation failure. APT 3.1 also comes equipped with a new diagnostic command, apt why package_name, which explains why a package was installed on the system.
25.2 Basic APT Operations
Here are the most frequently used APT operations.
25.2.1 Updating the Package List
Before installing or updating anything, run apt update. This command retrieves the latest list of available packages from the repositories.
sudo apt updateThis command does not modify any packages on the system, but merely refreshes the package list so that APT is aware of the latest available versions.
25.2.2 Upgrading Installed Packages
Once the list is updated, use apt upgrade to upgrade all installed packages to their latest versions.
sudo apt upgradeFor a more comprehensive upgrade, including handling dependency changes, sudo apt full-upgrade is available. For daily use, apt upgrade is sufficient for most needs.
25.2.3 Installing Packages
Use apt install to install a package along with all its dependencies automatically.
sudo apt install vlcWe can install more than one package at a time by separating package names with a space.
In practice, the E: Unable to locate package error is one of the most common issues during installation. The cause is usually that the package list has not been updated or the package name is misspelled. Run sudo apt update first, then double-check the spelling of the package name with apt search.
To verify that a package is properly installed, run dpkg -l vlc. The ii status in the leftmost column indicates that the package is fully installed.
25.2.4 Removing Packages
There are two levels of removal. apt remove removes the program but leaves its configuration files, while apt purge removes the program along with its configuration files.
sudo apt remove vlcsudo apt purge vlcUse remove if you want to keep the configuration just in case, and use purge if you want to clean it up completely.
25.2.5 Cleaning Unused Dependencies
When a package is removed, dependencies that were only required by that package can become orphaned. Clean them up with apt autoremove.
sudo apt autoremoveThis command helps keep the system lean and free of packages that are no longer needed.
Before pressing y at the confirmation, read the list of packages displayed first. That list occasionally contains old kernel images; APT by default will not remove the currently running kernel, but it does no harm to check the active kernel version first with uname -r before proceeding.
25.2.6 Searching for Packages
To find a package based on keywords, use apt search.
apt search video playerThis command displays a list of packages whose names or descriptions match the entered keywords.
25.2.7 Viewing Detailed Package Information
Before installing, we can view the description, version, and other details of a package using apt show.
apt show vlc25.3 Managing Repositories
APT retrieves packages from repositories registered on the system. This list of repositories is stored in configuration files.
25.3.1 The /etc/apt/sources.list File and /etc/apt/sources.list.d/ Directory
Historically, Ubuntu's main repositories were defined in a single file named /etc/apt/sources.list, with one line per repository. Since Ubuntu 24.04 LTS and continuing into Ubuntu 26.04 LTS, the default configuration has shifted to a new format called DEB822, which is stored as the file /etc/apt/sources.list.d/ubuntu.sources. As a result, on a fresh installation of Ubuntu 26.04 LTS, the legacy /etc/apt/sources.list file is typically empty or not used at all, while the .sources file is what APT actually reads.
cat /etc/apt/sources.list.d/ubuntu.sourcesThe DEB822 format writes each repository as a key: value pair block that is easier to read than the old single-line format, and each block can directly include the location of its signing key via the Signed-By field. This file still contains the main repository, universe (community software), and security repositories, just written in a different format. Both formats, the old single-line format and the new DEB822 format, are still understood by APT, and third-party additional repositories may still use either one.
25.3.2 Adding PPAs (Personal Package Archives)
A PPA (Personal Package Archive) is a third-party repository hosted on Launchpad, commonly used to obtain newer versions of applications not yet available in the official repositories. Adding a PPA is done via add-apt-repository, and the process remains the same even though the storage format has changed.
sudo add-apt-repository ppa:developername/applicationnameAfter adding a PPA, run sudo apt update so that the package list from the PPA is loaded. In Ubuntu 26.04 LTS, add-apt-repository will write the PPA as a .sources file in DEB822 format in /etc/apt/sources.list.d/, complete with the GPG signing key embedded directly via the Signed-By field. This replaces the old method of storing keys separately using the apt-key command. That command has been completely removed since Ubuntu 24.04 LTS; repository signature verification is now performed directly via gpgv. Exercise caution when adding PPAs because third-party repositories do not undergo curation as strict as official repositories.
25.4 Installing .deb Files Manually with dpkg
Sometimes software is distributed as directly downloaded .deb files, for instance from an official developer website. These files can be manually installed using dpkg.
sudo dpkg -i package.debHowever, dpkg does not resolve dependencies automatically. If the installation fails due to unmet dependencies, fix it by running APT to complete the missing dependencies.
sudo apt install -fThe apt install -f command will repair broken or unmet dependencies. Whenever possible, prioritize installing from official repositories over manual .deb files, as official repositories are better guaranteed in terms of security.
If an error message like Could not get lock /var/lib/dpkg/lock-frontend appears, it means another APT or dpkg process is currently running, such as Software Updater or the unattended-upgrades service operating automatically in the background. Wait for that process to complete; do not forcibly terminate a running dpkg process as it risks corrupting the package database.
APT is our main gateway to managing software on Ubuntu 26.04 LTS. After mastering apt update, upgrade, install, remove, and purge, we are capable of handling most daily needs. In the next chapter, we will learn about DNF, the package manager used by Fedora Workstation 44, so that we are also proficient in managing software on that distribution.