
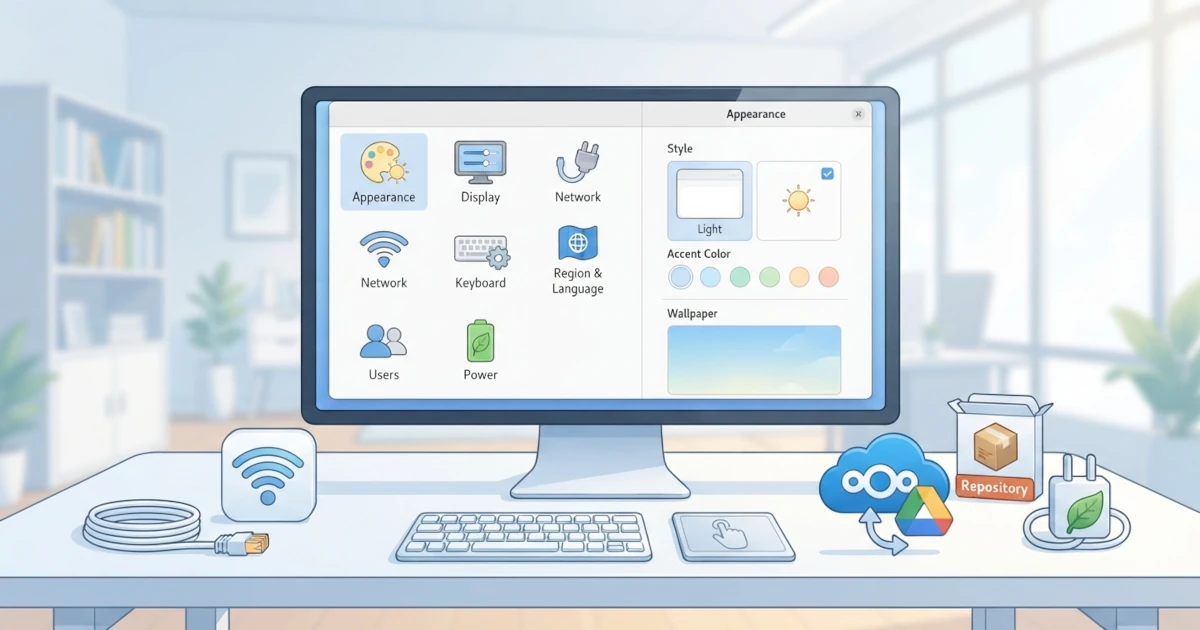
After getting familiar with GNOME and learning how to navigate it in the previous chapter, it is now time to make this Linux system feel like our own. The newly installed system is actually ready for immediate use, but almost everyone feels more comfortable after customizing a number of settings according to their needs, ranging from screen resolution, keyboard layout, system language, to how the system manages battery power. This chapter covers basic system configuration that can be fully managed through the graphical user interface (GUI), without needing to touch the terminal. We will explore the GNOME settings center, learn how to connect the computer to a network, configure software sources (repositories), and connect online accounts like Google and Nextcloud to the desktop.
9.1 Settings: The GNOME Control Center
All system settings in GNOME are centralized in an application called Settings (referred to as GNOME Settings or System Settings in some distributions). This application serves as the main gateway to modify almost every aspect of the system without typing any commands. Inside, each settings category is displayed as a panel organized in a sidebar on the left side, while the settings content appears on the right side.
There are several ways to open Settings:
- Click the system status area in the upper-right corner of the Top Bar, then click the gear icon on the Quick Settings panel.
- Press Super, type
Settings, and press Enter. - In Ubuntu, click the Settings icon on the Ubuntu Dock.
The easiest way to find a specific setting is to use the search bar inside Settings itself, or simply press Super and type the name of the setting you are looking for, such as dark mode. Although the panel titles in Ubuntu and Fedora are mostly identical, minor differences in names and arrangements exist because each distribution adds a few of its own unique panels.
9.1.1 Display: Resolution, Scaling, Dark Mode, and Night Light
Display settings in GNOME are divided into two interconnected panels, namely Display (for the screen) and Appearance (for the interface look and feel).
Display. This panel manages settings related to the monitor or laptop screen being used:
- Resolution. We can select different screen resolutions, such as
1920 × 1080,2560 × 1440, or other monitor-supported resolutions. GNOME generally selects the optimal resolution automatically. - Scaling. If a high-resolution screen makes text and icons appear too small, we can increase the scaling value, for instance to
125%,150%, or200%, to make elements larger. GNOME supports fractional scaling with fractional values (such as 125% and 150%), which is enabled by default on Wayland sessions in recent GNOME releases. - Refresh rate. On supported monitors, we can select a higher refresh rate for smoother motion.
- Orientation and screen position. When using multiple monitors, we can adjust their layout and orientation.
- Night Light. This feature reduces blue light emitted by the screen, making it more comfortable for the eyes at night. It can be enabled manually, set to turn on automatically from sunset to sunrise, or configured on a custom schedule.
Appearance. This panel manages the overall look of the interface:
- Style. We can choose between Light, Dark, or follow existing settings. Dark mode applies system-wide, including supported applications.
- Accent color. Selects the accent color used on buttons, toggles, and other interactive elements throughout the interface.
- Background. Changes the desktop wallpaper from the built-in collection or a custom image file.
- Fonts and icons (in some GNOME releases, these settings have been moved to the GNOME Tweaks application).
In Ubuntu, dock icon size, position, and auto-hide behavior can also be configured from the dedicated Ubuntu Desktop panel, whereas in Fedora, these settings are unnecessary because there is no permanent dock.
9.1.2 Keyboard and Mouse
The Keyboard and Mouse & Touchpad panels allow us to customize how we interact with input devices.
Keyboard. In this panel, we can configure:
- Keyboard shortcuts. GNOME includes many default shortcuts that can be viewed, modified, or added. For example, we can change shortcuts for launching the terminal, switching windows between workspaces, or executing custom commands.
- Input sources. Adds keyboard layouts for other languages, such as adding layouts for typing Arabic or Chinese characters, or layouts like
English (US)andEnglish (UK). After adding multiple input sources, we can switch between them using the icon on the Top Bar or the Super+Space shortcut. - Repeat keys and delay to adjust key repetition speed when a key is pressed and held down.
Mouse & Touchpad. This panel manages mouse and touchpad behavior:
- Primary button. Selects the primary button between left and right (useful for left-handed users).
- Pointer speed and natural scrolling (a "natural" scroll direction similar to macOS).
- Tap to click. Enables tapping on the touchpad to perform a click.
- Touchpad gestures. GNOME supports various two-finger and three-finger gestures, such as swiping up with three fingers to open the Activities Overview.
9.1.3 Region and Language
The Region & Language panel controls the interface language and system-wide formatting. Here we can:
- Language. Changes the display language of the system. If the desired language is not yet available, it can be added, and the system will download the necessary language packs.
- Formats. Sets formats for date, time, numbers, and currency based on region, such as date formats like
dd/mm/yyyyormm/dd/yyyy. - Input sources. Similar to the Keyboard panel, this section also allows adding keyboard layouts.
Language changes typically take full effect only after logging out and logging back in. One thing to note: technical terms and application names generally remain in English because these names are left untranslated.
9.1.4 Users and Accounts
The Users panel (referred to as User Accounts in some releases) is where system user accounts are managed. With administrative privileges, we can:
- Add new users. New users can be created as a Standard user or an Administrator (granted
sudoprivileges). - Change passwords, disable or reactivate accounts, and delete accounts.
- Configure Automatic Login to bypass password entry when turning on the computer. While convenient, security implications should be evaluated, especially on shared devices, as anyone powering on the device will directly enter the desktop without a password prompt.
- Change profile pictures for user accounts.
The concepts of users, groups, and permissions will be covered in much greater depth in Part VII of this series.
9.1.5 Power Management
The Power panel regulates power behavior on computers, particularly laptops, to conserve battery life:
- Power Mode. GNOME offers three modes: Power Saver, Balanced, and Performance. The Power Saver mode reduces performance to conserve battery, while Performance prioritizes speed at the cost of higher power consumption.
- Automatic Suspend. Determines when the system automatically enters sleep mode when idle, both on battery power and when plugged in.
- Screen blank and dim screen to configure when the display dims or turns off.
- Power button behavior. Configures what occurs when pressing the power button (suspending the system, shutting down, or displaying a menu).
- Battery percentage to display a remaining battery indicator on the Top Bar.
In practice, laptops experiencing excessive heat or unusually high battery drain can often be resolved simply by switching the Power Mode to Balanced or Power Saver before prematurely suspecting hardware issues.
9.2 Network Connections from the GUI
Behind the scenes, networking on Ubuntu and Fedora is managed by NetworkManager, a service that handles all network connections automatically. Through the Network panel in Settings (or the network menu on the Top Bar), we can manage Wi-Fi, Ethernet, and VPN connections without using the terminal.
9.2.1 Wi-Fi
To connect to a wireless network:
- Open Settings > Wi-Fi, or click the network icon in the system status area on the Top Bar.
- Enable the Wi-Fi toggle if it is not already active.
- Select a network name (SSID) from the list, enter the password, and click Connect.
Once connected, the network will be saved and will automatically reconnect in the future. To forget a network and prevent automatic connections, click the gear icon next to the network name and select Forget Network. In the same panel, we can also enable Airplane Mode to turn off all wireless communications simultaneously. If the Wi-Fi toggle appears grayed out and cannot be activated, check whether Airplane Mode is active or if a physical Wi-Fi switch on the laptop was accidentally triggered, as these two factors are the most common causes in the field.
9.2.2 Ethernet
A wired connection is generally the simplest to set up. Simply plug in the Ethernet cable, and NetworkManager will automatically detect it and obtain an IP address via DHCP. The Network panel displays a Wired section containing connection status, IP address, and gateway details. We can modify configurations, such as setting a static IP or changing DNS servers, via the gear icon next to the wired connection, then manually adding addresses under the IPv4 or IPv6 tab.
9.2.3 VPN
GNOME supports Virtual Private Network (VPN) connections directly from the Network panel. To add a VPN:
- Open Settings > Network.
- Click the + (add) button next to the VPN header.
- Select the protocol type provided, such as OpenVPN or WireGuard, then fill in the configuration details supplied by the VPN provider.
Once saved, the VPN appears in the connection list and can be enabled or disabled via the network menu on the Top Bar. For VPN types that are not natively available, VPN providers typically offer a standalone application or a configuration file that can be imported. A common pitfall encountered in practice: if the OpenVPN protocol option does not appear in the selection list at all, the NetworkManager plugin package for that protocol is usually not installed, such as network-manager-openvpn-gnome on Ubuntu or NetworkManager-openvpn-gnome on Fedora. WireGuard support is generally integrated into recent versions of NetworkManager, rarely requiring extra packages.
9.3 Managing Software Repositories
The concept of repositories and package managers will be covered thoroughly in Part VIII of this series. However, because Ubuntu and Fedora have key differences regarding software sources, this section briefly introduces how to configure them via the graphical interface.
9.3.1 Software & Updates in Ubuntu
For years, Ubuntu provided an application called Software & Updates (technically known by the package name software-properties-gtk) as the centralized hub for software source management. However, starting with Ubuntu 26.04 LTS, this application is no longer installed by default on fresh installations because the Ubuntu team evaluated several of its features as risky or overly complex for average users if misconfigured. Some of its functions, such as managing packages and updating everyday applications, are now handled by the App Center, while command-line tooling like apt and add-apt-repository remains completely unaffected. Software & Updates itself remains available in the official repositories for users who require advanced repository management; it simply is no longer pre-installed. If the application is not found, reinstall it using the following command in the terminal:
sudo apt install software-properties-gtkOnce installed, Software & Updates consists of several tabs:
- Ubuntu Software. Displays the selection of active official repositories. Generally, four components exist: main (software fully supported by Canonical), universe (community-maintained free software), restricted (proprietary drivers), and multiverse (software restricted by copyright or legal issues). We can also select Download from to change the active mirror server.
- Other Software. The location to add PPA (Personal Package Archive) repositories and third-party repositories. PPAs are repositories hosted on Launchpad, frequently used to obtain newer software versions.
- Updates. Configures update check frequencies, automatically installed update types, and unattended upgrades settings.
- Additional Drivers. Displays available proprietary drivers for hardware, such as NVIDIA drivers.
- Authentication. Manages keys used to verify repository authenticity.
Modifying the repository list affects where applications are downloaded from, so only trusted repositories should be added. Repository and .deb package management via the command line, using tools such as apt and add-apt-repository, continues to function normally in Ubuntu 26.04 and remains unaffected by this change.
9.3.2 Enabling RPM Fusion in Fedora
Fedora maintains a strict policy: only freely licensed software is included in its official repositories. As a result, several widely used software components, such as specific multimedia codecs and NVIDIA drivers, are not available by default. This is where RPM Fusion comes into play.
RPM Fusion is a community-maintained third-party repository providing software that cannot be included in Fedora due to licensing constraints. RPM Fusion is divided into two repositories:
- RPM Fusion free: contains open-source software that still carries specific licensing restrictions.
- RPM Fusion nonfree: contains proprietary software such as NVIDIA drivers and specific codecs.
RPM Fusion can be enabled in two ways. The first method is through GNOME Software: open the application, open the menu, and enable the Third-Party Repositories option. This option is also presented during the initial setup screen upon first booting into Fedora, covering RPM Fusion free alongside select third-party repositories. The second method, and the only way to enable RPM Fusion nonfree (NVIDIA drivers and proprietary codecs), is via the terminal using the following command (utilizing dnf):
sudo dnf install https://download1.rpmfusion.org/free/fedora/rpmfusion-free-release-$(rpm -E %fedora).noarch.rpm https://download1.rpmfusion.org/nonfree/fedora/rpmfusion-nonfree-release-$(rpm -E %fedora).noarch.rpmAfter enabling RPM Fusion, running sudo dnf update once is recommended so that new repository metadata is fetched immediately before installing multimedia codecs (such as packages for playing MP3s and specific video formats) or NVIDIA drivers from the repository. The installation steps for these codecs and drivers will be covered in greater detail in upcoming chapters on software and driver management.
9.4 Online Accounts
GNOME features Online Accounts, enabling centralized integration of various online services into the desktop. This feature is located in the Online Accounts panel inside Settings. Connecting an account automatically integrates service data into GNOME applications.
Supported services include:
- Google: syncs Gmail, Google Calendar, Google Contacts, and Google Drive. Once connected, emails appear in the Email client (Evolution or Geary), calendars sync with the Calendar app, and Google Drive becomes accessible through Files.
- Nextcloud: a popular self-hosted cloud service among Linux users for synchronizing files, contacts, and calendars.
- Microsoft 365: connects Microsoft accounts for email and calendar integration.
- Others: includes IMAP/SMTP email accounts, CalDAV for calendars, and several other services.
To add an account, click the service type and complete the sign-in process, which typically opens in a browser window. Once finished, specific data categories can be selected for synchronization. The primary advantage of this centralized approach is that all GNOME applications draw from a single source, eliminating the need to re-enter credentials for every application.
In this chapter, we covered basic system configurations: customizing system appearance and behavior via Settings, connecting to Wi-Fi, Ethernet, and VPN networks, managing software repositories in Ubuntu and Fedora, and integrating online accounts. Accomplished entirely through the graphical interface, these steps tailor the system to suit daily operational needs.
The configurations explored here are just the beginning. In the next chapter, we will examine built-in GNOME applications and methods for installing additional software to build out a complete Linux desktop environment.