
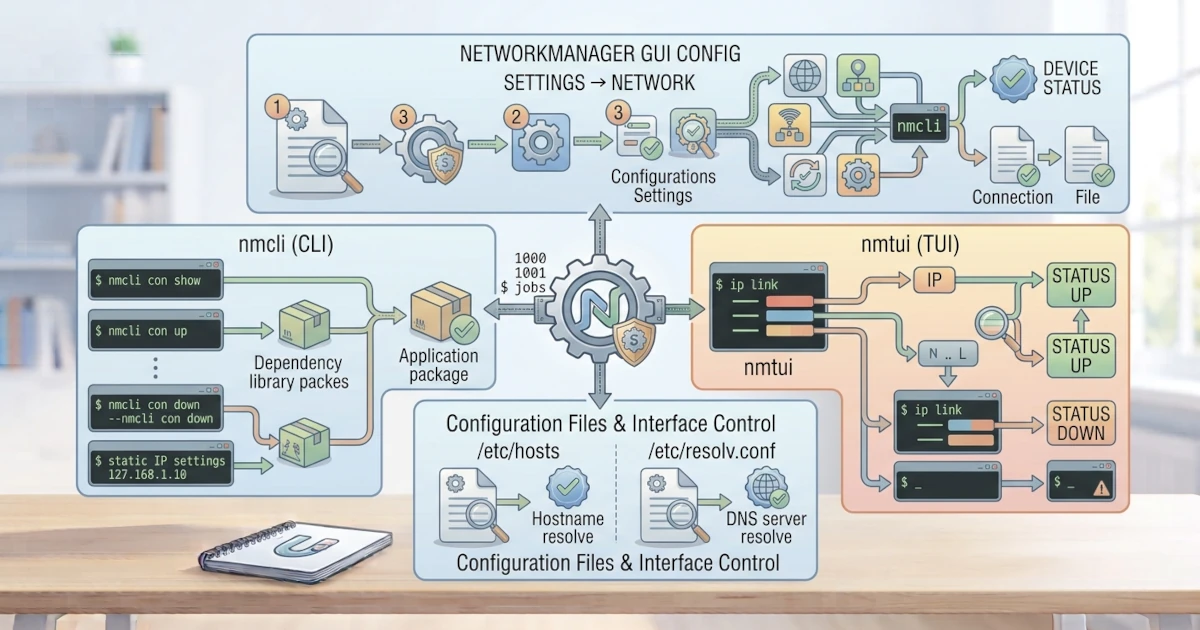
After understanding how to view network configurations, now we will learn how to configure them. On Ubuntu 26.04 LTS Desktop and Fedora Workstation 44, network configuration is generally handled by NetworkManager, which can be accessed through both graphical and command-line interfaces. This chapter covers NetworkManager, using nmcli and nmtui, network configuration files, and how to enable and disable interfaces.
32.1 NetworkManager: Default Network Manager
NetworkManager is the default network manager on Ubuntu 26.04 LTS and Fedora Workstation 44. NetworkManager manages all network connections, including Wi-Fi, Ethernet, and VPNs, making switching between networks seamless.
32.1.1 GUI Configuration (Settings > Network)
The easiest way to configure the network is through the Settings application. Open Settings, then select the Network menu. From there, you can view the list of available connections, connect to Wi-Fi, and set up Ethernet configurations. To change connection settings, click the gear icon next to the desired connection.
32.1.2 nmcli: Configuration via Terminal
nmcli is NetworkManager's command-line interface that allows us to manage connections without a GUI.
nmcli con show: Connection List
To view the list of saved connections, run nmcli con show.
nmcli con showThis command displays the names of all connections along with their status. Here, con is short for connection; both can be used interchangeably, such as nmcli connection show.
nmcli con up/down: Enable/Disable Connections
To enable or disable a connection, use nmcli con up and nmcli con down.
nmcli con up "Connection Name"nmcli con down "Connection Name"Replace Connection Name with the connection name displayed by nmcli con show.
Note that the connection name (the NAME column in the nmcli con show output) differs from the device or interface name (the DEVICE column). On many Ubuntu and Fedora installations, the default connection name is identical to its interface name, such as enp3s0, so this difference is rarely noticeable. However, once we create custom connection profiles or use a VPN, the two names can differ. Sysadmins need to carefully distinguish between them: some nmcli commands such as con up and con down require the connection name, while other commands like nmcli device disconnect discussed at the end of this chapter require the device name.
Configuring Static IP with nmcli
By default, computers acquire an IP address automatically via DHCP. To set up a static IP, use nmcli con mod with the ipv4.addresses, ipv4.gateway, ipv4.dns, and ipv4.method options.
sudo nmcli con mod "Connection Name" ipv4.addresses 192.168.1.100/24 ipv4.gateway 192.168.1.1 ipv4.dns "8.8.8.8 1.1.1.1" ipv4.method manualNote that the ipv4.dns option is added here because when ipv4.method is changed to manual, NetworkManager no longer receives automatic DNS from DHCP, requiring DNS servers to be specified manually. After changing the configuration, reactivate the connection with nmcli con up "Connection Name" to apply the changes. Static IP is useful for devices requiring a fixed address, such as servers or network printers.
After reactivating the connection, verify the result using ip addr show enp3s0 to ensure the new IP address is active, or run nmcli -p con show "Connection Name" to view complete details of ipv4.address, ipv4.gateway, and ipv4.dns saved in that connection profile. If the old IP address still appears, it is likely that the nmcli con up step has not been re-executed, or the active connection is using a different profile than the one recently modified.
32.1.3 nmtui: TUI Interface (Text-Based UI)
If working in an environment without a graphical interface, NetworkManager provides nmtui, an easy-to-use interactive text interface.
nmtuiThis command opens a text-based menu where you can edit connections (including setting up static IPs without typing nmcli options one by one), enable connections, or set the hostname, all via keyboard navigation.
32.2 Network Configuration Files
NetworkManager does not manage all network aspects on its own. Some are stored in configuration files that can be viewed directly.
32.2.1 /etc/hosts: Local Hostname Resolution
The /etc/hosts file maps hostnames to IP addresses locally, without needing to query a DNS server.
cat /etc/hostsThis file often contains lines mapping localhost to 127.0.0.1. Custom lines can be added to map other device names on the local network, such as adding 192.168.1.50 file-server so that you can type file-server instead of the IP address whenever accessing it.
32.2.2 /etc/resolv.conf: DNS Configuration
The /etc/resolv.conf file traditionally contains the DNS server addresses used by the system to resolve domain names. However, on Ubuntu 26.04 LTS and Fedora Workstation 44, both distributions run the systemd-resolved service as the DNS resolver, so the contents of this file differ slightly from what might be expected.
cat /etc/resolv.confInstead of directly displaying the router's or ISP's DNS IP, /etc/resolv.conf on both distros is generally just a symbolic link to a file managed by systemd-resolved, containing only a single line: nameserver 127.0.0.53. This 127.0.0.53 address is not a router address, but a local stub resolver running on the computer itself: all applications send DNS queries there, and systemd-resolved forwards them to the actual DNS server while performing caching. This is not a configuration error, so do not rush to replace it manually. To view the actual DNS servers currently used by the system, run the following command.
resolvectl statusresolvectl status displays the actual per-interface DNS servers, search domains, and supported protocols (such as DNSSEC and DNS-over-TLS). Because this file is automatically managed by systemd-resolved working alongside NetworkManager, manual changes to /etc/resolv.conf may be overwritten when the network updates; the proper way to change DNS is through nmcli, nmtui, or Settings, as covered earlier in this chapter.
32.2.3 Additional Note: Netplan Behind the Scenes (Ubuntu Only)
Exclusively in Ubuntu, there is another layer working behind the scenes called Netplan, a YAML-based network configuration system developed by Canonical located in /etc/netplan/. On Ubuntu Desktop, the default Netplan configuration delegates all interfaces to NetworkManager (indicated by the renderer: NetworkManager line in one of its YAML files). This means that when changing connections via nmcli, nmtui, or Settings, NetworkManager automatically rewrites the relevant Netplan file behind the scenes. Fedora does not use Netplan; NetworkManager in Fedora stores its connection profiles in /etc/NetworkManager/system-connections/. Manual editing of Netplan files on desktop is unnecessary as changes risk being overwritten by NetworkManager; this point is only essential to note because it will be encountered again when handling Ubuntu Server, which uses Netplan as its primary configuration method.
32.3 Enabling/Disabling Interfaces
Interfaces can be enabled or disabled using the ip link set command.
sudo ip link set dev enp3s0 downsudo ip link set dev enp3s0 upThe first command disables the enp3s0 interface, while the second command reactivates it. Replace enp3s0 with the appropriate interface name, as shown in the previous chapter.
It is important to note that ip link set operates at the kernel level, outside NetworkManager's awareness. Because the interface remains in a "managed" state by NetworkManager, NetworkManager might automatically reactivate it shortly after it is disabled. If the goal is to disable a connection in a way recognized by NetworkManager (for example, to prevent it from automatically reconnecting), use the equivalent NetworkManager command:
nmcli device disconnect enp3s0To verify the interface status after this command, check with nmcli device status or ip link show enp3s0. An interface disabled via NetworkManager will be listed with a status of disconnected, unlike an interface brought down directly via ip link set down, which remains "managed" by NetworkManager but simply disconnected from any network at the kernel level.
Configuring networks in Linux is straightforward thanks to NetworkManager. It can be done via Settings, nmcli, or nmtui, depending on your needs. By understanding configuration files such as /etc/hosts and /etc/resolv.conf (along with the role of systemd-resolved behind them), as well as interface management, you are ready to handle daily networking tasks. In the next chapter, connectivity testing and basic network troubleshooting will be covered.