
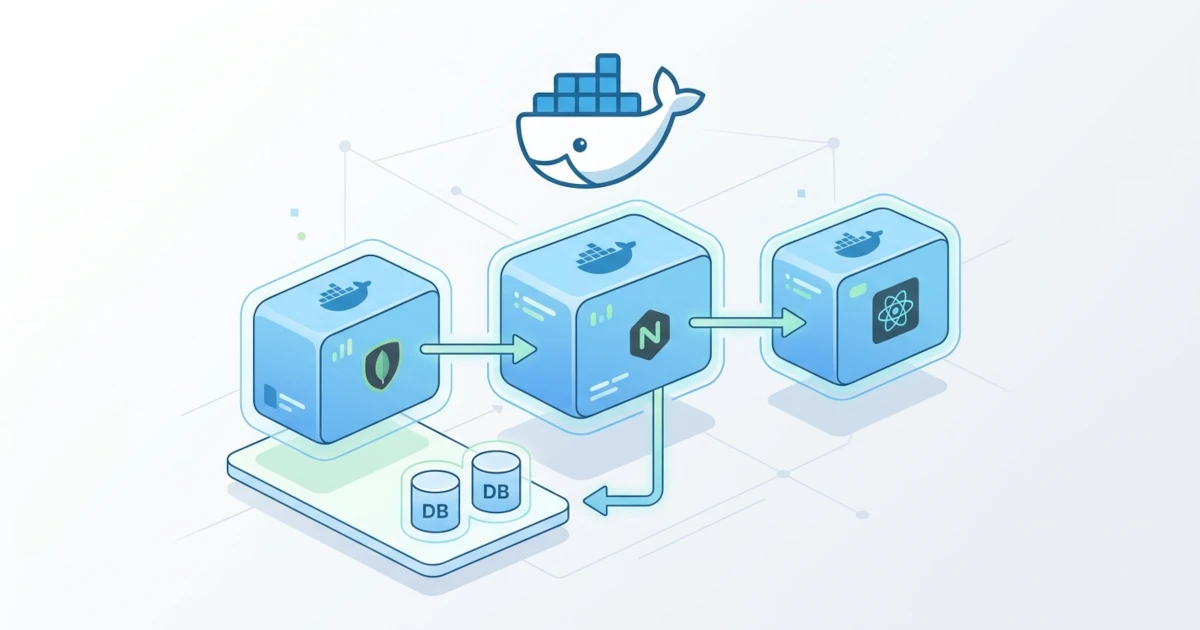
Full-stack applications in the real world rarely stand alone as a single process. The backend requires a database to store data, a cache to speed up frequently accessed queries, and a reverse proxy in front of everything, which is an intermediary server that manages incoming traffic while hiding the internal architectural details from the outside. Previous case studies have discussed how to containerize specific application types, ranging from Node.js, Laravel, Python, Golang, to WordPress. This chapter takes a different perspective: it is not about a specific framework, but rather about combining PostgreSQL database, Redis cache, and Nginx reverse proxy into a robust multi-container architecture, complete with startup sequence ordering between services, environment-specific configurations for development and production, and scaling strategies for stateless services.
33.1 Combining Database, Cache, and Reverse Proxy
The full-stack architecture discussed in this chapter consists of four services: postgres as the primary database, redis as the cache and session store, api as the backend processing business logic, and nginx as the reverse proxy serving as the single entry point for external traffic. This pattern is widely adopted by Developers and Sysadmins/DevOps Engineers because each service has a clear responsibility and can be scaled or replaced independently.
33.1.1 Multi-Container Full-Stack Architecture
Before writing the configuration, it is essential to map out how traffic flows among the four services. Nginx receives all external requests via a port mapped to the host, then forwards them to the api service through Compose's internal network. The api service reads and writes permanent data to postgres, and temporary data such as query cache or active user sessions to redis. Neither postgres nor redis is directly exposed to the host, as both only need to be accessed within the Docker network by the api service.
Structure the compose.yaml framework with these four services, along with a custom network to make inter-service isolation more explicit rather than relying on the default network.
services:
  nginx:
    image: nginx:1.27-alpine
    ports:
      - "80:80"
    depends_on:
      - api
    networks:
      - frontend-net

  api:
    build: ./api
    expose:
      - "3000"
    environment:
      DATABASE_URL: postgres://appuser:secret@postgres:5432/appdb
      REDIS_URL: redis://redis:6379
    depends_on:
      - postgres
      - redis
    networks:
      - frontend-net
      - backend-net

  postgres:
    image: postgres:18-alpine
    environment:
      POSTGRES_DB: appdb
      POSTGRES_USER: appuser
      POSTGRES_PASSWORD: secret
    volumes:
      - pg-data:/var/lib/postgresql/data
    networks:
      - backend-net

  redis:
    image: redis:8-alpine
    networks:
      - backend-net

networks:
  frontend-net:
  backend-net:

volumes:
  pg-data:
The division into two custom networks here is not a mere formality. The nginx service only joins frontend-net alongside api, while postgres and redis only join backend-net alongside api. As a result, nginx architecturally has no direct network path to postgres or redis, even though they run inside the same Compose project. Such isolation patterns reduce the attack surface if the nginx container is ever compromised by an Attacker, as access to the database and cache remains restricted strictly through the api service.
Notice also that the api service uses expose instead of ports. The expose instruction merely declares ports that can be accessed by other services within the same network without mapping them to the host, conforming to the official Compose Specification definition. This aligns with the principle that the only path for incoming external traffic must pass through nginx, not directly to the backend.
33.1.2 PostgreSQL and Redis Configuration
The official postgres image automatically creates the database, user, and password based on the POSTGRES_DB, POSTGRES_USER, and POSTGRES_PASSWORD environment variables when its data volume is empty. Redis in the basic configuration above runs without authentication or custom configuration, which is sufficient for internal caching needs accessed exclusively from the isolated backend-net.
For production requirements, add a password to Redis using the --requirepass option so that the service is not entirely open even inside an isolated network, acting as an extra defense layer.
services:
  redis:
    image: redis:8-alpine
    command: ["redis-server", "--requirepass", "${REDIS_PASSWORD}"]
    networks:
      - backend-net
When the --requirepass option is enabled, the REDIS_URL on the api side must also be updated to include the password, for example redis://:secret@redis:6379, following the Redis connection string format where the password is placed in the userinfo section before the @ symbol.
33.1.3 Nginx as Reverse Proxy to Backend
The Nginx configuration forwards all requests to the api service using its service name, leveraging Compose's internal DNS resolution just like the reverse proxy pattern in other case studies.
server {
    listen 80;
    server_name _;

    location /api/ {
        proxy_pass http://api:3000/;
        proxy_set_header Host $host;
        proxy_set_header X-Real-IP $remote_addr;
        proxy_set_header X-Forwarded-For $proxy_add_x_forwarded_for;
        proxy_set_header X-Forwarded-Proto $scheme;
    }

    location / {
        root /usr/share/nginx/html;
        try_files $uri $uri/ /index.html;
    }
}
This configuration also demonstrates a common pattern in modern full-stack applications: the /api/ path is forwarded to the backend, while other paths are served as frontend build static files (for example, a single-page application based on React, Vue, or another frontend framework). The try_files directive with a fallback to /index.html is crucial for SPAs using client-side routing, ensuring that refreshing a page on a non-root path does not trigger a 404 error from Nginx, since routing is actually handled by JavaScript after index.html loads in the browser.
Map the frontend build output files to /usr/share/nginx/html via bind mount for development, or copy them directly into the image via multi-stage build for production, a pattern covered further in the environment-specific configuration section.
33.2 Service Dependency and Startup Order
If the api service attempts to connect to postgres or redis before they are fully ready to accept connections, the application will typically crash or fail to start on the first attempt. Plain depends_on instructions as used in the initial configuration only control the order in which containers are created and started, not guaranteeing that the services inside them are ready to accept traffic, a distinction that frequently causes confusion for Developers building multi-container architectures for the first time.
33.2.1 Healthchecks on PostgreSQL and Redis
Add a healthcheck to the postgres service using pg_isready, a built-in PostgreSQL utility designed specifically to check server readiness for connection handling.
services:
  postgres:
    image: postgres:18-alpine
    environment:
      POSTGRES_DB: appdb
      POSTGRES_USER: appuser
      POSTGRES_PASSWORD: secret
    volumes:
      - pg-data:/var/lib/postgresql/data
    healthcheck:
      test: ["CMD-SHELL", "pg_isready -U appuser -d appdb"]
      interval: 5s
      timeout: 5s
      retries: 5
    networks:
      - backend-net
Do the same for redis using redis-cli ping, which returns a PONG response once the Redis server is ready to handle commands.
services:
  redis:
    image: redis:8-alpine
    healthcheck:
      test: ["CMD", "redis-cli", "ping"]
      interval: 5s
      timeout: 5s
      retries: 5
    networks:
      - backend-net
33.2.2 depends_on with condition: service_healthy
After both services are equipped with healthchecks, modify depends_on in the api service to await the service_healthy condition instead of merely waiting for container creation.
services:
  api:
    build: ./api
    expose:
      - "3000"
    environment:
      DATABASE_URL: postgres://appuser:secret@postgres:5432/appdb
      REDIS_URL: redis://redis:6379
    depends_on:
      postgres:
        condition: service_healthy
      redis:
        condition: service_healthy
    networks:
      - frontend-net
      - backend-net
This configuration ensures Docker Compose only starts the api container after both postgres and redis reach healthy status, in accordance with the condition: service_healthy behavior defined in the Compose Specification. This approach is significantly more reliable than adding a sleep for a few seconds in an entrypoint script as a workaround, a practice still found in the wild but fragile because database startup times vary depending on host I/O load.
33.2.3 Application-Side Retry Logic
Healthchecks and depends_on only guarantee conditions when the container initially starts; they do not guarantee that connection remains stable throughout the application lifetime. Postgres or Redis may restart due to maintenance, resource exhaustion, or rolling updates, while the api service keeps running and needs to reconnect once the connection breaks.
In practice, Sysadmins/DevOps Engineers often encounter cases where an application starts smoothly thanks to depends_on and healthchecks, but still crashes hours later when the database restarts for maintenance because the application code lacks an automatic reconnect mechanism. Ensure that the database and Redis libraries or drivers used by the backend support connection pooling with automatic retries, and retain restart: unless-stopped on the api service as a final safety net should the application process exit due to a total connection failure.
services:
  api:
    build: ./api
    restart: unless-stopped
    expose:
      - "3000"
33.3 Environment-Specific Configuration
Configurations suitable for development, such as hot reload and exposed database ports for direct debugging from database tools on the host, are clearly unsuitable as-is for production. Compose provides an override file mechanism so that a single base configuration can be tailored per environment without full duplication.
33.3.1 Compose Override Files
Docker Compose automatically reads and merges compose.override.yaml with compose.yaml whenever the docker compose up command is executed without additional -f options, as per official Compose documentation regarding multiple compose files. Leverage this behavior to place development-specific configurations inside compose.override.yaml, while compose.yaml retains the base settings relevant to all environments.
services:
  api:
    build:
      context: ./api
      target: development
    volumes:
      - ./api/src:/app/src
    environment:
      NODE_ENV: development

  postgres:
    ports:
      - "5432:5432"
The bind mount to the src directory in this example allows code changes to be picked up immediately by the hot reload process inside the container without repeatedly rebuilding the image, while mapping port 5432 to the host allows Developers to open direct connections from their favorite database client for debugging data. For production, prepare a separate file named compose.prod.yaml that strips out both features for security and efficiency.
services:
  api:
    build:
      context: ./api
      target: production
    environment:
      NODE_ENV: production

  postgres:
    ports: []
Run production by specifying both files explicitly using the -f option, as compose.prod.yaml is not automatically read like compose.override.yaml.
docker compose -f compose.yaml -f compose.prod.yaml up -dCompose merges both files sequentially according to the order listed in the -f flags, with values from later files overriding matching values from earlier ones. Explicitly defining ports: [] in compose.prod.yaml above ensures that the port 5432 mapping from compose.override.yaml does not become active if files are accidentally mixed, even though in standard workflows compose.override.yaml is not included in production commands.
33.3.2 Per-Environment Variables with .env
Docker Compose automatically loads the .env file in the same directory as compose.yaml for variable substitution using ${VARIABLE} syntax, per official Compose documentation on environment variables. Use this to separate values that differ per environment, such as credentials or hostnames, from structural configurations that stay the same.
services:
  postgres:
    image: postgres:18-alpine
    environment:
      POSTGRES_DB: ${POSTGRES_DB}
      POSTGRES_USER: ${POSTGRES_USER}
      POSTGRES_PASSWORD: ${POSTGRES_PASSWORD}
# .env
POSTGRES_DB=appdb
POSTGRES_USER=appuser
POSTGRES_PASSWORD=dev-secret-not-for-prodFor production, never commit a .env file containing actual credentials into version control. Store production-specific .env files separately on the target server, or better yet, manage them via dedicated secrets management mechanisms offered by the deployment platform, following standard security practices for sensitive credentials. Add .env to .gitignore from project start, and supply a .env.example containing required variables without real values as documentation for team members.
33.3.3 Multi-Stage Builds for Dev and Production Targets
A multi-stage build in the backend Dockerfile can be designed with two target stages, one for development and one for production, and then selected using the target option under Compose's build configuration as shown previously.
FROM node:20-alpine AS base
WORKDIR /app
COPY package*.json ./

FROM base AS development
RUN npm install
COPY . .
CMD ["npm", "run", "dev"]

FROM base AS build
RUN npm ci
COPY . .
RUN npm run build

FROM node:20-alpine AS production
WORKDIR /app
ENV NODE_ENV=production
COPY package*.json ./
RUN npm ci --omit=dev
COPY --from=build /app/dist ./dist
CMD ["node", "dist/index.js"]
The development stage uses standard npm install and runs a dev script that typically monitors file changes for hot reloading, whereas the production stage uses npm ci --omit=dev for faster, reproducible dependency installation containing only production dependencies, then copies build outputs from the build stage without carrying raw source code or dev dependencies into the final image. As a result, the production image is much smaller and has a reduced attack surface compared to the development image, omitting unnecessary build tools and raw source code at runtime.
33.4 Scaling Stateless Services
One benefit of separating the backend into a stateless service—meaning it does not store persistent data on the container filesystem itself—is the ability to run multiple instances simultaneously to handle higher traffic volumes. Database and cache continue running as single instances in this baseline scenario, as both are stateful and require distinct replication strategies rather than simple container scaling.
33.4.1 Stateless vs Stateful in This Architecture
The api service in this chapter's architecture is stateless provided it does not store sessions or local disk data within the container, relying instead on redis for session sharing across instances. This characteristic is crucial: if the backend stored sessions in process memory (an in-memory session pattern) instead of Redis, scaling up instances would break the user experience, as subsequent requests from the same user might land on a different instance lacking that session data.
The postgres and redis services, on the other hand, are stateful because they hold data that must remain consistent and cannot simply be duplicated into multiple independent instances without proper database replication mechanisms. Scaling focus in this section is purely on the api service, while postgres and redis remain as single instances.
33.4.2 Scaling with docker compose --scale
Run multiple instances of the api service using the --scale option in the docker compose up command.
docker compose up -d --scale api=3This command creates three separate containers for the api service, each automatically assigned an incremental numerical suffix by Compose. Notice that the api configuration in this chapter intentionally uses expose rather than static host port mappings in ports. If a service maps a host port statically, such as "3000:3000", running --scale with a value greater than one will fail because each instance attempts to bind the exact same host port, yielding Bind for 0.0.0.0:3000 failed: port is already allocated. This is why host ports are mapped exclusively on the nginx service, which runs as a single instance in front of all traffic.
33.4.3 Load Balancing via Nginx
Once the api service has multiple instances, Nginx needs to distribute traffic evenly across all instances via load balancing rather than routing all traffic to a single instance. The embedded DNS server in Docker Compose networks automatically returns all active instance IP addresses when resolving the api service name, in line with official Docker networking documentation, allowing traffic to be distributed across instances via DNS resolution.
There is an important trap here that often catches Developers implementing scaling for the first time: Nginx by default resolves hostnames in proxy_pass only once when the Nginx worker process starts, caching the result indefinitely for the life of that process. Consequently, if new api instances are added via --scale after Nginx is already running, Nginx will not automatically detect the new instance IPs until Nginx itself is restarted or reloaded. Address this by adding a resolver directive pointing to Docker's embedded DNS at 127.0.0.11, combined with defining the service name as a variable rather than a static string in proxy_pass.
server {
    listen 80;
    server_name _;

    resolver 127.0.0.11 valid=10s;

    location /api/ {
        set $upstream_api api:3000;
        proxy_pass http://$upstream_api/;
        proxy_set_header Host $host;
        proxy_set_header X-Real-IP $remote_addr;
        proxy_set_header X-Forwarded-For $proxy_add_x_forwarded_for;
        proxy_set_header X-Forwarded-Proto $scheme;
    }

    location / {
        root /usr/share/nginx/html;
        try_files $uri $uri/ /index.html;
    }
}
Assigning the service name to the variable $upstream_api forces Nginx to re-resolve DNS whenever the resolution cache expires according to the valid parameter in the resolver directive, rather than resolving only once at startup. The address 127.0.0.11 is the standard embedded DNS server address provided by Docker inside every container on user-defined networks. It is used here instead of public resolvers because the hostname being resolved is an internal Compose service name, not a public domain.
33.4.4 Verification and Scaling Troubleshooting
Check the active container list to ensure that the number of api instances matches the scaling target.
docker compose ps apiTest traffic distribution by sending consecutive requests to an endpoint that outputs the container identity, such as the container hostname, and observe whether responses alternate between instances.
for i in $(seq 1 6); do curl -s http://localhost/api/health; echo; doneIf all requests land on the same instance despite having multiple replicas, verify whether the Nginx resolver configuration is correct and that the proxy_pass directive uses a variable instead of a static host string. Another common cause in practice is keep-alive connections between client and Nginx, where a single client naturally remains connected to the same upstream connection while the connection is kept open. This is normal behavior and does not indicate load balancing failure; test with separate connections rather than a single persistent connection to view distribution accurately. Scale back down to one instance if scaling was done solely for testing purposes, preventing unneeded host resource consumption.
docker compose up -d --scale api=1