
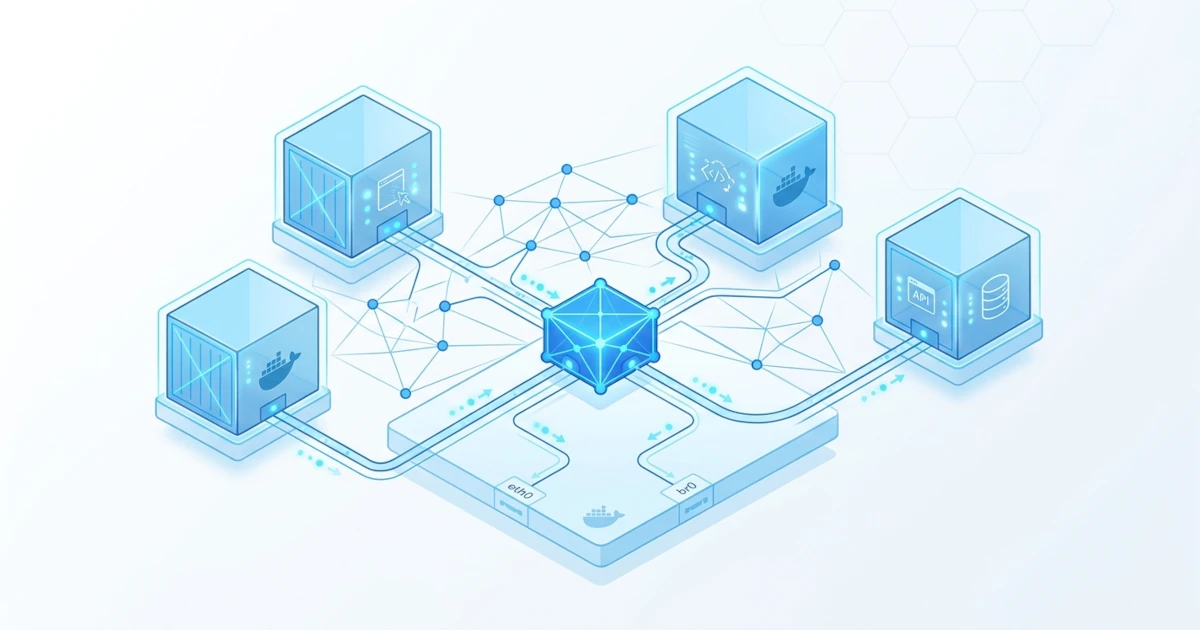
A custom bridge network is sufficient for most container scenarios running on a single host, but production topologies are not always that simple. Sysadmins or DevOps Engineers managing high-traffic applications often need to deploy containers across multiple physical servers simultaneously, while security requirements demand stricter network isolation than merely separating containers into different networks. This chapter covers overlay networks that connect containers across hosts, how multi-host networking works via Docker Swarm, advanced configuration options when creating user-defined networks, and stricter network isolation techniques to secure multi-tier topologies in production.
15.1 Overlay Network and Docker Swarm
An overlay network is a network driver that connects containers across multiple Docker hosts, enabling these containers to communicate with each other as if they were on the same network, even though they are physically distributed across different servers. Unlike a bridge network, which only applies within a single host, an overlay network requires an active swarm mode as a prerequisite, even for connecting standalone containers.
15.1.1 How Overlay Networks Work
An overlay network forms a distributed network among several Docker daemon hosts by encapsulating network packets via the VXLAN protocol and forwarding them over the physical network that connects those hosts. The Docker Engine manages the entire routing process of packets to the correct destination daemon and container, allowing containers on any host to reach each other by name, just like on a standard custom bridge network.
Several network ports must be open between hosts for the overlay network to function: port 2377/tcp for Swarm control plane communications, port 7946/tcp and 7946/udp for node-to-node discovery, and port 4789/udp for overlay data traffic. Sysadmins or DevOps Engineers configuring firewalls in the field often forget to open these three ports, causing nodes that are supposed to join the swarm to fail to reach each other, even if their underlying basic network connectivity is normal.
15.1.2 Initializing Swarm Mode
An overlay network can only be created after swarm mode is active. Initialize swarm mode on a node acting as a manager using docker swarm init.
docker swarm init --advertise-addr 192.168.1.10Swarm initialized: current node (abc123xyz) is now a manager.
To add a worker to this swarm, run the following command:
docker swarm join --token SWMTKN-1-xxxxx 192.168.1.10:2377The --advertise-addr option specifies the IP address used by the manager node to communicate with other nodes, which is important to include explicitly if the host has multiple network interfaces. The output of docker swarm join above contains the token used by other nodes to join as workers; run that command on every worker node you want to add to the cluster.
15.1.3 Creating an Overlay Network and Deploying a Service
Once swarm mode is active, create an overlay network using docker network create with the overlay driver.
docker network create -d overlay app-overlay
docker service create --name web --network app-overlay --replicas 3 -p 8080:80 nginx:alpine
The docker service create command above runs three replicas of the nginx container automatically distributed across all swarm nodes, all connected to app-overlay. Check task distribution using docker service ps.
docker service ps webEach task listed in the output indicates the node where that replica is actually running. Despite being spread across different nodes, all replicas can still reach each other using the service name web because they reside on the same overlay network, exactly like the service discovery mechanism on a single-host custom bridge network.
15.2 Multi-Host Networking in Practice
Running services across nodes alone does not complete the whole picture of multi-host networking. There are several additional mechanisms to understand: how published ports remain accessible from any node, how standalone containers (non-Swarm services) can join an overlay network, and how to secure overlay traffic traveling across the physical network between hosts.
15.2.1 Routing Mesh and Ingress Network
When a service is published using -p, as in the previous web example, Docker Swarm automatically utilizes a special overlay network named ingress to implement a routing mesh. This mechanism makes the port accessible from any node in the swarm, even from nodes that are not physically running a replica of that service.
docker network lsNETWORK ID NAME DRIVER SCOPE
f1a2b3c4d5e6 ingress overlay swarm
a2b3c4d5e6f7 docker_gwbridge bridge localThe ingress and docker_gwbridge networks above are automatically created once swarm mode is activated. The docker_gwbridge acts as a bridge connecting the overlay network to the host's physical interface, allowing incoming traffic directed at a published port to be routed to the correct service replica on whichever node it is running. In practice, this means a request hitting Node A can be forwarded to a replica running on Node B without requiring an additional external load balancer for simple use cases.
15.2.2 Attachably Overlay for Standalone Containers
By default, overlay networks are only accessible to Swarm services, not standalone containers started with standard docker run commands. The --attachable option when creating an overlay network removes this restriction, allowing both standalone containers and Swarm services to connect to the same network.
docker network create -d overlay --attachable shared-overlay
docker run -d --name debug-tool --network shared-overlay alpine sleep 3600
docker exec debug-tool ping -c 2 web
The debug-tool container above runs successfully as a standalone container (not a service), yet it can still reach the web service as long as both are connected to the same overlay network and that network was created with --attachable. Sysadmins or DevOps Engineers frequently use this pattern for debugging or running one-off tools that need access to swarm services without deploying them as permanent services.
15.2.3 Encrypting Overlay Traffic
Overlay network traffic crossing physical networks between hosts is unencrypted by default. This poses a risk if the physical network connecting the swarm nodes is not fully trusted, such as when nodes are distributed across different data centers. The --opt encrypted flag when creating an overlay network enables IPsec encryption at the VXLAN level for all traffic passing through that network.
docker network create -d overlay --opt encrypted secure-overlayThis encryption introduces a performance overhead that cannot be ignored because every packet must be encrypted and decrypted at the kernel level. Therefore, it should only be enabled for networks carrying sensitive data across untrusted physical networks. Note that this option is not supported for Windows containers. An attacker capturing unencrypted physical network traffic between nodes could read packet contents, whereas with --opt encrypted active, intercepted packets remain unreadable without the encryption keys managed automatically by Swarm.
docker service rm web
docker rm -f debug-tool
docker network rm app-overlay shared-overlay secure-overlay
15.3 Advanced User-Defined Network Configuration
Creating custom networks without extra options is sufficient for most cases, but docker network create provides several advanced flags that are useful when container network topologies must match existing IP address schemes in infrastructure, or when a network must be completely isolated from outbound access.
15.3.1 Custom IPAM: Subnet, Gateway, and IP Range
By default, Docker automatically selects a subnet and gateway for new networks from its internal address pool. The --subnet, --gateway, and --ip-range options allow you to explicitly define the IP addressing scheme, which is particularly useful when Docker's default subnets conflict with subnets already in use across corporate networks.
docker network create \
  --subnet=10.20.0.0/24 \
  --gateway=10.20.0.1 \
  --ip-range=10.20.0.128/25 \
  custom-ipam-net
The --subnet option above defines the overall address range for the network, --gateway sets the gateway address within that subnet, while --ip-range restricts the actual range Docker allocates to new containers to the upper half of the subnet. Containers started on this network automatically receive IP addresses from within the 10.20.0.128/25 range, rather than the entire /24 subnet.
docker run -d --name ipam-test --network custom-ipam-net alpine sleep 3600
docker inspect --format '{{.NetworkSettings.Networks.custom-ipam-net.IPAddress}}' ipam-test
Sysadmins or DevOps Engineers managing many networks simultaneously across large infrastructures usually establish subnet schemes like this consistently from the start, ensuring address ranges between networks never overlap and making troubleshooting easier.
15.3.2 Internal Networks for External Isolation
The --internal option prevents a network from having any outbound route to external networks. Containers connected to an internal network can still communicate with each other, but they cannot reach other networks or the internet, because Docker does not configure an outbound default route for this type of network.
docker network create --internal db-internal
docker run -d --name db --network db-internal postgres:16-alpine
docker exec db ping -c 2 8.8.8.8
The ping command to the public IP address above will time out, demonstrating that the db container is completely isolated from outbound access. This pattern is ideal for database tiers or internal services that by design never need internet access. If a container is compromised via a vulnerability, an attacker who gains access still cannot use it as an exfiltration path to the internet.
docker rm -f ipam-test db
docker network rm custom-ipam-net db-internal
15.4 Network Isolation and Advanced Segmentation
Separating containers into different networks (like the frontend-backend pattern) provides basic isolation, but more complex production topologies sometimes require granular control, including consistent multi-tier segmentation and disabling inter-container communication by default.
15.4.1 Multi-Tier Architecture with Internal Networks
Combining standard custom bridge networks and internal networks forms a common three-tier architecture used in production: a public tier accessible from the outside, an application tier reachable only through the public tier, and a database tier completely isolated from the internet.
docker network create public-net
docker network create --internal app-net
docker network create --internal db-net

docker run -d --name db --network db-net postgres:16-alpine
docker run -d --name api --network app-net node-app:latest
docker network connect db-net api

docker run -d --name proxy --network public-net -p 443:443 nginx:alpine
docker network connect app-net proxy
The db container is solely a member of db-net, which is internal, making it completely unreachable from the outside or the internet. The api container belongs to app-net (also internal) and joins db-net via docker network connect, allowing it to reach db without outbound internet access. The proxy container is the only one connected to non-internal public-net, and it also joins app-net to forward requests to api. This layered layout ensures an attacker who compromises proxy from the outside must still breach the app-net and db-net isolation layers before reaching data in db, rather than having a direct path from the internet to the database.
15.4.2 Disabling Inter-Container Communication (ICC)
By default, all containers connected to the same bridge network (whether default or custom bridge) can freely communicate with each other because the driver option com.docker.network.bridge.enable_icc defaults to true. Disabling this option using -o com.docker.network.bridge.enable_icc=false when creating a network prevents connected containers from communicating with each other by default, even on the same network.
docker network create -o com.docker.network.bridge.enable_icc=false isolated-net
docker run -d --name svc1 --network isolated-net alpine sleep 3600
docker run -d --name svc2 --network isolated-net alpine sleep 3600
docker exec svc1 ping -c 2 svc2
The ping command above will fail even though svc1 and svc2 are both members of isolated-net, because disabling ICC causes Docker to append iptables rules that reject traffic between containers on that network by default. This pattern is useful when publishing ports from multiple containers to a host without allowing those containers to reach each other directly—such as multiple independent services belonging to different tenants residing on the same network for management convenience, but requiring strict security isolation.
docker rm -f db api proxy svc1 svc2
docker network rm public-net app-net db-net isolated-net