
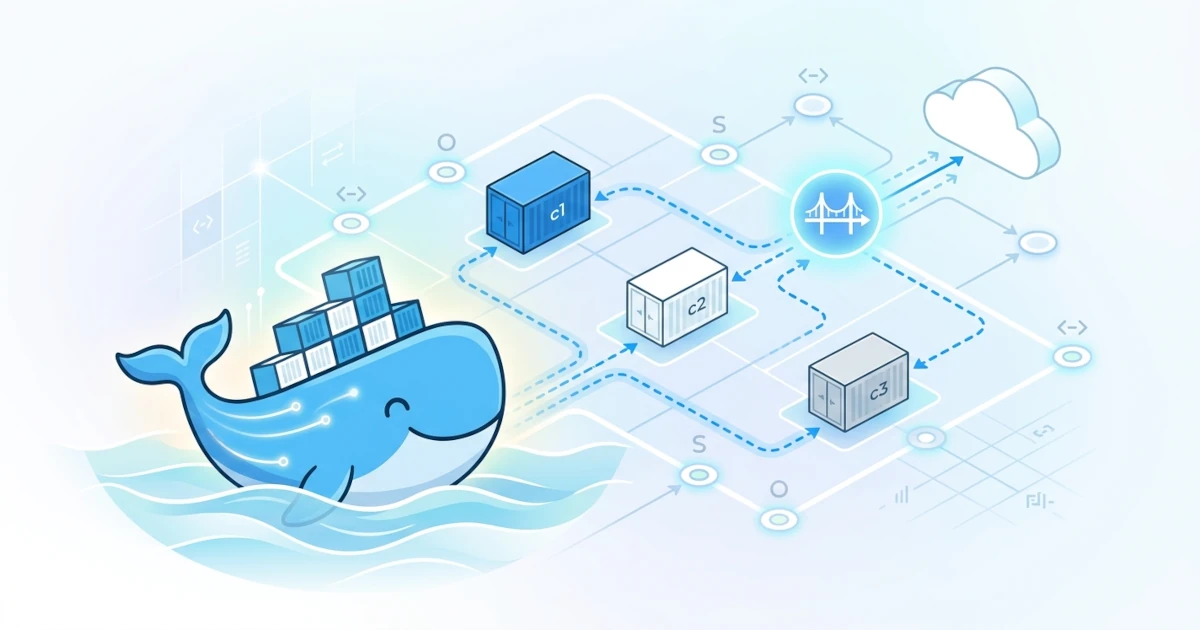
Applications running inside containers rarely stand alone. A web application usually needs to connect to a database, cache, or other services, and all of these can run as separate containers on the same host. This is where Docker networking comes into play: managing how containers connect to each other, as well as how containers connect out to the host network or the internet. Developers building multi-service applications need to understand this concept so these containers can talk to one another, while Sysadmins/DevOps Engineers need to understand it to manage isolation, security, and connection troubleshooting in production. This chapter covers the various network drivers provided by Docker, the characteristics of the default bridge network, how to create and use custom bridge networks, up to network inspection techniques to ensure the configuration is correct.
13.1 Network Drivers
Docker Engine supports a pluggable networking system through the concept of a network driver, which is the component that determines how a network operates: whether containers are isolated from each other, connected via a virtual bridge, using the host network directly, or connected across hosts via an overlay network. Every network created in Docker always uses one of these drivers.
13.1.1 Bridge
Bridge is the default network driver in Docker. If a network is created without explicitly specifying a driver, Docker automatically uses the bridge driver. This driver is suitable when containers running on the same host need to communicate with each other, for example a web application container that needs to connect to a database container on the same host.
Technically, a bridge network uses a virtual network device at the Linux kernel level that acts like a switch, connecting all containers attached to it in a single private network segment. Every container connected to the same bridge network receives its own private IP address and can communicate with others via that address.
13.1.2 Host
The host network driver removes network isolation between the container and the host, allowing the container to directly use the host's network stack without NAT or virtual bridges in between. If a container using the host driver opens port 8080, that port is automatically opened on the host without needing the -p option to publish the port.
This driver is suitable for use cases that require maximum network performance or need access to a large range of dynamic ports, but as a consequence, the container loses network isolation completely from the host. An attacker who successfully exploits a container using network host has much broader network access compared to a container isolated via a bridge, so this driver should be used selectively and with thorough security consideration, especially in production.
Support for the host driver varies across platforms. On Linux Docker Engine, this driver is fully supported and available natively. On Docker Desktop for macOS and Windows, host networking support is only available starting from version 4.34 and is opt-in via Settings > Resources > Network > Enable host networking, with limitations: processes inside the container cannot directly bind to the host IP address, it only works at layer 4 (TCP/UDP), and it does not apply to Windows containers.
13.1.3 Overlay
Overlay is a driver that connects multiple Docker daemons across different hosts, enabling containers or Swarm services spread across multiple nodes to communicate with each other as if they were on the same network. This driver eliminates the need to perform manual routing at the OS level between hosts, because Docker handles the encapsulation of network packets behind the scenes.
Overlay networks are mainly relevant when containers are running in Swarm mode or for other multi-host orchestration needs. For deployments where all containers run on a single host, a bridge network is sufficient and simpler to manage than an overlay.
13.1.4 Macvlan
Macvlan assigns a unique MAC address to each container, making the container appear as a separate physical device on the network rather than just a process running behind host NAT. The Docker daemon routes traffic to the container based on that MAC address, connecting directly to the physical network through a specified parent interface.
This driver is useful primarily for migrating from virtual machine environments to containers, especially for legacy applications that expect a direct connection to the physical network rather than additional routing from the Docker host. Macvlan requires a physical network interface (such as eth0) as a parent, and according to official Docker documentation, this driver only runs on Linux Docker Engine; Docker Desktop for macOS and Windows, as well as Docker Engine on Windows, do not support it at all. Most cloud providers also block macvlan traffic by default, making this driver practical only in infrastructure with direct physical access to network equipment.
13.1.5 None
The none driver completely isolates a container from the host network and other containers. A container run with --network none only has a loopback interface, with no outbound connections at all.
docker run --rm --network none alpine ip link showThe output of the command above displays only one interface, lo (loopback), proving that this container truly has no external network access. This driver is suitable for containers that do not require network connections at all, such as batch processes that purely process local data, or for extra security isolation needs when running untrusted processes.
13.2 Default Bridge Network
Every time Docker Engine is installed, a bridge network named bridge is automatically available and becomes the default network for containers run without the --network option. Understanding the limitations of this network is important to avoid wrong assumptions about how containers connect to each other within it.
13.2.1 How Default Bridge Works
Check the existence of the default bridge network using docker network ls.
docker network lsNETWORK ID NAME DRIVER SCOPE
c1a2b3d4e5f6 bridge bridge local
d2b3c4e5f6a7 host host local
e3c4d5f6a7b8 none null localThese three networks (bridge, host, none) are always present by default in every Docker Engine installation, each representing the bridge, host, and none drivers discussed earlier. Containers run without the --network option automatically connect to this bridge network.
13.2.2 Name Resolution Limitations in Default Bridge
The most significant limitation of the default bridge network is that containers connected to it do not get automatic DNS resolution based on container names. Prove this directly by running two containers on the default bridge, then try to ping each other by container name.
docker run -d --name web1 alpine sleep 3600
docker run -d --name web2 alpine sleep 3600
docker exec web1 ping -c 2 web2
The ping command above will fail with a message like bad address 'web2', because the default bridge network does not provide automatic DNS resolution between containers. The only way containers connect to each other on the default bridge is via their respective IP addresses, which can be checked using docker inspect.
docker inspect --format '{{.NetworkSettings.IPAddress}}' web2docker exec web1 ping -c 2 172.17.0.3The old way to overcome this limitation was the --link option, but this option is deprecated according to official Docker documentation and should no longer be used for new requirements. In practice, this limitation is the primary reason why the default bridge network is rarely used directly for multi-container application deployments that need to connect to one another; a more appropriate solution is to create a custom bridge network.
13.2.3 Cleaning Up Experimental Containers
After finishing experiments, stop and remove both test containers so they do not accumulate on the host.
docker rm -f web1 web213.3 Custom Bridge Network
The most common solution for connecting multiple containers on a single host while obtaining automatic name resolution is creating a custom bridge network (also called a user-defined bridge network), which is a bridge network explicitly created by the user rather than Docker's built-in bridge network.
13.3.1 Creating a Custom Bridge Network
Create a custom bridge network using docker network create.
docker network create app-netIf the -d option is not included, Docker automatically uses the bridge driver as it is the default. Explicitly including -d bridge is also valid and makes the intention clearer to others reading the command.
docker network create -d bridge app-netRun two containers connected to app-net, then repeat the name resolution experiment as before.
docker run -d --name web1 --network app-net alpine sleep 3600
docker run -d --name web2 --network app-net alpine sleep 3600
docker exec web1 ping -c 2 web2
This time the ping command succeeds, because custom bridge networks provide automatic DNS resolution between connected containers. Container web1 can reach web2 directly by its name, without needing to know its IP address at all. This behavior is consistently used in container and database combinations (for example, an application container connecting to a database container simply via the name db), regardless of which host runs them.
13.3.2 Connecting Existing Containers
A container that is already running without the --network option can still be connected to a custom bridge network later, without needing to recreate the container.
docker run -d --name web3 alpine sleep 3600
docker network connect app-net web3
docker exec web1 ping -c 2 web3
The docker network connect command adds a container to an additional network, allowing the container to belong to more than one network simultaneously (for example, remaining on the default bridge while connected to app-net). Conversely, docker network disconnect detaches a container from a network without needing to stop the container itself.
docker network disconnect app-net web313.3.3 Network Aliases
In addition to the container name itself, custom bridge networks support network aliases, which are additional names that other containers can use to reach a container on the same network. This feature is useful, for instance, when assigning a generic name like db to a database container, regardless of its actual container name.
docker run -d --name postgres-primary --network app-net --network-alias db postgres:16-alpineOther containers on app-net can reach the postgres-primary container above simply via the db alias, without needing to know its actual container name. This practice simplifies swapping backend containers (such as during database version migrations) without altering application-side connection configurations, as long as the alias remains consistent.
13.3.4 Removing a Custom Network
Custom networks that are no longer used can be removed via docker network rm. Docker refuses to remove a network that is still in use by running containers, so disconnect or stop all connected containers before deleting the network.
docker rm -f web1 web2 web3 postgres-primary
docker network rm app-net
To clean up all custom networks not used by any container at once, use docker network prune. This command removes iptables rules, bridge devices, and routing table entries associated with the deleted networks, so ensure no required networks remain before running it in production.
docker network prune13.4 Network Inspection
When communication between containers fails, a Sysadmin/DevOps Engineer's first step is usually inspecting the current network configuration rather than guessing the cause from application logs. Docker provides several inspection commands for this purpose.
13.4.1 Viewing the Network List
docker network ls displays all networks on the host, including their respective drivers and scopes, as demonstrated in earlier sections. Use the --filter option to narrow results, such as displaying only networks with the bridge driver.
docker network ls --filter driver=bridge13.4.2 Inspecting Network Details
docker network inspect displays complete details of a network in JSON format, including subnets, gateways, and the list of currently connected containers.
docker network create app-net
docker run -d --name web1 --network app-net alpine sleep 3600
docker network inspect app-net
[
{
"Name": "app-net",
"Driver": "bridge",
"IPAM": {
"Config": [
{
"Subnet": "172.20.0.0/16",
"Gateway": "172.20.0.1"
}
]
},
"Containers": {
"a1b2c3d4e5f6": {
"Name": "web1",
"IPv4Address": "172.20.0.2/16"
}
}
}
]The Containers section in the output above is the fastest way to confirm whether a container is actually connected to the specified network, as well as viewing the IP address it uses on that network. If a container that should be connected does not appear in this list, it was likely not attached via --network at startup or docker network connect has not been executed.
13.4.3 Inspecting Networking from the Container Side
In addition to inspection from the Docker Engine side, check the network configuration from within the container itself to ensure interfaces and DNS resolution work as expected.
docker exec web1 ip addr show
docker exec web1 cat /etc/resolv.conf
The ip addr show command displays network interfaces along with IP addresses used by the container, while the contents of /etc/resolv.conf show the DNS server used by the container for name resolution. On custom bridge networks, Docker automatically directs container name resolution to its own internal DNS server, unlike the default bridge which does not provide this mechanism at all.
13.4.4 Common Troubleshooting
Common network issues encountered in practice and how to investigate them:
- Containers cannot
pingeach other by name: ensure both containers are on the same custom bridge network, not the default bridge. Check viadocker network inspectwhether both are listed as members of the same network. - Published ports remain unreachable from outside the host: check whether the process inside the container actually listens on address
0.0.0.0rather than just127.0.0.1, because binding to localhost alone renders the port unreachable from outside the container even if published. - Two networks with overlapping subnets: if a custom network fails to create due to address conflicts, specify the subnet explicitly using the
--subnetoption when creating the network to prevent clashes with existing networks.
docker network create --subnet=172.28.0.0/16 custom-netExplicitly defining subnets in this manner is also useful for production environments that need to ensure IP address ranges between networks do not overlap, especially when the host runs multiple custom networks simultaneously.