
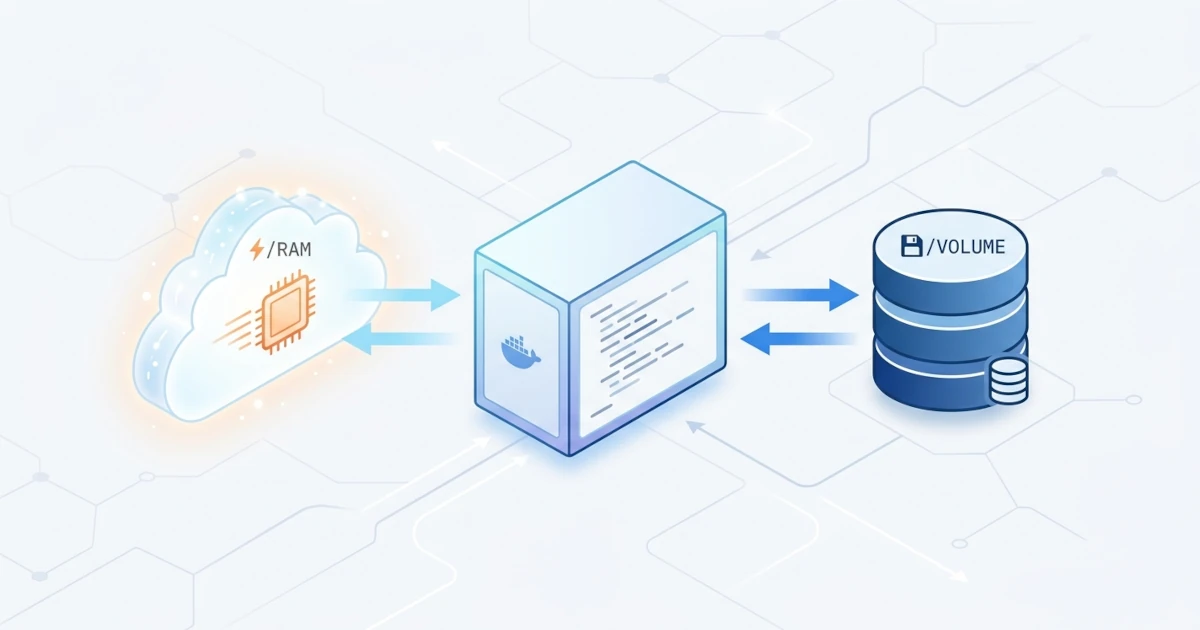
Not all data used by a container needs to last long. Sysadmins/DevOps Engineers managing applications with temporary sensitive data, such as session tokens or caches that must not touch the disk, need a storage mechanism that automatically vanishes once the container stops. On the other hand, data that must be safely stored requires a clear backup strategy, especially considering that volumes and bind mounts discussed previously are equally vulnerable to data loss if the host experiences issues. This chapter covers tmpfs mounts as an option for temporary storage in memory, the inner workings of storage drivers powering image and container filesystems, comparisons between persistent versus temporary storage characteristics, up to hands-on practices for backing up and recovering volume data.
12.1 tmpfs Mounts
tmpfs mount is a mount type that stores data directly in the host memory (RAM), not on disk. Data written to a tmpfs mount is completely lost once the container stops, because it is never saved to any physical storage medium.
12.1.1 How tmpfs Works
When a tmpfs mount is attached to a container, the Linux kernel allocates a portion of RAM as a temporary filesystem visible only to that container. Its nature is similar to a volume in being isolated from the image filesystem, but completely different regarding data persistence: volumes and bind mounts persist on the host disk even if the container is deleted, whereas tmpfs mount contents disappear as soon as the container using it stops or restarts.
This characteristic makes tmpfs suitable for data that must not persist long, such as temporary lock files, runtime caches, or sensitive data like tokens and credentials deliberately kept off permanent disk storage for security reasons. tmpfs mounts are only supported when Docker Engine runs on a Linux host; Docker Desktop on Windows and macOS runs a Linux VM underneath, so tmpfs still functions normally for Linux containers, but it does not apply to Windows containers because Windows does not support the tmpfs concept.
12.1.2 Creating a tmpfs Mount
Docker provides two ways to mount tmpfs, similar to bind mounts: the concise --tmpfs option, and the more explicit --mount option using key=value pairs.
docker run -d --name demo-tmpfs --tmpfs /app/cache alpine sleep 3600The command above mounts an empty tmpfs to the /app/cache path inside the container. Verify using docker inspect to ensure the tmpfs type mount is properly attached.
docker inspect --format '{{json .Mounts}}' demo-tmpfsFor more explicit syntax, use --mount with type=tmpfs.
docker run -d --name demo-tmpfs2 --mount type=tmpfs,dst=/app/cache alpine sleep 3600The most direct way to prove the temporary nature of tmpfs is writing a file into it, restarting the container, and inspecting its contents again.
docker exec demo-tmpfs sh -c "echo data-sementara > /app/cache/test.txt && cat /app/cache/test.txt"
docker restart demo-tmpfs
docker exec demo-tmpfs ls /app/cache
The /app/cache directory will be empty after restart, proving that data written to tmpfs does not persist across container lifecycles.
12.1.3 tmpfs Size and Mode Options
Since tmpfs uses host RAM directly, limit its size so a single container cannot consume all host memory simply through writes to tmpfs. If size options are not specified, the default maximum limit for a tmpfs mount is 50% of total host RAM, according to official Docker documentation.
docker run -d --name demo-tmpfs3 --tmpfs /app/cache:size=64m,mode=1770 alpine sleep 3600The size option limits tmpfs capacity in bytes (suffixes like k, m, g can also be used), while mode sets filesystem permissions in octal notation, similar to standard Unix permissions. Via --mount, equivalent options are written as tmpfs-size (in bytes) and tmpfs-mode.
docker run -d --name demo-tmpfs4 --mount type=tmpfs,dst=/app/cache,tmpfs-size=67108864,tmpfs-mode=1770 alpine sleep 3600Additional options such as noexec (prevents binary execution inside the mount) or uid/gid (specifies tmpfs owner) are also available via --tmpfs, useful for restricting tmpfs strictly as a data storage area rather than an execution directory. Note that tmpfs mounts cannot be shared among multiple containers simultaneously like named volumes can, because tmpfs is designed strictly as local storage dedicated to a single container.
Trustworthiness is important to emphasize here: data stored in tmpfs is counted toward the container memory limit (--memory option). Increasing tmpfs-size does not add extra container RAM allocations; it simply raises the upper bound of the tmpfs itself. If data written to tmpfs exceeds the container memory limit, processes inside can be forcibly terminated by the Linux kernel OOM (out-of-memory) killer. Ensure tmpfs-size limits and container memory limits are planned together, especially for applications writing large volumes of data to tmpfs.
12.2 Storage Drivers
A storage driver is a component in Docker Engine managing how image layers and container writable layers are stored and handled on the host filesystem. Storage drivers work behind the scenes every time a container is created, but understanding their operations is essential for Sysadmins/DevOps Engineers needing to diagnose performance issues or disk capacity in production environments.
12.2.1 The Role of Storage Drivers in Docker
Every Docker image consists of multiple stacked read-only layers. When a container runs, Docker adds a single writable layer on top of all image layers, where all changes (new files, modifications, deletions) during container runtime are stored. The storage driver is responsible for unifying all read-only layers and the writable layer into a single unified filesystem visible to processes inside the container, utilizing union filesystem techniques.
If the container is deleted, its writable layer is deleted along with it, while read-only image layers remain intact and reusable by other containers originating from the same image. This principle enables multiple containers to share identical image layers without data duplication, saving host disk space significantly for images sharing common bases.
12.2.2 overlay2 as the Default Driver
Docker Engine on Linux supports several storage drivers, including overlay2, fuse-overlayfs, btrfs, and zfs. According to official Docker documentation, overlay2 is the recommended storage driver for all currently supported Linux distributions and is selected by default if the host kernel meets requirements, replacing legacy drivers like aufs or devicemapper used in older Docker versions. Unless strong reasons exist for using another driver, overlay2 should remain in use.
On Windows, Docker Engine only supports the windowsfilter storage driver, making storage driver selection relevant only for Linux hosts running Docker Engine (including Docker Desktop running a Linux VM underneath).
12.2.3 Checking and Changing Storage Drivers
Check the active storage driver used by Docker Engine via docker info, locating the Storage Driver and Backing Filesystem lines in the output.
docker infoStorage Driver: overlay2
Backing Filesystem: xfs
Supports d_type: true
Native Overlay Diff: trueIf changing the storage driver is necessary due to specific infrastructure needs, define it via the storage-driver key in /etc/docker/daemon.json.
{
  "storage-driver": "overlay2"
}
After editing daemon.json, restart the Docker daemon so the new configuration takes effect. Docker will refuse to start if daemon.json contains invalid JSON syntax, so verify file formatting before restarting.
sudo systemctl restart docker
docker info | grep "Storage Driver"
Associated risks must be emphasized: changing storage drivers causes Docker Engine to lose access to all existing images and containers saved under the old driver, because layer storage structures between drivers are mutually incompatible. Backup critical data and document current active images before modifying storage drivers in production environments to avoid accidental data loss.
12.3 Persistent vs Temporary Storage
After understanding volumes, bind mounts, and tmpfs mounts, the next step is selecting appropriate storage mechanisms according to data characteristics. The most common mistake in production is storing persistent data (such as database files) in temporary locations, or conversely storing temporary caches in volumes, which adds unnecessary disk I/O load.
12.3.1 Choosing the Right Storage Type
The primary consideration when choosing storage types is determining how long data needs to persist, and who (Docker or host) should manage its physical location.
| Aspect | Volume | Bind Mount | tmpfs Mount |
|---|---|---|---|
| Storage medium | Host disk, managed by Docker | Host disk, path manually specified | Host RAM, not disk |
| Persists after container stops | Yes | Yes | No, lost immediately |
| Shareable across containers | Yes | Yes | No |
| Common use case | Persistent app/database data | Development live reload, host configs | Runtime cache, temporary sensitive data |
In production scenarios, Sysadmins/DevOps Engineers typically combine all three within a deployment: volumes for mandatory persistent database data, bind mounts for host-managed configuration files, and tmpfs for temporary cache directories or session stores. This combination keeps critical data safe while avoiding unnecessary disk writes for disposable data.
12.4 Data Backup and Recovery
Docker volumes persist across container lifecycles, but they reside strictly on a single host. If that host disk fails or the host itself is lost, all volume data disappears without recovery options unless a regular backup strategy is actively running.
12.4.1 Backing Up Volumes using Temporary Containers
The standard approach for backing up named volumes involves running a temporary container mounting both the target volume and a host directory destination, then archiving volume contents using tar.
docker run --rm \
  -v app-data:/data \
  -v $(pwd)/backup:/backup \
  alpine tar czf /backup/app-data-backup.tar.gz -C /data .
This command mounts the app-data volume to /data, mounts the host backup directory to /backup, and executes tar to compress all contents of /data into a single archive file saved directly on the host via bind mount. The --rm flag ensures this temporary container is automatically removed upon backup completion.
12.4.2 Restoring Data from Backups
The restoration process follows a similar pattern in reverse: extract the archive file from the host directly into the target volume.
docker volume create app-data-restored
docker run --rm \
  -v app-data-restored:/data \
  -v $(pwd)/backup:/backup \
  alpine tar xzf /backup/app-data-backup.tar.gz -C /data
Trustworthiness is important to emphasize here: the tar xzf command above overwrites the target volume /data directory contents without confirmation prompts. If the target volume is not newly created and already contains data, this restore operation will overwrite or mix with existing files. Ensure target volumes are empty or explicitly intended for overwrite prior to running restore commands in production.
12.4.3 Verifying Backup Integrity
Unverified backups offer no guarantee of recovery, as corruption or incomplete data often remains undetected until emergency restoration is attempted. Test archive contents without full extraction using the -t flag in tar to verify archive integrity.
docker run --rm -v $(pwd)/backup:/backup alpine tar tzf /backup/app-data-backup.tar.gzCompare the restored volume directory listings against original volumes to confirm file counts and structural consistency before placing restored volumes into active production use.
docker run --rm -v app-data:/data alpine ls -la /data
docker run --rm -v app-data-restored:/data alpine ls -la /data
In practice, volume backup routines should ideally be scheduled automatically (e.g., via host cron executing the backup commands above), stored offsite separately from production hosts (such as external object storage), and routinely verified for restoration viability rather than relied upon unchecked after initial creation.