
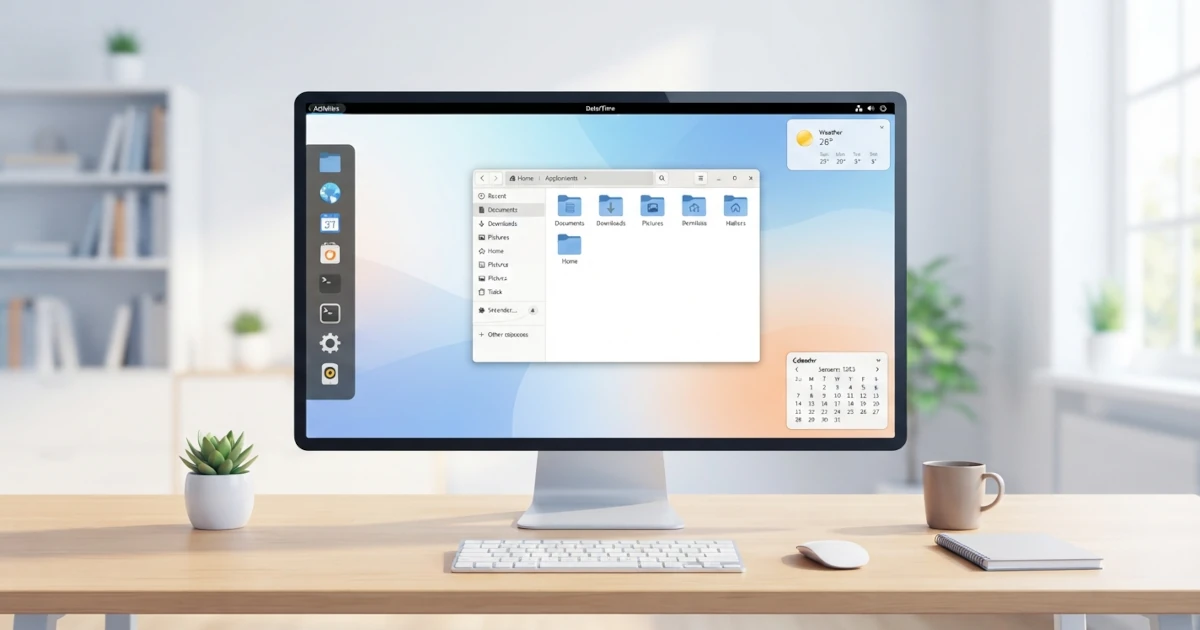
After successfully installing Ubuntu 26.04 LTS and Fedora Workstation 44 in the previous two chapters, you have now arrived at the most exciting point of this journey: getting acquainted directly with the Linux desktop that you will use every day. Both distributions share one important commonality: they both use GNOME as the default desktop environment. This chapter will help you understand what a desktop environment is, why GNOME is the choice of Ubuntu and Fedora, and how to explore and operate its interface. At the end, we will also see how GNOME looks different on Ubuntu and Fedora, even though it is essentially the same environment.
What is a Desktop Environment?
When you turn on your computer and see a graphical display containing windows, icons, panels, and menus, what you are actually looking at is not the operating system itself, but a software layer called a desktop environment (DE). Simply put, a desktop environment is a collection of programs that work together to present a complete graphical interface, allowing users to operate the computer without having to type commands in the terminal.
A full desktop environment generally consists of several complementary components:
| Component | Function |
|---|---|
| Window manager | Manages opening, placing, moving, and closing application windows |
| Panel and dock | A bar containing menus, system indicators, and application launchers |
| App launcher | Displays and launches installed applications |
| System settings | Central settings to change system configuration |
| File manager | Manages files and directories graphically |
| Built-in applications | Text editor, terminal, image viewer, and others |
It is important to understand that a desktop environment differs from a window manager alone. A window manager is just one component that arranges windows, whereas a desktop environment is a complete package that includes the window manager along with all supporting applications and utilities. This is what distinguishes GNOME or KDE Plasma from minimal window managers like Openbox or i3.
One of Linux's main strengths is the freedom of choice. Unlike Windows or macOS, which only offer one official interface, Linux offers many desktop environments that you can choose according to your taste and needs. Some popular ones include:
- GNOME: a modern desktop environment with a simple design focused on productivity.
- KDE Plasma: feature-rich and highly customizable.
- Xfce: lightweight and suitable for computers with limited resources.
- Cinnamon and MATE: experiences similar to the traditional Windows desktop or classic GNOME.
- LXQt: lightweight and resource-efficient.
Among all of them, GNOME is the most widely used as the default by major distributions, including Ubuntu and Fedora. This chapter will focus entirely on GNOME because that is the desktop environment you will be using throughout this series.
Why Do Ubuntu and Fedora Use GNOME?
GNOME is not chosen arbitrarily by Ubuntu and Fedora as their default interface. There are several reasons why both have made GNOME their default.
Simple and productive design philosophy. GNOME is designed with the principle of reducing distractions (distraction-free). There are no icons on the desktop, no layered menus, and no stacks of panels filling the screen. Instead, GNOME hides most of its interface and only reveals it when needed through the Activities Overview. The goal is to help users focus on one task at a time, and then switch quickly using workspaces.
A mature and fully supported project. GNOME is developed by the GNOME Project under the GNOME Foundation, a non-profit organization funded by various technology companies and community donations. GNOME has a regular release cycle, comprehensive documentation, and a strong focus on accessibility for users with special needs. All of this makes GNOME a stable and reliable choice for large distributions.
Adoption of modern technology. GNOME is a pioneer in adopting Wayland, the modern display server protocol that replaces X11. Since GNOME 50, the X11 session has been completely removed from GNOME Shell, so the GNOME session now runs exclusively on Wayland — though individual X11-based applications can still be run through the XWayland compatibility layer. GNOME also supports touchpad gestures, and since GNOME 50, fractional scaling and variable refresh rate (VRR) are enabled by default without needing to be manually activated through experimental settings. For Ubuntu and Fedora, which want to bring the latest technology to their users, GNOME is the right partner.
However, the paths Ubuntu and Fedora took to GNOME are not the same.
Fedora has used GNOME as its default desktop environment since Fedora 15 in 2011, when GNOME 3 was first released. Fedora is known for always shipping GNOME in a "vanilla" state, with almost no modifications from the upstream version, and often being the first major distribution to deliver the latest GNOME release. The close relationship between the Fedora Project and the GNOME community makes Fedora the best way to experience GNOME in its purest form.
Ubuntu, on the other hand, has a more winding history. For many years Ubuntu used its own interface called Unity. In 2017, specifically Ubuntu 17.10, Canonical decided to abandon Unity and return to GNOME. However, instead of using pure GNOME, Ubuntu delivers a GNOME that has been tailored to Ubuntu's taste through a number of built-in extensions, such as the Ubuntu Dock and AppIndicator, so that the look remains familiar to long-time Ubuntu users. This approach will be discussed in more detail at the end of this chapter.
Both Ubuntu 26.04 LTS and Fedora Workstation 44 ship with GNOME 50, the GNOME release codenamed "Tokyo".
Getting to Know the GNOME Interface
When you first log into the GNOME desktop, you might be surprised to see how "empty" the screen is. There is only a thin bar at the top and a wallpaper background, no icons on the desktop, no Start button, and no permanent dock (especially in Fedora). This is a result of GNOME's philosophy of minimizing distractions. All important functions are actually centralized in one place called the Activities Overview.
To understand GNOME, you need to know its four main elements: the Activities Overview, the Top Bar, the Dash, and Workspaces.
Activities Overview: The Super Key
The Activities Overview is the heart of GNOME. From here you start almost all activities: searching for and launching applications, viewing all open windows, and switching between workspaces.
To open it, you can:
- Press the Super key on your keyboard – the key with the Windows logo on most PC keyboards or the Command (⌘) key on Apple keyboards. In Linux terminology, this key is called the Super key or Meta key.
- Click the Activities label in the top-left corner of the Top Bar.
- Swipe up with three fingers on the touchpad (if using a laptop).
When opened, the Activities Overview displays four areas at once:
- Search bar at the top for searching applications, files, settings, and even performing simple calculations.
- Window overview in the center, showing all open windows on the active workspace as thumbnails.
- Dash at the bottom (or on the left side, depending on configuration) containing favorite applications and running applications.
- Workspace switcher on the right side, showing the list of available workspaces.
You can exit the Activities Overview at any time by pressing the Esc key or pressing Super again.
The Top Bar and System Status Area
The Top Bar is a thin bar that stretches across the top of the screen. Although simple, it holds important information and controls:
- Left edge: the Activities button. When an application is in focus, the application name and its menu will appear next to the Activities button.
- Center: the date and time. Clicking it opens a monthly calendar along with a list of notifications.
- Right edge (system status area): a collection of icons showing system status, such as network connection, sound volume, battery power, and the power button. Clicking this area opens the Quick Settings panel containing toggles for Wi-Fi, Bluetooth, dark mode, brightness and volume sliders, as well as buttons for lock, log out, and restart.
Unlike the system tray on Windows, which is located in the bottom-right corner, all GNOME status and quick settings are centralized in this top bar.
The Dash (App Launcher)
The Dash is GNOME's application launcher. On pure GNOME (like in Fedora), the Dash only appears when you open the Activities Overview, usually at the bottom of the screen. The Dash displays a row of icons consisting of:
- Favorite applications: applications you have purposely pinned for easy access.
- Running applications: marked with a small dot below the icon.
- The Show Apps button (a nine-dot grid icon) at the end of the Dash: opens the grid of all installed applications.
To add an application to the Dash, right-click on the application icon (either in the Dash or in the application grid), then select Add to Favorites. To remove it, select Remove from Favorites.
On Ubuntu, the Dash appears as the Ubuntu Dock, which is located on the left side of the screen and is always visible (unless set to auto-hide). This difference will be discussed further in the section "Differences Between GNOME on Ubuntu vs Fedora".
Workspaces (Virtual Desktops)
Workspaces are GNOME's built-in virtual desktop feature that allows you to split your work across several separate "screens". Think of workspaces as multiple desks: on the first desk you write a document, on the second you have a browser open, and on the third you run a terminal. You switch between desks without having to close or minimize anything.
Some characteristics of workspaces in GNOME:
- Workspaces are arranged horizontally, with the first workspace on the left, the next to the right, and so on (since GNOME 40).
- By default, GNOME only shows workspaces as needed. The last empty workspace will be automatically closed, and a new workspace appears when you move an application there.
- In the Activities Overview, the workspace list appears as a vertical row of thumbnails on the right side of the screen. From here you can drag windows from one workspace to another.
- A window can be moved to a new workspace by dragging it to an empty area in the workspace switcher, or using keyboard shortcuts.
Using workspaces is one of the most important habits you need to develop when using GNOME, because its entire design is built around working with multiple workspaces rather than having many windows piled up on a single screen.
Basic Navigation
After becoming familiar with the elements of the GNOME interface, it is now time to practice navigating within it. There are two approaches you can use: through the mouse and through the keyboard. Although GNOME can be fully operated with a mouse, the best efficiency comes from combining both, especially using the Super key and its various shortcuts.
Opening Applications
There are several ways to open applications in GNOME:
- Via the Activities Overview. Press Super to open the Activities Overview, then:
- Click a favorite application icon in the Dash, or
- Click the Show Apps button (nine-dot grid) to see all applications, then click the desired application icon.
- Via search. Press Super, then immediately type the application name. GNOME will display search results instantly. Press Enter to open the top result.
- Via the terminal. For applications whose names you know, you can open them from the terminal, for example typing
firefoxand pressing Enter. However, for daily use, the first and second methods are much more practical.
To open the terminal, the most universal way is to press Super, type Terminal, and press Enter. In Ubuntu, the shortcut Ctrl+Alt+T is enabled by default to open the terminal directly. In Fedora, which ships GNOME in a vanilla state, this shortcut is not set by default – you need to add it yourself through Settings > Keyboard > Keyboard Shortcuts > Custom Shortcuts if you want to use it.
Switching Between Windows and Workspaces
When many applications are open, you need to switch quickly between them. Here are some common methods:
- Alt+Tab: switch between open windows. Hold Alt and press Tab repeatedly to select the desired window.
- Alt+` (the key above Tab): switch between windows of the same application.
- Super+Tab: switch between applications (not individual windows).
- Super: open the Activities Overview to see all windows at once, then click the desired window.
To switch between workspaces:
- Super+Page Up and Super+Page Down: move to the next or previous workspace.
- Super+Shift+Page Up and Super+Shift+Page Down: move the active window to the next or previous workspace.
- In the Activities Overview, click the workspace thumbnail on the right side, or drag a window to another workspace.
Searching for Applications and Files
The search field in the Activities Overview is one of GNOME's most useful features. It is not just an application launcher, but a system-wide search. When you type in the search field, GNOME looks for:
- Installed applications.
- Files in your home directory.
- System settings, for example typing
Wi-Fito directly open network settings. - Simple mathematical calculations, for example typing
12*7immediately shows the result. - Simple terminal commands (to a limited extent).
The habit of pressing Super and then typing is the fastest way to open almost anything in GNOME, and it will greatly speed up your workflow once you get used to it.
Here is a summary of the most frequently used GNOME keyboard shortcuts:
| Shortcut | Function |
|---|---|
Super | Open or close the Activities Overview |
Super + A | Show the full application grid (app grid) |
Super + Tab | Switch between applications |
Alt + Tab | Switch between windows |
Super + Page Up / Page Down | Switch between workspaces |
Super + Shift + Page Up / Page Down | Move windows between workspaces |
Super + Up / Down | Maximize or restore a window |
Super + Left / Right | Place a window to the left or right half of the screen |
Super + H | Hide a window |
Super + D | Hide all windows (show desktop) |
Super + L | Lock the screen |
Super + V | Open the notification list |
Alt + F2 | Run a command |
Ctrl + Alt + T | Open terminal (only enabled by default in Ubuntu; needs to be manually set in Fedora) |
In addition to the keyboard, GNOME also supports touchpad gestures for laptops. Swipe up with three fingers to open the Activities Overview, swipe left or right with three fingers to switch between workspaces, and swipe with two fingers to scroll.
Differences Between GNOME on Ubuntu vs Fedora
Although both Ubuntu and Fedora use GNOME 50, the interface you see on each is not entirely identical. These differences arise from each distribution's philosophy toward GNOME: Fedora keeps GNOME in its pure (vanilla) state, while Ubuntu enhances it with built-in extensions to create a distinctive Ubuntu experience.
GNOME on Ubuntu: Built-in Extensions
Since returning to GNOME in 2017, Ubuntu has delivered a GNOME that is modified through the GNOME Shell Extension mechanism. Extensions are pieces of code written in JavaScript to add or change the behavior of GNOME Shell. Ubuntu ships several extensions by default:
Ubuntu Dock. This is the most noticeable modification. Unlike pure GNOME, which only shows the Dash inside the Activities Overview, the Ubuntu Dock is a dock that is always visible on the left side of the screen. It functions similarly to the Windows taskbar. From the Ubuntu Dock, you can:
- Launch favorite applications.
- See running applications (marked with a dot below the icon).
- Add or remove favorites by right-clicking.
- Open the application grid via the Show Apps button at the bottom of the dock.
- Access the Trash and mounted media.
The Ubuntu Dock is actually an adaptation of the popular Dash to Dock extension. Its settings can be changed through Settings > Ubuntu Desktop, including moving its position to the right or bottom, enabling auto-hide, and adjusting icon size.
AppIndicator. Pure GNOME has removed the classic system tray that used to host icons for background-running applications (such as cloud storage or chat apps). Ubuntu installs the AppIndicator and KStatusNotifierItem Support extension which brings this support back, so that applications like Telegram, Dropbox, or other third-party applications can still display their icons in the system status area on the Top Bar.
Desktop Icons NG (DING). Pure GNOME does not show any icons on the desktop. Ubuntu installs the DING extension, which brings back desktop icons such as Home, Trash, and mounted storage devices, similar to the typical Windows desktop. This makes users who are new to Linux from Windows feel more familiar.
In addition to extensions, Ubuntu also brings its own visual identity through the Yaru theme with Ubuntu's signature orange accent, along with a number of other small tweaks to improve performance, such as triple buffering in Mutter to make animations smoother.
The end result is a GNOME that feels more "beginner-friendly" because familiar elements like the dock, desktop icons, and system tray remain available by default.
"Vanilla" GNOME on Fedora
Fedora, on the other hand, chooses to ship GNOME in a state as close as possible to the upstream version, often referred to as vanilla GNOME. There are no major modifications from Fedora: no permanent dock, no desktop icons, and no classic system tray.
Consequently, when you first log into Fedora, your desktop will look completely clean. The only visible element is the Top Bar. The Dash only appears when you open the Activities Overview, and all work is indeed centralized there.
This choice is not without reason. Fedora's philosophy is "First" as stated in the Fedora Foundations, meaning it always brings the latest technology without delaying or altering it. By shipping GNOME in its pure state, Fedora ensures that its users get the GNOME experience exactly as designed by its developers, while also being the first to experience the newest features with each GNOME release.
Another difference you might notice is the theme. Fedora uses the default Adwaita theme with Fedora's signature blue accent, while Ubuntu uses the Yaru theme with an orange accent.
The following table summarizes the main differences between GNOME on Ubuntu and on Fedora:
| Aspect | Ubuntu 26.04 LTS | Fedora Workstation 44 |
|---|---|---|
| GNOME version | GNOME 50 | GNOME 50 |
| Dock | Ubuntu Dock, always visible on the left | Dash only appears in the Activities Overview |
| Desktop icons | Yes (DING) | No |
| Classic system tray | Yes (AppIndicator) | No |
| Theme | Yaru (orange accent) | Adwaita (blue accent) |
| Level of modification | Significant (built-in extensions) | Minimal (vanilla) |
| GNOME release cadence | Follows Ubuntu releases | First to deliver the latest release |
It is important to understand that these differences only concern the default appearance and behavior. Technically, both are the same GNOME, so the knowledge you have learned in this chapter applies fully to both distributions. If later you want to make Ubuntu look like pure GNOME or vice versa, all of that can be done by adding or removing extensions, a topic we will explore further in the chapter on customization.
GNOME is a desktop environment designed with a clear philosophy: simple, focused, and efficient. After understanding the Activities Overview, Top Bar, Dash, and workspaces, you have mastered how to navigate the desktop that will accompany you for the rest of this series. The differences between GNOME on Ubuntu and on Fedora are not obstacles, but rather reflections of two different philosophies toward software: beginner-friendly stability on one side, and the purity of cutting-edge technology on the other.
Now you should feel at home with the GNOME desktop. In the next chapter, we will go further by learning about Basic System Configuration, starting from adjusting display, keyboard, language, and network connections, so that your Linux system is truly comfortable to use according to your needs.