
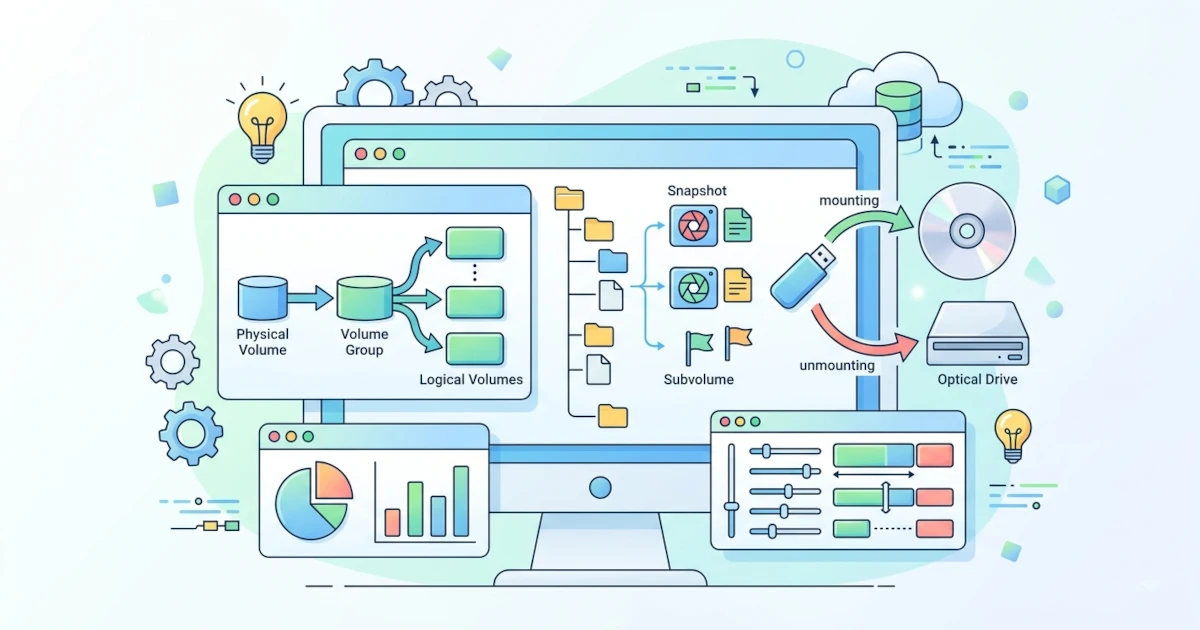
Storage is where your data is stored, and managing it well is an important skill for Linux users. Whether for checking disk space, mounting a USB flash drive, or managing partitions, Linux provides a variety of commands and graphical applications. This chapter covers how to view disk information, mount removable media, basic partition management, and an introduction to LVM and Btrfs.
Viewing Disk Information
Before managing storage, you need to know the condition of the disks attached to the system.
lsblk: List Block Devices
The lsblk command displays all block devices such as hard disks, SSDs, and partitions in a tree format.
lsblkIts output shows the device name, size, and mount point, allowing you to quickly see the disk structure.
fdisk -l: Partition Information
To view detailed partition information, use fdisk -l.
sudo fdisk -lThis command displays the partition table along with the filesystem type on each disk.
df -h: Disk Usage
df shows used and available space on each filesystem. The -h option makes the sizes human‑readable.
df -hdu -sh: Directory Size
To find the size of a directory, use du.
du -sh /home/you/DocumentsThe -s option gives a total summary, while -h displays the size in a human‑readable format.
Disks (GNOME): GUI for Disk Management
If you prefer a graphical interface, the built‑in GNOME application Disks shows all disks and their partitions. From there you can check disk information, change filesystems, and perform other basic operations.
Mounting Removable Media
Removable media such as USB flash drives need to be mounted so their contents can be accessed.
USB Flash Drives: Automatic and Manual
On modern desktops, a flash drive is usually mounted automatically when plugged in and appears in the Files application. The system mounts it in directories such as /media/yourusername/. To mount it manually, use the mount command.
sudo mount /dev/sdb1 /mntTo unmount it, use umount.
sudo umount /mntAlways unmount the media before removing it to avoid data corruption.
DVD / Optical Drive
DVDs and other optical media are mounted in the same way. After insertion, the media is usually mounted automatically and can be accessed through Files.
Basic Partition Management
Partitions divide a disk into separate sections that can be managed independently.
fdisk: MBR Partitioning
fdisk is a text‑based tool for managing MBR partitions, and it is installed by default on both Ubuntu and Fedora. To open a disk, run:
sudo fdisk /dev/sdbInside fdisk, you can type m for help, p to display the partition table, n to create a new partition, and w to write changes. Be careful because writing changes can erase data.
gdisk: GPT Partitioning
For disks with a GPT partition table, use gdisk. Unlike fdisk, gdisk is usually not installed by default, so you need to install it first:
sudo apt install gdiskOn Fedora, use:
sudo dnf install gdiskOnce installed, the commands and workflow are similar to fdisk.
sudo gdisk /dev/sdbGPT is the modern standard that supports large‑capacity disks and a larger number of partitions.
GParted: GUI Partition Editor
GParted is an easy‑to‑use graphical partition editor. Install it with sudo apt install gparted on Ubuntu or sudo dnf install gparted on Fedora, then run it. GParted allows you to create, delete, resize, and move partitions through a visual interface. Note that GParted's support for resizing Btrfs partitions is still more limited compared to ext4, so for Btrfs partitions it is better to use the built‑in btrfs tools or be cautious when resizing via GParted.
Introduction to Logical Volume Manager (LVM): Concepts
LVM (Logical Volume Manager) is a layer between physical partitions and the filesystem that provides greater flexibility in managing storage. Instead of being tied to fixed partitions, LVM allows you to create logical volumes that can be easily expanded or shrunk, even without shutting down the system.
The main concepts are physical volume (disk or partition), volume group (a collection of physical volumes), and logical volume (the resulting volume that is mounted as a filesystem). LVM is widely used on servers, and both Ubuntu and Fedora support it during installation.
If your system uses LVM (for example, because you chose that option during installation), you can view its structure without changing anything with the following commands:
sudo pvs
sudo vgs
sudo lvs
These three commands respectively show a summary of the physical volumes, volume groups, and logical volumes present on the system.
Introduction to Btrfs Subvolumes and Snapshots
Btrfs is a modern filesystem that supports advanced features such as subvolumes and snapshots.
- Subvolume is a part of the filesystem that can be managed separately, similar to a directory but with more capabilities.
- Snapshot is a copy of the filesystem state at a point in time, useful for recovering the system if something goes wrong.
Fedora Workstation 44 uses Btrfs as the default filesystem since Fedora 33, and this still holds true today. During a standard installation, the Anaconda installer automatically creates two subvolumes: root (mounted at /) and home (mounted at /home), on top of a single Btrfs pool. XFS itself remains available as a manual option during installation and is the default for Fedora Server, but not for the Workstation edition covered in this book.
You can check whether your Fedora system uses Btrfs and its subvolumes with:
findmnt /
sudo btrfs subvolume list /
Note that the standard Btrfs installation on Fedora does not automatically create snapshots every time you run dnf update. To enable automatic snapshots before and after system updates (similar to the rollback feature on openSUSE), you need to install and configure Snapper separately:
sudo dnf install snapperOn Ubuntu, the default filesystem remains ext4, and Btrfs is only available as an experimental option during manual installation, so the subvolume and snapshot material in this section is more relevant for Fedora users.
Managing storage on the Linux desktop covers many aspects, from checking disk space to partitioning and understanding modern storage systems. Once you have mastered commands such as lsblk, df, and du, and become familiar with LVM and Btrfs, you have built a strong foundation. In the next chapter, you will learn about hardware and drivers to understand the devices behind the Linux system.