
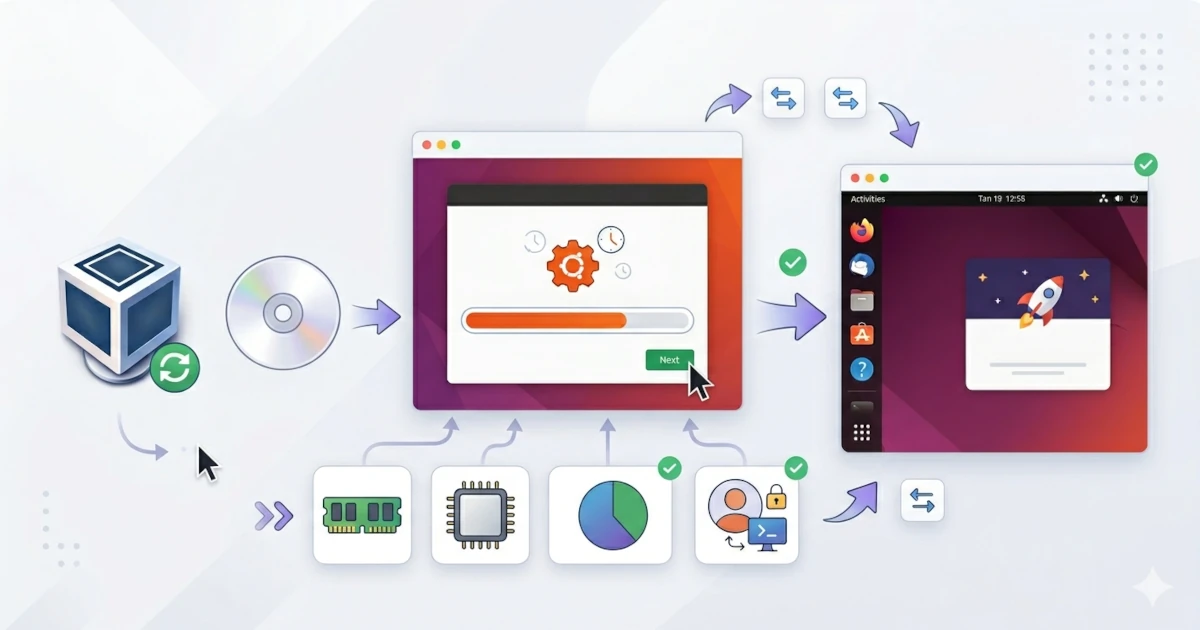
The preparations in the previous chapter have been completed, from installing VirtualBox to downloading and verifying the ISO file. Now is the time to carry out the actual installation process. This chapter will guide you step by step, from creating a new virtual machine in VirtualBox to logging into the Ubuntu desktop for the first time, including how to update the system to keep it up to date after installation. This entire process uses a graphical installer designed to make things easy for new users, so you do not need to worry if this is your first time installing an operating system.
Creating a Virtual Machine in VirtualBox
You need to prepare a virtual machine (VM), a virtual computer that will host Ubuntu inside your host system, before the Ubuntu installer can be run. VirtualBox 7.x provides an intuitive interface for this process.
Creating a New VM
Open VirtualBox Manager, then follow these steps:
- Click the New button at the top of the VirtualBox Manager window. The new VM creation dialog will appear.
- In the Name and Operating System section, fill in the following information:
- Name: Type a VM name, e.g.,
Ubuntu 26.04 LTS. VirtualBox will automatically detect the OS type and version after you add the ISO file. - Folder: Leave as default, this is the location where VM files will be stored.
- ISO Image: Click the folder icon to the right of the field, then browse and select the Ubuntu 26.04 LTS ISO file you downloaded. The Type and Version fields will automatically be filled as Linux and Ubuntu (64-bit) after the file is selected.
- Name: Type a VM name, e.g.,
- The option Proceed with Unattended Installation prevents VirtualBox from running an unattended installation that bypasses the installer interface. Uncheck it so you can follow the installation process manually and understand each step.
- Click Next to proceed to the Hardware page.
- In the Hardware section, set resource allocation:
- Base Memory: Set to at least 6144 MB (6 GB). This is the minimum amount recommended by Canonical for Ubuntu 26.04 LTS Desktop. Allocate 8 to 12 GB for a more comfortable experience if your host computer has 16 GB or more of RAM.
- Processors: Set to 2 vCPUs. Two virtual CPUs are sufficient for daily desktop use.
- Click Next to proceed to the Hard Disk page.
- In the Hard Disk section, select Create a Virtual Hard Disk Now and set its size to 50 GB. VirtualBox will create a virtual disk file in VDI (VirtualBox Disk Image) format which by default is dynamically allocated, meaning the file will only use as much host disk space as the data actually stored inside it, rather than immediately consuming 50 GB at once.
- Click Next, review the VM configuration summary shown, then click Finish.
Your new VM now appears in the left panel of VirtualBox Manager.
Step-by-Step Installation Process
Ubuntu 26.04 LTS uses a Flutter-based installer that was introduced with Ubuntu 23.04. This installer has a modern look, a streamlined workflow, and accessibility support that continues to improve from version to version. This installer uses the Subiquity backend behind its graphical interface, which is the same installation system used by Ubuntu Server.
Running the VM and Booting from ISO
- Select the Ubuntu 26.04 LTS VM in VirtualBox Manager, then click the Start button (green arrow icon).
- The VM will power on and boot directly from the Ubuntu ISO file you attached. You will see a black screen for a moment, followed by the GRUB menu with several options.
- Select Try or Install Ubuntu in the GRUB menu, which is usually selected by default. Press Enter to continue.
- Ubuntu will load the system from the ISO into memory. This process takes about one to two minutes, depending on the speed of your host computer.
Note: The mouse cursor and keyboard will be captured by VirtualBox when the VM window is active. Press the Host Key to release control back to the host system, which by default is the Right Ctrl key on the keyboard. The Host Key status is shown in the bottom-right corner of the VM window.
Language and Locale
The first page of the installer will appear after the system finishes loading, which is Choose your language.
- You can choose Indonesian from the list of available languages if you want the Ubuntu interface in Bahasa Indonesia, or English if you are more comfortable with English. Using English is often easier for learning purposes because most documentation, tutorials, and forum answers are available in English. Click Next to continue.
- The next page is Accessibility. You can enable features like screen reader, zoom, high contrast, or larger text size here if needed. Leave all options at their default settings for standard use and click Next.
- The Keyboard layout page asks you to choose your keyboard layout. Select English (US) for a standard keyboard, or adjust it according to the type of keyboard you are using. You can also type in the test field at the bottom to verify that the selected layout matches. Click Next to continue.
- The Connect to the internet page gives you the option to connect to a network before proceeding. Internet connectivity is usually automatically available and detected by the installer inside the VM with VirtualBox's default NAT network configuration. An internet connection allows Ubuntu to download updates and drivers during the installation process, but it is not required. Select Do not connect to the internet to skip this step. Click Next.
Choosing the Installation Method
- The Try or Install Ubuntu page offers two options:
- Try Ubuntu: Runs Ubuntu directly from the ISO without installing anything to disk. This option is useful for trying out Ubuntu or testing hardware compatibility.
- Install Ubuntu: Starts the installation process.
- The next page is Type of installation which offers two modes:
- Interactive installation: You will be guided through each configuration step manually. This is the right choice for learning.
- Automated installation: Used for mass deployment using an autoinstall configuration file from a server. This option is a feature for advanced users and administrators.
Installation Type: Default Selection vs Extended Selection
- The Applications page asks you to choose which application packages to include in the installation:
- Default selection: Installs a web browser (Firefox), basic system utilities, and core GNOME applications. This selection is leaner and is recommended for most users. Additional applications can easily be installed via the App Center or terminal after the system is running.
- Extended selection: Installs everything in the default package, plus the LibreOffice office suite, multimedia applications, and various additional utilities. This option is useful if you do not have a stable internet connection after installation and need those applications right away.
- The Optimise your computer page offers two third-party software options:
- Install third-party software for graphics and Wi-Fi hardware: Installs proprietary drivers such as NVIDIA drivers and Wi-Fi drivers that are not available as open-source software.
- Download and install support for additional media formats: Installs multimedia codecs such as MP3, AAC, and popular video formats that are not included by default due to licensing reasons.
Disk Partitioning: Automatic and Manual
- The Disk setup page is one of the most important stages in the installation. Here you determine how Ubuntu will use the available disk space. There are several options:
- Erase disk and install Ubuntu: Ubuntu will use the entire disk, in this case the entire VirtualBox virtual disk. All data on that disk will be erased. This option is the simplest and is appropriate for installation in a VM or on a computer where the disk is indeed dedicated to Ubuntu.
- Manual installation: You define the partition layout manually.
- The Encryption and file system page is for disk encryption settings.
- No encryption: Does not enable disk encryption.
- Encrypt with passphrase: Enables disk encryption and requires you to enter a passphrase every time the computer is powered on.
- Use hardware-backed encryption: Enables encryption using hardware.
What happens with automatic partitioning?
Ubuntu 26.04 LTS will automatically create two partitions when selecting Erase disk and install Ubuntu on a disk with UEFI firmware:Ubuntu 26.04 LTS uses a swap file inside the root partition, rather than a separate swap partition as in earlier versions.
- EFI System Partition (ESP): About 1 GB, formatted with FAT32. This partition stores boot loader files and is required for UEFI-based systems to start the operating system.
- Root partition (/): The remaining disk space, formatted with ext4. The entire Linux system, including the operating system, applications, and user data, resides here.
Manual Partitioning: A Quick Guide
Here is an example of a common partitioning scheme for Ubuntu installation on a UEFI system on a single disk, if you want to understand how manual partitioning works:
| Partition | Size | Filesystem Type | Mount Point | Function |
|---|---|---|---|---|
| ESP | 512 MB – 1 GB | FAT32 | /boot/efi | Boot loader for UEFI |
| Root | 20 GB or more | ext4 | / | Operating system and applications |
| Home | Remaining space | ext4 | /home | User data and files |
| Swap | 2–4 GB | swap | — | Virtual memory (optional if using a swap file) |
Separating the /home partition makes reinstalling the system easier later on because user data is on a different partition from the operating system. However, the automatic scheme is more than sufficient for learning purposes in a VM.
Note: Manual partitioning is only recommended for users who already understand disk partitioning concepts. Mistakes at this stage on real hardware can result in data loss. Use the automatic option first if you are still learning.
Creating a User Account
- The Create your account page asks you to fill in user account information:
- Your name: Full name. This name will be displayed on the login screen.
- Your computer's name: The computer name (hostname) that will be used on the network, e.g.,
ubuntu-vm. Use only lowercase letters, numbers, and hyphens, and avoid spaces and special characters. - Your username: The username for logging into the system, e.g.,
budi. The username cannot contain spaces or capital letters. - Password: Create a strong password. Ubuntu will show a password strength indicator as you type. Retype the password in the Confirm password field for confirmation.
- Login options: Check Require my password to log in.
Time Zone
- The Select your timezone page displays a world map for selecting your time zone. The installer may have automatically detected your location and time zone if you are connected to the internet.
Click on the map or type a city name in the search field to select the correct time zone. Choose one of the following options for users in Indonesia:
- Asia/Jakarta for WIB (Western Indonesia Time)
- Asia/Makassar for WITA (Central Indonesia Time)
- Asia/Jayapura for WIT (Eastern Indonesia Time)
Click Next to continue.
Review and Start Installation
- The Ready to install page displays a summary of all the configuration choices you have made. Review each item, from language, keyboard layout, installation type, disk configuration, user account name, to time zone.
- You can go back to previous pages using the Back button if anything needs to be changed. Click Install to begin the installation process once you are sure.
- The installer will start copying and configuring the system. The screen will show a slideshow introducing various Ubuntu features during the process. You can also view more detailed installation logs by clicking the small icon in the bottom-right corner of the installer window. The installation process usually takes 5 to 15 minutes, depending on computer speed and internet connection.
- A dialog with the message Installation complete will appear after the installation finishes. Click Restart Now to restart the VM.
- The installer will ask you to remove the installation media when the VM starts restarting: Please remove the installation medium, then press ENTER. This usually happens automatically in a VM because VirtualBox will detach the ISO file from the virtual drive. Press Enter to continue.
First Login to Ubuntu
You will be greeted by the Ubuntu login screen with a clean and modern look after the restart is complete.
- Click on your username on the login screen, type the password you created earlier, then press Enter or click the arrow icon. Wait a moment while the GNOME Desktop loads the user session for the first time.
- A Welcome to Ubuntu widget will appear on the screen once you enter the desktop. This widget offers several options that can be ignored. Continue by pressing Next until Finish.
- You will see the full Ubuntu 26.04 LTS GNOME desktop after closing the welcome widget. Some things you can explore right away:
- The Dock on the left side of the screen contains shortcuts to frequently used applications, such as Firefox, Files (Nautilus), and App Center.
- The Top Bar at the top of the screen displays the clock, system notifications, volume indicator, network, and user menu.
- Press the Super key (Windows key) to open the Activities Overview, a view that shows all open windows and available workspaces, and also functions as an application search.
Note about Wayland:
GNOME 50, which comes with Ubuntu 26.04 LTS, no longer provides a GNOME-on-X11 session; the GNOME graphical session now runs entirely on Wayland, while XWayland remains available as a compatibility layer for older X11-based applications. For VM users, this generally does not cause problems as long as VirtualBox Guest Additions are properly installed (see the next section), but some features such as automatic resolution may need to be enabled manually via the View > Auto-resize Guest Display menu in the VirtualBox window.
System Update After Installation
The first step to take after installing Ubuntu, or any Linux operating system, is to update the system. These updates ensure you get the latest security fixes, package updates, and performance improvements released since the ISO file was created.
Updating via Software Updater (GUI)
Ubuntu provides a graphical application called Software Updater for this purpose.
- Press the Super key, type
Software Updater, then press Enter. - Software Updater will automatically check for available updates. A list of packages to be updated will be shown if updates are available.
- Click Install Now to start the update process. Enter your password if prompted and wait until the process finishes.
- Software Updater will prompt you to restart the system after the process finishes if there is a Linux kernel update. Click Restart Now to restart.
Updating via Terminal
The most common way used by Linux users to update the system is through the terminal using the apt command. This method is also faster and gives full visibility into the ongoing process.
Open the terminal by pressing Ctrl+Alt+T or search for Terminal in the Activities Overview, then run the following two commands in sequence:
sudo apt updateThis command asks apt to contact all registered repositories and download the latest information about available packages. This command does not install anything; it only updates the package list database on your computer.
sudo apt upgradeThis command compares the installed packages on the system with the latest information just downloaded, then installs the newest versions of all packages that have updates. You will be prompted to confirm by typing Y and pressing Enter when the question "Do you want to continue? [Y/n]" appears.
Restart after the process finishes if there is a kernel update in the update list:
sudo rebootWhy use sudo? Theapt updateandapt upgradecommands modify protected system files and require administrator (root) access rights. Thesudo(superuser do) command allows a regular user to run certain commands with root privileges after entering a password. The concept ofsudowill be discussed in more depth in Chapter 22.
The installation of Ubuntu 26.04 LTS (Resolute Raccoon) in VirtualBox is now complete. You already have a fully running Ubuntu system with GNOME 50 and Linux kernel 7.0, complete with VirtualBox Guest Additions and an updated system. You are ready to start exploring the Linux desktop directly from this point. The next chapter will cover the installation of Fedora Workstation 44 using a different procedure but with the same underlying principles.