
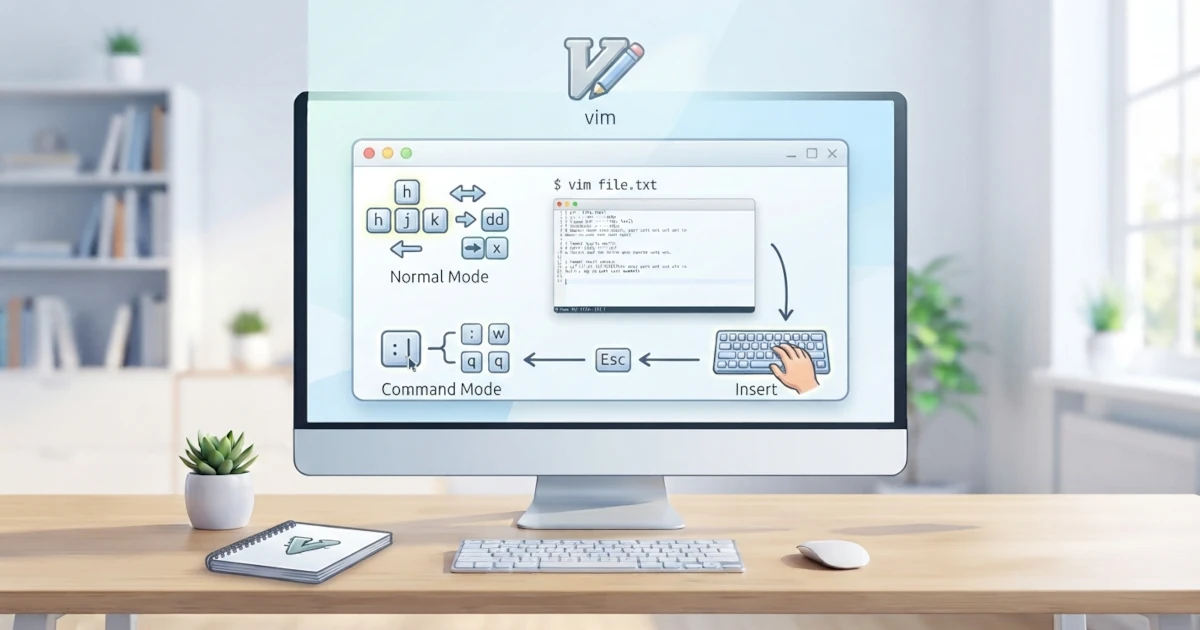
If nano is a beginner‑friendly text editor, then vim is the editor for professionals. vim is known for its speed and power, but also for its reputation of being difficult to learn. Nevertheless, understanding the basics of vim is very valuable, because this editor is available on almost every Linux system and server, even in environments that do not have nano. This chapter provides a brief introduction to vim: how to open it, its operating modes, basic commands for editing, and how to save and exit. The goal is enough so that you do not get lost when you are forced to use it.
Why Is It Important to Know vim?
vim stands for Vi Improved, the successor to the vi editor born in the UNIX era. One important point to clarify: what is actually installed by default on almost all Linux distributions, including Ubuntu 26.04 LTS and Fedora Workstation 44, is only a minimal version of this editor (on Ubuntu it is the vim-tiny package, on Fedora it is vim-minimal), which provides the vi command without features like syntax highlighting. The full version, namely vim itself, usually needs to be installed separately. Even so, because the minimal version is always available, you will still encounter a vi‑style editor on almost every Linux server in the world. When you have to edit a configuration file on a minimal or remote system, chances are the only editor available is vi, not nano.
vim's reputation for being hard to learn arises from its mode‑based operation. You cannot just start typing text like in a regular editor. However, once you get used to it, vim allows you to edit text very quickly without lifting your hands from the keyboard. For beginners, it is enough to understand three basic things: modes, navigation, and how to exit.
To get the full version of vim along with vimtutor, install it first with the package manager.
# on Ubuntu 26.04 LTS
sudo apt install vim

# on Fedora Workstation 44
sudo dnf install vim-enhanced
Note that on Fedora the package name is vim-enhanced, not vim. Fedora does not have a package named vim; running dnf install vim will fail because that package does not exist in the repository.
Modes in vim
vim has several modes, but the following three are the most important to understand.
Normal Mode
When vim is first opened, you are in Normal Mode. In this mode, the keys you press do not type text, but instead act as commands. For example, pressing h, j, k, or l moves the cursor. Normal Mode is the primary mode for navigation and commands.
Insert Mode
To type text, you must switch to Insert Mode. To do this, press i from Normal Mode. Once in Insert Mode, you can type as in a regular editor. To return to Normal Mode, press the Esc key.
Command Mode
Command Mode is used to run commands such as saving and exiting. From Normal Mode, press : to enter Command Mode. The cursor moves to the bottom line, where you type the command.
Opening, Editing, Saving, and Exiting
To open or create a file, run the vim command followed by the file name.
vim notes.txtAfter vim opens, press i to enter Insert Mode, then type your text. After finishing typing, press Esc to return to Normal Mode, then press : to enter Command Mode. The following commands are the most important ones to remember.
| Command | Function |
|---|---|
:w | Save the file (write) |
:q | Quit vim |
:wq | Save then quit |
:q! | Quit without saving |
For example, after finishing editing, press Esc, then type :wq and press Enter to save and exit. If you made incorrect changes and want to quit without saving, use :q!.
Just like with nano, to edit a system file that requires administrator privileges, open vim with sudo in front.
sudo vim /etc/hostsIf you accidentally opened a system file without sudo and only realise it after editing, you do not need to start over. From Command Mode, run the following command to save the file with root privileges.
:w !sudo tee %After that, press Enter, then exit vim without saving again with :q! because the file on disk has already been saved through the tee command above.
Basic Navigation Commands
Navigation in Normal Mode can be done with the arrow keys, but vim users usually use the h, j, k, and l keys because they are close to the fingers on the keyboard.
| Key | Function |
|---|---|
h | Cursor left |
j | Cursor down |
k | Cursor up |
l | Cursor right |
0 | Move to the beginning of the line |
$ | Move to the end of the line |
gg | Move to the beginning of the file |
G | Move to the end of the file |
w | Jump to the start of the next word |
b | Jump to the start of the previous word |
x | Delete the character under the cursor |
dd | Delete an entire line (also copies it) |
yy | Copy an entire line (yank) |
p | Paste (put) the deleted or copied line/text |
u | Undo |
Ctrl+r | Redo |
Additionally, you can search for text by typing /keyword and pressing Enter. Press n to jump to the next occurrence and N to go back to the previous occurrence.
Almost all commands in the table above can be preceded by a number to repeat them several times at once. For example, 3dd deletes three lines at once, and 5j moves the cursor down five lines. This habit is one of the main reasons why skilled vim users can edit text much faster than using ordinary arrow keys.
Tip: vimtutor for Self‑Practice
The best way to learn vim is to practice directly. Fortunately, vim provides an interactive tutorial called vimtutor. This tutorial opens a practice file that guides you through each command step by step.
vimtutorRun the above command in the terminal, then follow the instructions displayed on the screen. vimtutor can usually be completed in less than an hour and is the best first step before diving deeper into vim.
vim may feel strange and intimidating at first, but you do not need to master it completely right now. Just understand the modes, navigation, and how to save and exit, and you will already be able to survive when you have to edit files on a system that only provides vi or vim. For daily use, you can continue using nano, while this basic understanding of vim becomes a valuable asset for the future.
This chapter has only touched on the three most basic modes. Once you are comfortable with them, the next step worth exploring is Visual Mode (activated with the v key), which makes it easy to select blocks of text before copying, deleting, or moving them. If you ever forget a command, the full vim documentation is always available directly inside the editor via the :help command, as discussed in Chapter 17.