
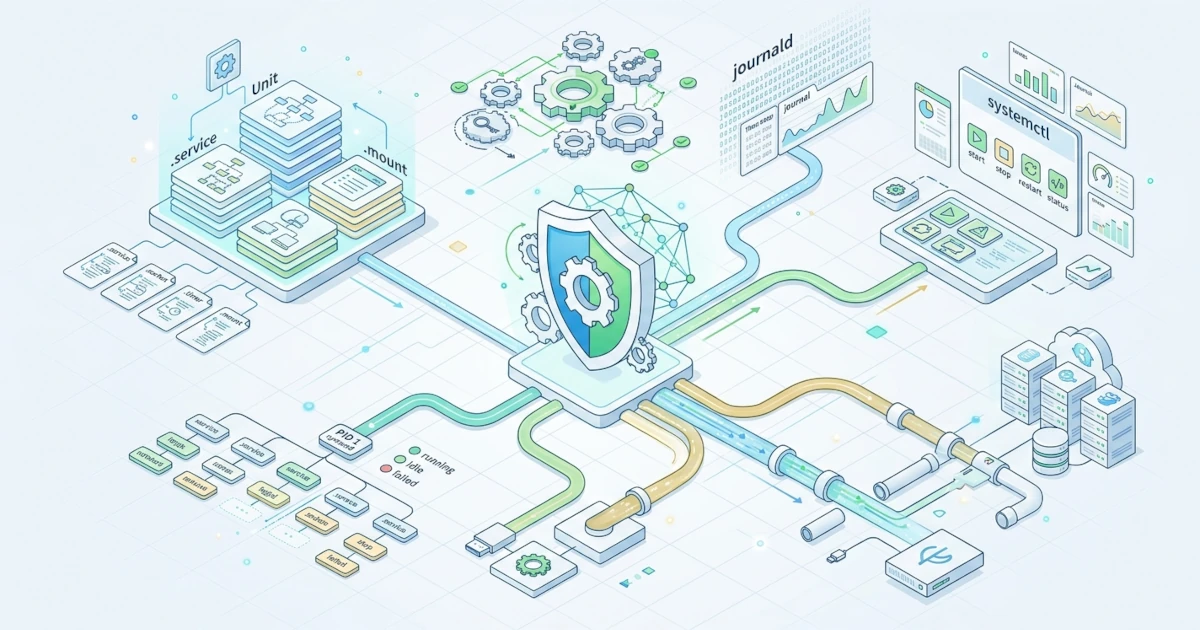
Production servers usually run dozens of services simultaneously, namely web servers, databases, custom applications owned by Developers, to daily backup processes. All of these need to start automatically at boot, restart by themselves if they crash, and stop cleanly when the server is powered off. Without a single orchestrator to manage the execution order and dependencies between these services, a Sysadmin would be overwhelmed turning everything on manually one by one every time the server reboots. This is where systemd comes into play as an init system that performs this task, and so far we have only touched its surface via systemctl status or systemctl restart.
This chapter takes us deeper into systemd, starting with a brief review of how it works, then moving into skills frequently used by Sysadmins in the field: creating custom service units for your team's applications, replacing cron with a more reliable systemd timer, understanding targets and dependencies between services, and closing with a critical topic on Ubuntu Server 26.04 LTS, namely the full migration from cgroup v1 to cgroup v2.
5.1 Review of Systemd and systemctl
Systemd is the first process run by the Linux kernel during boot, always running with PID 1, and is responsible for starting all other processes in the system sequentially based on defined dependencies. Everything managed by systemd, whether it is a service, mount point, device, or socket, is represented as a unit. The units we encounter most frequently are service units (ending in .service), but there are also timer units (.timer), target units (.target), mount units (.mount), and several other types less frequently touched by Sysadmins day-to-day.
The primary command to interact with systemd is systemctl. Before diving into creating custom units, it is worth reviewing a few of the most commonly used commands to check the system state.
Quick Verification
systemctl status
systemctl list-units --type=service --state=running
systemctl list-unit-files --state=enabled
The first command displays an overall summary of the systemd status along with currently active targets. The second command displays all currently running services, which is very useful when we need to know what is active on the server without having to remember every single service name. The third command shows which units are enabled, meaning they will automatically start whenever the server boots.
Systemd unit configurations are spread across three locations with different priorities, namely /usr/lib/systemd/system/ for package default units, /etc/systemd/system/ for custom units or Sysadmin overrides, and /run/systemd/system/ for temporary units created at runtime. Units in /etc/systemd/system/ always take higher priority over the package default versions, and this location is what we will use throughout this Chapter.
5.2 Creating a Custom Service Unit
Sooner or later, Developers on your team will deliver a custom application, whether it is a backend API, queue worker, or internal bot, that needs to run continuously on the server and start automatically at boot. Running it via nohup or inside a tmux session discussed in Chapter 3 might serve as an emergency workaround, but it will not survive a reboot and lacks an automatic restart mechanism if the process suddenly dies. The proper solution is wrapping that application as our own systemd service unit.
5.2.1 Anatomy of a Unit File ([Unit], [Service], [Install])
A service unit file is a plain text file structured similarly to an INI file, split into several sections. The three essential sections we must understand are [Unit], [Service], and [Install].
| Section | Function | Common Directives |
|---|---|---|
[Unit] | Metadata and dependencies on other units | Description, After, Wants, Requires |
[Service] | Execution configuration and process management | Type, ExecStart, Restart, User, WorkingDirectory |
[Install] | Behavior when the unit is enabled | WantedBy, RequiredBy |
Inside [Service], the Type directive determines how systemd considers the process to have successfully started. The value simple (default) means systemd considers the service active as soon as ExecStart is executed, suitable for applications that remain running in the foreground. The value forking is used for legacy Unix-style daemons that fork themselves into the background. The value oneshot, which we will use in the timer section later, is suited for commands that run once and exit, rather than long-running processes.
The Restart directive is one of the main reasons systemd excels over running applications manually in tmux. By configuring Restart=on-failure, systemd automatically restarts crashed processes without Sysadmin intervention, and RestartSec sets the delay before the next restart attempt to avoid flooding logs with overly rapid restart loops.
5.2.2 Creating a Service for Your Own Application
Let us practice directly with a common scenario: a Developer hands over a simple Python application that needs to run as a service. Rather than demonstrating a specific web framework, it is intentionally kept generic so you can apply the pattern to any application (Node.js, Go binaries, or other languages) by adjusting ExecStart.
Practical Steps
- Ensure the application has its own dedicated system user; do not run it as
root. This principle aligns with least privilege, which will be discussed more formally in Chapter 34.sudo useradd --system --no-create-home --shell /usr/sbin/nologin myapp - Place the application code in a dedicated directory, such as
/opt/myapp, and ensure its ownership matches the user created above.sudo chown -R myapp:myapp /opt/myapp - Create a new unit file in
/etc/systemd/system/.sudo nano /etc/systemd/system/myapp.service - Fill it with the following configuration, adjusting
ExecStartto match how the actual application is executed.[Unit] Description=Myapp Internal Application After=network-online.target Wants=network-online.target [Service] Type=simple User=myapp Group=myapp WorkingDirectory=/opt/myapp ExecStart=/usr/bin/python3 /opt/myapp/main.py Restart=on-failure RestartSec=5 [Install] WantedBy=multi-user.target - Notify systemd that a new unit file exists and needs to be reloaded. This step is mandatory whenever we add or modify unit files manually.
sudo systemctl daemon-reload - Enable the service to start automatically at boot, and run it immediately using a single command with the
--nowflag.sudo systemctl enable --now myapp.service
Verification and Troubleshooting
- Check the service status, including the last few log lines directly from the output.
systemctl status myapp.service - To view the complete application logs, use
journalctl, which automatically captures stdout and stderr from systemd services without requiring extra logging setup.journalctl -u myapp.service -f - If the status shows
failed, the most common root cause in practice is an incorrectExecStartpath, working directory permissions that do not match the configuredUser, or missing dependencies like system-wide Python packages. Read thejournalctl -u myapp.serviceoutput line by line; systemd is usually clear about exit codes and reasons. - A common beginner mistake is forgetting to run
daemon-reloadafter editing unit files. Systemd does not automatically detect file modifications, so runningsystemctl restartwithout a priordaemon-reloadwill keep using the old configuration cached in memory.
5.3 Systemd Timers as a Cron Replacement
Cron has served Linux administration for decades and remains valid for simple requirements. However, when we need integrated logging, the ability to catch up on missed jobs because the server was off during scheduled times, or dependency controls against other services, systemd timers offer a more modern and easily debugged approach. All timer logs are automatically fed into journalctl, just like normal services, removing the need for manual redirects to separate log files common with traditional crontab setups.
5.3.1 The .timer and .service Pair
A systemd timer always works in tandem with a service. The timer unit (.timer) is solely responsible for defining when, whereas the actual work is defined in a separate service unit (.service) using Type=oneshot, because this job runs once per schedule and exits rather than running continuously.
Let us practice with a common scenario: scheduling a daily backup script, a topic we will explore further in Chapter 35.
Practical Steps
- Create a service unit for the backup job. Note the use of
Type=oneshot, which differs from the continuous application service in the previous section.sudo nano /etc/systemd/system/backup-harian.service[Unit] Description=Data Directory Daily Backup [Service] Type=oneshot ExecStart=/usr/local/bin/backup-harian.sh - Create a timer unit with the exact same base name so that systemd automatically links the two without requiring extra directives.
sudo nano /etc/systemd/system/backup-harian.timer[Unit] Description=Daily Backup Schedule [Timer] OnCalendar=*-*-* 02:00:00 Persistent=true RandomizedDelaySec=300 [Install] WantedBy=timers.target - Reload systemd, then enable and start the timer itself, not the service directly. The service will be triggered automatically by the timer according to the schedule.
sudo systemctl daemon-reload
sudo systemctl enable --now backup-harian.timer
Two directives in the [Timer] section deserve special attention. Setting Persistent=true instructs systemd to record when the timer last ran successfully; if the server was offline when the job was supposed to trigger (such as during early morning maintenance), the job executes immediately once the server boots back up. This is an advantage that standard cron lacks without additional help like anacron. Meanwhile, RandomizedDelaySec adds a randomized delay, which is useful when the same OnCalendar pattern is deployed across many servers simultaneously so they do not all load storage or network resources at the exact same second.
Verification and Troubleshooting
- View all active timers along with their next scheduled execution time.
systemctl list-timers - To test the job without waiting for its scheduled time, trigger its service manually. This will not impact the configured timer schedule.
sudo systemctl start backup-harian.service - Check execution results via logs, just like any standard service.
journalctl -u backup-harian.service - If the timer never triggers, the most common culprit is a syntax error in
OnCalendar. Test your expression beforehand before applying it to production.systemd-analyze calendar "*-*-* 02:00:00" - If the service fails with a
failedstatus accompanied by aPermission deniedorNo such file or directorymessage, verify that the/usr/local/bin/backup-harian.shscript actually exists and has execute permissions assigned.sudo chmod +x /usr/local/bin/backup-harian.sh
5.4 Targets and Dependencies Between Services
A Target is a special unit that functions as a synchronization point, grouping a set of other units that need to be active together. The concept replaces runlevels from legacy init systems like SysV: multi-user.target is equivalent to runlevel 3 (non-GUI server mode), whereas graphical.target is equivalent to runlevel 5. The servers managed throughout this book almost always boot into multi-user.target, as a graphical interface is unnecessary.
Combining several directives in the [Unit] section makes dependencies between units extremely powerful, though their differences often confuse new Sysadmins.
| Directive | Meaning |
|---|---|
After / Before | Only controls startup ordering, does not force other units to activate |
Wants | Attempts to activate another unit, but continues even if that unit fails |
Requires | Mandates that another unit must be active; if it fails, our unit fails too |
The most common combination used in the field is pairing After= with Wants=, exactly as written earlier in myapp.service using network-online.target. This combination makes sense for most applications: we want the application to wait until the network is ready (After) and attempt to ensure the network is active (Wants), but without failing the entire service simply because the network target was slightly delayed. Requires= only makes sense for fatal dependencies, such as an application that cannot run without a connection to a local database on the same server.
Practical Steps
- List all dependencies belonging to a service, including its parent targets.
systemctl list-dependencies myapp.service - To inspect the reverse direction (which units depend on a specific service), use the
--reverseflag.systemctl list-dependencies --reverse network-online.target - Check the default target used by the server at boot.
systemctl get-default
Verification and Troubleshooting
- If a service fails to start during boot but succeeds when manually started later, suspect an ordering issue. Add
After=pointing to its dependency unit, such asAfter=postgresql.servicefor applications requiring the database to be fully ready beforehand. - In practice, avoid forcing
Requires=on almost every dependency just because it feels "safer". Having too many interconnectedRequires=directives means a single minor service failure can cascade and bring down an entire chain of services that were not truly dependent on it. UseWants=as the default, and upgrade toRequires=only when the dependency is genuinely fatal.
5.5 Migrating from cgroup v1 to cgroup v2
cgroups (control groups) are a Linux kernel feature that limits and measures resource utilization, such as CPU, memory, and I/O, for a collection of processes. Systemd uses cgroups heavily to isolate every unit it runs, forming the technical foundation behind directives like MemoryMax or CPUQuota that can be added to the [Service] section whenever resource capping is required.
5.5.1 Impact of Removing cgroup v1 in 26.04
cgroup v1 uses a separate hierarchy model for each controller (CPU, memory, and I/O each have their own hierarchy tree under /sys/fs/cgroup/), whereas cgroup v2 consolidates everything into a single unified hierarchy. The v2 model has been default in Ubuntu for several releases, and as noted in Chapter 1, Ubuntu Server 26.04 LTS goes a step further by removing cgroup v1 support entirely, including the hybrid mode that previously served as a fallback for legacy workloads.
The impact is quite significant for Sysadmins managing long-standing servers. Older container runtime versions lacking full cgroup v2 support, monitoring agents reading legacy paths like /sys/fs/cgroup/memory/memory.limit_in_bytes directly instead of using official APIs, or legacy LXC configurations relying on v1-style device controllers may stop working once upgraded to 26.04. This change is not merely cosmetic; it completely removes backward compatibility paths that previously acted as a safety net.
5.5.2 Checking Compatibility of Legacy Workloads
Before migrating long-running production workloads to Ubuntu Server 26.04 LTS, audit their dependencies on cgroup v1 first. This process should be performed on staging servers rather than directly in production environments.
Practical Steps
- Inspect the active cgroup hierarchy on the server. A filesystem type of
cgroup2fsindicates that the system is fully using the unified v2 hierarchy.stat -fc %T /sys/fs/cgroup/ - Display available controllers supported by cgroup v2 on this server.
cat /sys/fs/cgroup/cgroup.controllers - If running container runtimes like Docker, confirm that the version fully supports cgroup v2 rather than running in compatibility mode.
docker info --format '{{.CgroupVersion}}' - Scan for internal scripts or applications reading legacy cgroup v1 paths directly instead of using official tools like
systemd-cglsorsystemd-cgtop.grep -rl "/sys/fs/cgroup/memory\|/sys/fs/cgroup/cpu," /opt/ /usr/local/bin/ 2>/dev/null
Verification and Troubleshooting
- If step one displays
tmpfsinstead ofcgroup2fs, the target server is likely still using hybrid mode from a previous Ubuntu release, indicating that the migration to 26.04 requires more careful planning due to active v1 dependencies. - For container runtimes found to be unready, the safest option is upgrading to the latest version before upgrading the host server OS, rather than postponing the Ubuntu upgrade indefinitely. Delaying only compounds risk, as official support for legacy software versions eventually expires.
- Be transparent about risks with your team: workloads that are not audited prior to migration risk failing completely once the server upgrade completes, and kernel rollbacks are rarely realistic in production environments. Auditing staging environments beforehand is far cheaper than dealing with midnight production incidents.
At this point, we have gained sufficient skills to manage services independently using custom unit files, schedule automated jobs via timers, understand inter-service dependencies using targets, and anticipate the impacts of cgroup migration in 26.04. Chapter 6 will cover another equally vital aspect of server administration: package management in server environments, ranging from repository strategies to automated security updates.